The reply-all storm protection feature reduces the impact of email recipients for large organizations. If…
How to use Logical Operators in PowerShell
Running commands gives you many results as an output. This can be overwhelming. It’s better to write a script with logical operators to get an accurate result. Logical operators help to combine conditions, filter the results, and more. In this article, you will learn how to use logical operators in PowerShell.
Table of contents
PowerShell Logical operators
Logical operators connect expressions and statements, allowing you to use a single expression to test for multiple conditions.
The following list displays the available PowerShell logical operators.
| Logical Operator |
|---|
| -not |
| -and |
| -or |
| -xor |
Connect to Exchange Online PowerShell
To be able to run PowerShell commands and use logical operators, you must first Connect to Exchange Online PowerShell. Open Windows PowerShell as administrator, run the below cmdlet, and sign in with your admin credentials.
Connect-ExchangeOnlinePowerShell Logical operators structure
An additional component we will use with the Logical operators is Where-Object.
The Where-Object cmdlet, combined with the Logical operators, enables us to create a PowerShell sentence that describes the required condition. In the next examples, we will use the shortened version of Where-Object, using the Where cmdlet.
We will show how to perform a PowerShell sentence structure with a specific condition.
PowerShell sentence structure:
- In the first part of the PowerShell sentence, we will use the Get-Mailbox cmdlet with -ResultSize Unlimited to find all the existing mailbox types.
- We use the pipeline (|) to get the input from the first part and do something with it in the second part.
- In the second part of the PowerShell sentence, we will use the Where cmdlet.
- The condition must be enclosed in braces brackets { }
- The $_. notation is used to represent the default object
- Use the Logical operator -not
- Specify the Property name
- Specify the Value in double quotation marks (“)
See the below PowerShell syntax example.
Get-Mailbox -ResultSize Unlimited | Where {-not $_.Property -eq "Value"}- Then, you can add an additional section using a pipeline (|) and Select cmdlet to specify the properties that will be displayed.
The PowerShell command syntax example with select properties.
Get-Mailbox -ResultSize Unlimited | Where {-not $_.Property -eq "Value"} | Select Property1, Property2PowerShell Logical operators examples
There are unlimited possibilities when using Logical Operators in PowerShell. We will show you different examples using Logical Operator with the Comparison Operator -eq (=equals).
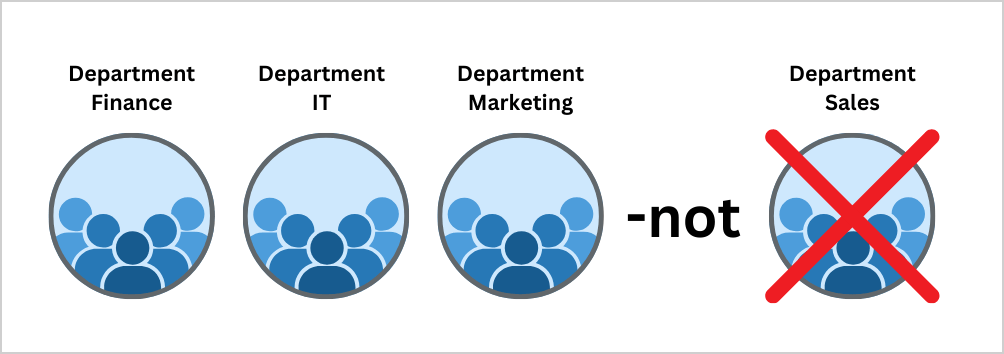
1. Logical operator -not
We want to display a list of all the Microsoft 365 users who don’t work in the Sales department. To implement this requirement, we need to use the comparison operator (-eq) with a combination of the logical operator (-not).
- In the first part of the PowerShell sentence, we will use the Get-User cmdlet. We need to add the -ResultSize Unlimited command to get a list of all the existing users. The output from the first part is piped to the second part of the PowerShell command.
- In the second part of the PowerShell sentence, we will use the Where cmdlet followed by the condition in braces brackets { }.
- The condition will use the logical operator -not.
- The comparison operator -eq to match users from the Sales department.
Run the below PowerShell command example.
Get-User -ResultSize Unlimited | Where {-not ($_.Department -eq "Sales")} | Select Name, RecipientType, DepartmentThe PowerShell output result shows all the departments but not Sales.
Name                                 RecipientType Department
----                                 ------------- ----------
41377e9c-dc47-46c0-b4a5-1d5bbdcb5cc5 UserMailbox   Marketing
c32b2b27-d809-439a-a3e3-eb7a749eeb72 UserMailbox   IT
5cae3874-442b-459c-8f33-3aee5b879275 UserMailbox   Marketing
411a8f10-0dfa-4034-a1e3-a8b6e4cad2f6 UserMailbox   IT
e5c3a5e8-eeae-4829-94dc-fb7228bcf8da UserMailbox   IT
4631b453-3a0a-439e-a2ea-7af2b9a741b3 User          Finance
7545348c-b473-45b5-890d-38bc59b4a163 User          Finance
0f38d53f-cbe0-4844-86e9-1032a45ba31b UserMailbox   Marketing
2. Logical operator -and
You can use the logical operator -and to combine two or more conditions in a PowerShell command.
We want to display a list of all Microsoft 365 users who work in the Sales department, and the title should be Manager.

The comparison operator we will use is -eq for each condition. The logical operator we will use is -and because the users should match both conditions at the same time.
Run the PowerShell command syntax.
Get-User -ResultSize Unlimited | Where {($_.Department -eq "Sales") -and ($_.Title -eq "Manager")} | Select Name, RecipientType, DepartmentThe PowerShell output will display the users that work at the Sales department and have the title Manager.
Name                                 RecipientType Department
----                                 ------------- ----------
f8261d51-3df9-4f21-a6b1-533412669c11 User          Sales
0de964ae-f09a-4e65-bc8c-cbeac2745e4c User          Sales
3. Logical operator -or
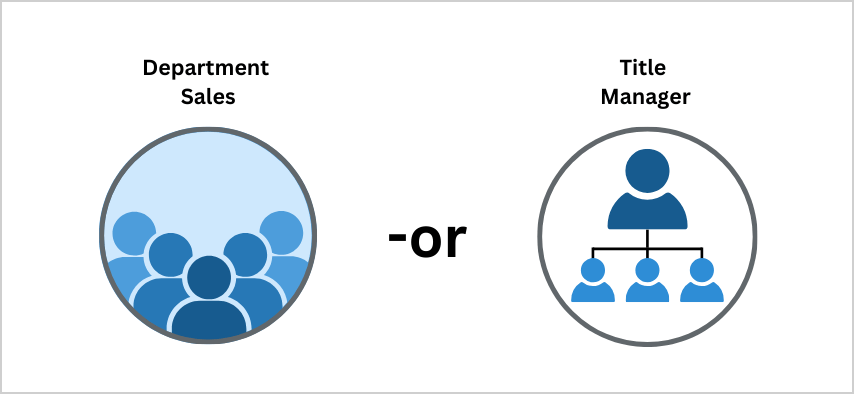
We want to display a list of all Microsoft 365 users who are from the Sales department or users with the title Manager from any department. To implement this requirement, we need to use the comparison operator (-eq) with a combination of the logical operator (-or).
- In the first part of the PowerShell sentence, we will use the Get-User cmdlet, followed by -Resultsize Unlimited.
- In the second part of the PowerShell sentence, we will use the Where cmdlet, followed by two conditions in braces brackets { }.
- For each condition, you need to use parenthesis ( ).
- In the first condition, we will use the comparison operator -eq to match users from the Sales department.
- After the first condition, we will use the logical operator -or.
- The second condition will use the comparison operator -eq to match users with the title Manager.
Run the PowerShell command syntax.
Get-User -ResultSize Unlimited | Where {($_.Department -eq "Sales") -or ($_.Title -eq "Manager")} | Select Name, RecipientType, Department, TitleThe PowerShell output will show users in the Sales department or have the title Manager, or both.
Name                                 RecipientType Department Title
----                                 ------------- ---------- -----
fa956d8c-87df-4cd4-ac2a-ac1f3d7cac8b User          Sales
b602b148-2fcf-435a-9d34-ce72c3a8c748 UserMailbox   Sales
1e367b85-f0c0-4c9c-a16a-22d132f1d8e6 UserMailbox              Manager
f8261d51-3df9-4f21-a6b1-533412669c11 User          Sales      Manager
7bfec79d-7806-484a-ac83-133cd4cf5af5 User                     Manager
bc741ead-e704-4eb9-a9e8-adfa1f187c92 User          Sales
0de964ae-f09a-4e65-bc8c-cbeac2745e4c User          Sales      Manager
411a8f10-0dfa-4034-a1e3-a8b6e4cad2f6 UserMailbox   IT         Manager
27c03114-f9a1-4c02-83ef-bd4ee32f00cf User          Sales
82cd0d62-e974-4892-aca6-e0387abc62be UserMailbox   Sales      Member
52a6c1c7-77d2-4109-99b9-a4076167b6e2 UserMailbox   Sales
0f38d53f-cbe0-4844-86e9-1032a45ba31b UserMailbox   Marketing  Manager
4. Logical operator -xor
We want to display a list of all Microsoft 365 users who work in the Sales department or the title is Manager, but not both. To implement this requirement, we need to use the comparison operator (-eq) with a combination of the logical operator (-xor).
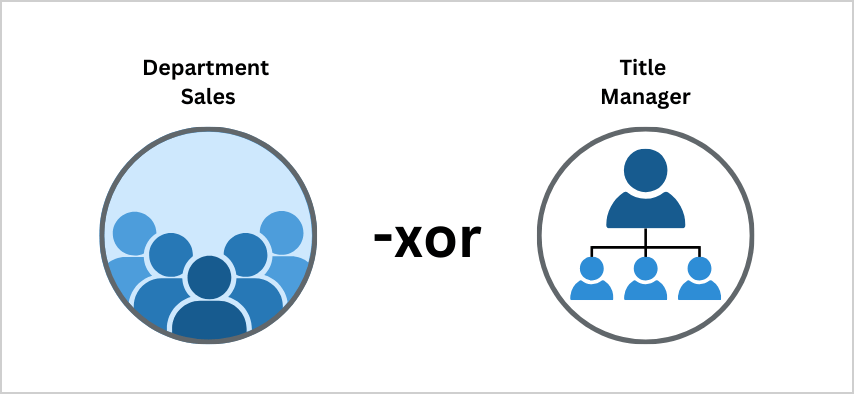
It is similar to the logical operator -or, but it will not display users with the title Manager from the Sales department.
See the PowerShell command syntax.
Get-User -ResultSize Unlimited | Where {($_.Department -eq "Sales") -xor ($_.Title -eq "Manager")} | Select Name, RecipientType, Department, TitleThe PowerShell output will show users in the Sales department or with the title Manager, but not both.
Name                                 RecipientType Department Title
----                                 ------------- ---------- -----
fa956d8c-87df-4cd4-ac2a-ac1f3d7cac8b User          Sales
b602b148-2fcf-435a-9d34-ce72c3a8c748 UserMailbox   Sales
1e367b85-f0c0-4c9c-a16a-22d132f1d8e6 UserMailbox              Manager
7bfec79d-7806-484a-ac83-133cd4cf5af5 User                     Manager
bc741ead-e704-4eb9-a9e8-adfa1f187c92 User          Sales
411a8f10-0dfa-4034-a1e3-a8b6e4cad2f6 UserMailbox   IT         Manager
27c03114-f9a1-4c02-83ef-bd4ee32f00cf User          Sales
82cd0d62-e974-4892-aca6-e0387abc62be UserMailbox   Sales      Member
52a6c1c7-77d2-4109-99b9-a4076167b6e2 UserMailbox   Sales
0f38d53f-cbe0-4844-86e9-1032a45ba31b UserMailbox   Marketing  Manager
5. Combine Logical operators -or -and
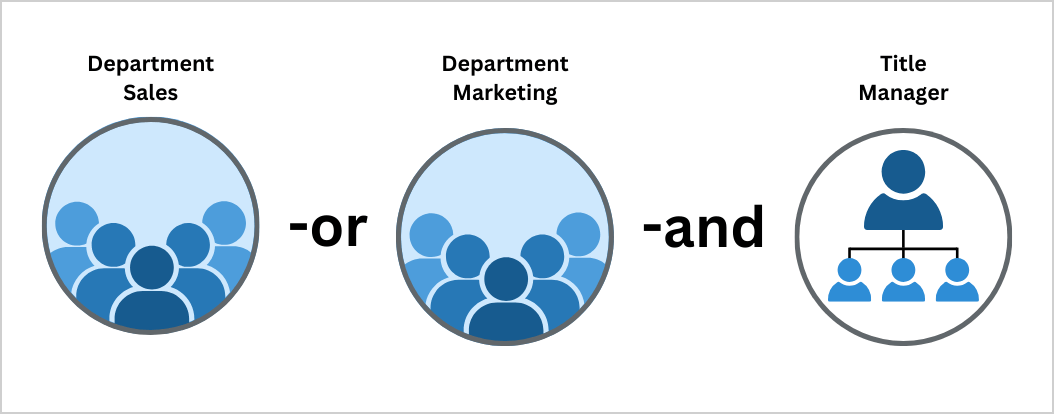
We want to display a list of all Microsoft 365 users who work in the Sales or Marketing department, with the title Manager.
The combination of multiple conditions should be enclosed in braces brackets { }:
- The comparison operator we will use is -eq for each condition closed in parenthesis ( ).
- The first logical operator we will use is -or because it could be a user from the Sales or Marketing department.
- The second logical operator we will use is -and because the users should have the title Manager at the same time.
Run the below PowerShell command syntax.
Get-User | Where {($_.Department -eq "Sales") -or ($_.Department -eq "Marketing") -and ($_.Title -eq "Manager")}The PowerShell output will show all the users with the title Manager in the Sales or Marketing department.
Name                                 RecipientType Department Title
----                                 ------------- ---------- -----
f8261d51-3df9-4f21-a6b1-533412669c11 User          Sales      Manager
0de964ae-f09a-4e65-bc8c-cbeac2745e4c User          Sales      Manager
0f38d53f-cbe0-4844-86e9-1032a45ba31b UserMailbox   Marketing  Manager
That’s it!
Read more: Export Azure AD users with Microsoft Graph PowerShell »
Conclusion
You learned how to use logical operators in PowerShell to make your commands more efficient. Adding logical operators to your commands or PowerShell scripts will filter the results to your needs.
Did you enjoy this article? You may also like Configure Certificate-Based Authentication to run automated PowerShell scripts. Don’t forget to follow us and share this article.
This Post Has 0 Comments