It's necessary to protect your organization and have strong security to prevent MFA fatigue. That's…
Configure Certificate-Based Authentication to run automated PowerShell scripts
Sometimes, you want to run an automated Exchange Online PowerShell script without inserting credentials or getting MFA prompts. What is a safe and excellent way to do that? In this article, you will learn how to configure Certificate-Based Authentication (CBA) to run automated PowerShell scripts.
Table of contents
Certificate-Based Authentication
In the old days, you used to save user credentials in an encrypted file or use basic authentication to run automated scripts in Exchange Online PowerShell. From September 2022 Basic Authentication is deprecated in Exchange Online and can’t be used anymore.
Certificate-Based Authentication is a new cryptographic method that allows one to automate Exchange Online PowerShell sessions securely. It is a safe method that avoids the need to provide user credentials each time you run a PowerShell script. It supports unattended scripts and automated sessions using Exchange Online. There is also no need for usernames, passwords, and MFA when authenticating.
How Certificate-Based Authentication works
The Exchange Online PowerShell module uses the Active Directory Authentication Library to fetch an app-only token using three parameters:
- Application Id
- Tenant Id (organization)
- Certificate thumbprint
The application you create in Microsoft Entra ID has a Directory Role assigned to it, which is returned in the access token. Exchange Online configures the session role based access control (RBAC) using the directory role information available in the token.
How to configure Certificate-Based Authentication in Exchange Online
We will guide you through the steps to implement Exchange Online Certificate-Based Authentication for unattended scripts.
Step 1. Create self-signed certificate
First, you need to generate a self-signed certificate. It’s better to make the certificate on the same machine you want to run the unattended PowerShell script.
Log into any Windows Server or Desktop with Windows PowerShell as administrator.
Note: Self-signed certificate is valid for one year by default.
In our case, we will add 4 years to the self-signed certificate to avoid yearly renewal.
Use the below PowerShell cmdlet with your own DNS name to create a certificate.
$mycert = New-SelfSignedCertificate -DnsName "m365info.com" -CertStoreLocation "cert:\LocalMachine\My" -NotAfter (Get-Date).AddYears(4) -KeySpec KeyExchange -FriendlyName "EXO automated scripts"The certificate is now stored. To view the thumbprint, use the below cmdlet.
$mycert | Select-Object -Property Subject,Thumbprint,NotBefore,NotAfterCopy the Thumbprint and paste it into Notepad. You will need it later when you connect to Exchange Online PowerShell with CBA.
Subject      Thumbprint                               NotBefore             NotAfter
-------      ----------                               ---------             --------
CN=m365info.com D3083EC9CF8AEE4BD3428D8C8A6A228CB3383B6E 2/12/2024 11:04:47 PM 2/12/2028 11:14:47 PM
We want to create a .cer file to upload it later in Microsoft Entra ID application. With a .cer file you can only connect to Exchange Online from the machine where the self-signed certificate is generated.
Create a folder named temp to save it in the C:\temp.
Use the below PowerShell cmdlet to export the certificate to .cer file.
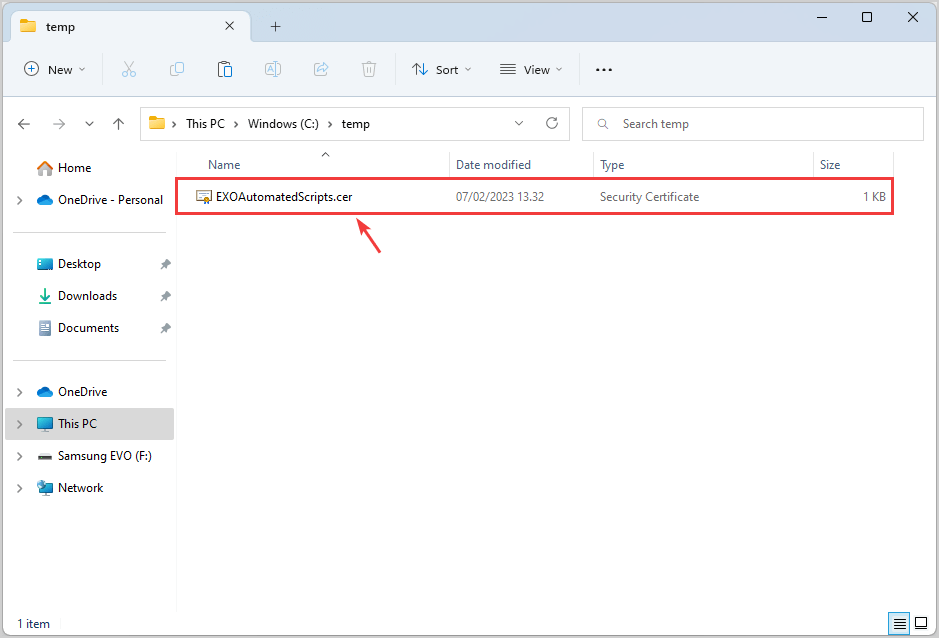
$mycert | Export-Certificate -FilePath "C:\temp\EXOAutomatedScripts.cer"See the below output in PowerShell.
    Directory: C:\temp


Mode                 LastWriteTime         Length Name
----                 -------------         ------ ----
-a----         2/12/2024  11:15 PM            796 EXOAutomatedScripts.cer
You can find the .cer file on your computer in C:\temp.
We will also create a .pfx file so that you can connect to Exchange Online from any machine. You can copy or send a .pfx file to a person so that when installed on another machine, it can be retrieved during the authentication process.
Export the certificate to .pfx file by using the PowerShell cmdlet.
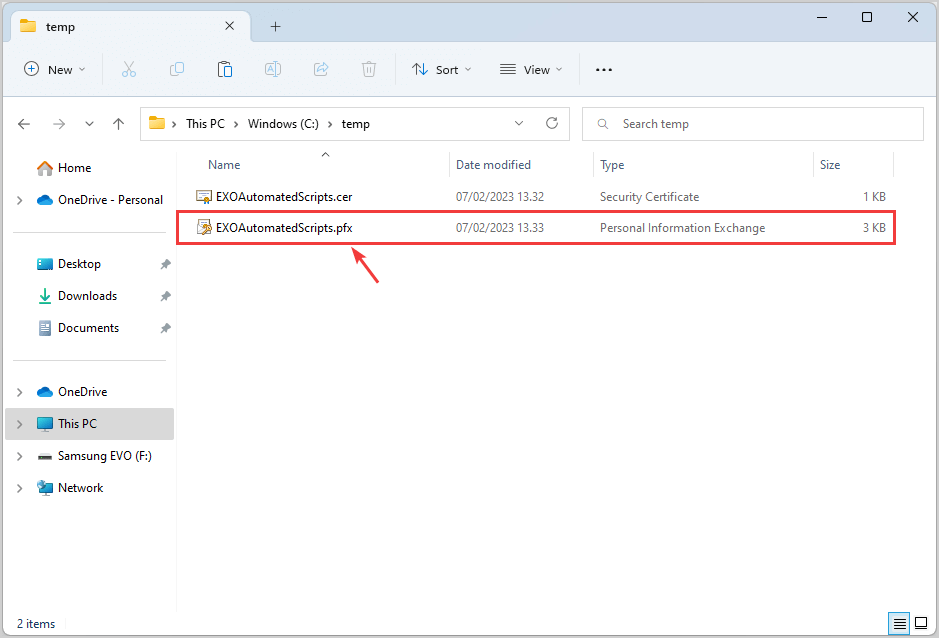
$mycert | Export-PfxCertificate -FilePath "C:\temp\EXOAutomatedScripts.pfx" -Password $(ConvertTo-SecureString -String "P@ssw0Rd1234" -AsPlainText -Force)This is how the below output looks in PowerShell.
    Directory: C:\temp


Mode                 LastWriteTime         Length Name
----                 -------------         ------ ----
-a----         2/12/2024  11:16 PM           2685 EXOAutomatedScripts.pfx
You can find the .pfx file on your computer in C:\temp.
Step 2. Create new app registration in Microsoft Entra ID
Follow the steps to register a new application in Microsoft Entra ID:
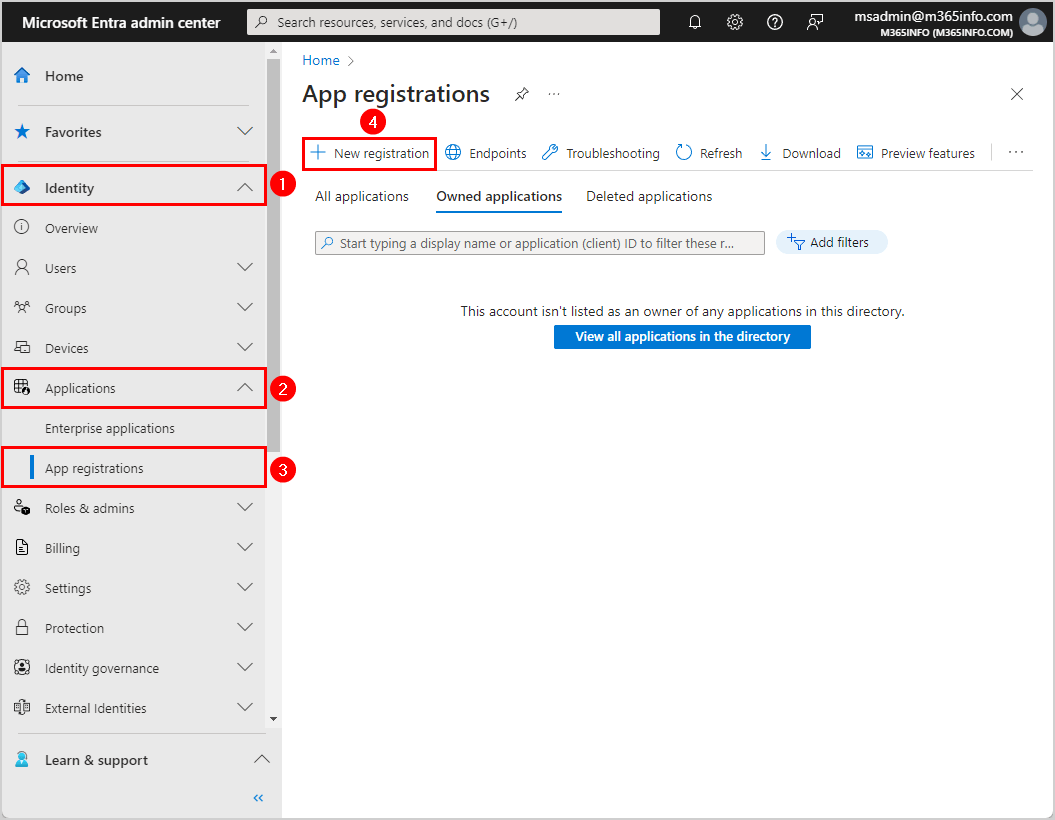
- Sign in to Microsoft Entra admin center
- Expand Identity > Applications > App registrations
- Click New registration
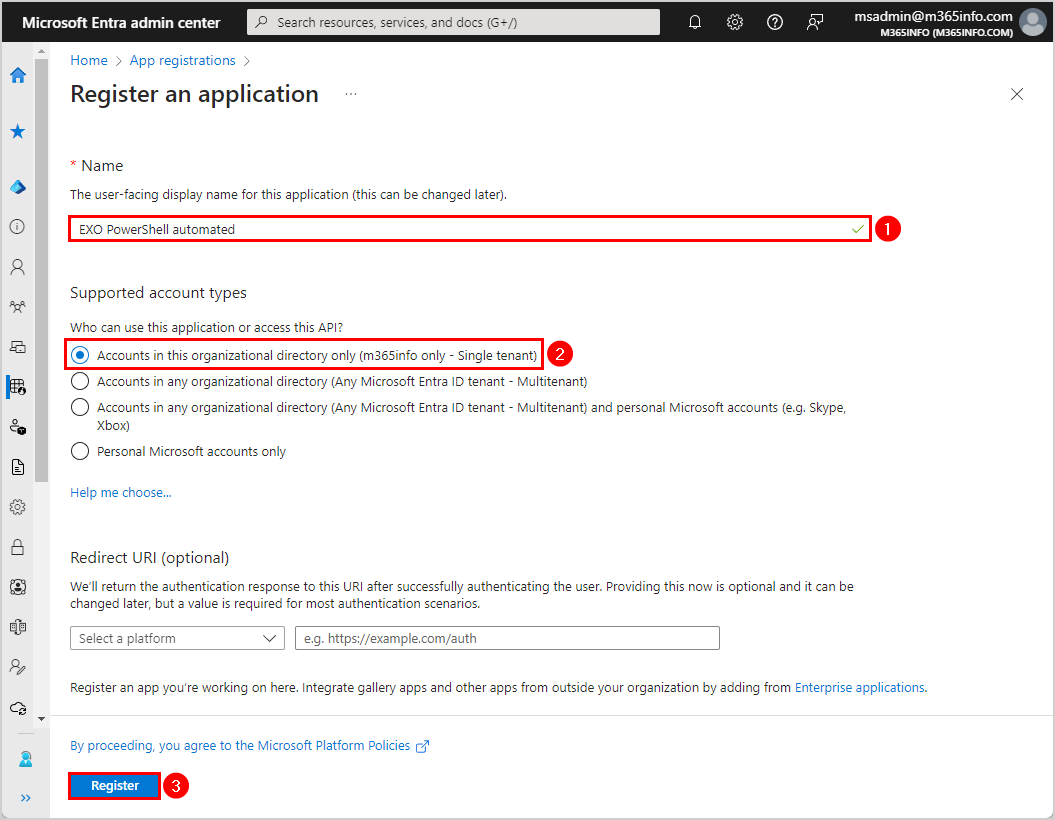
- Name your application EXO PowerShell automated
- Select Accounts in this organizational directory only – (Single tenant)
- Click Register
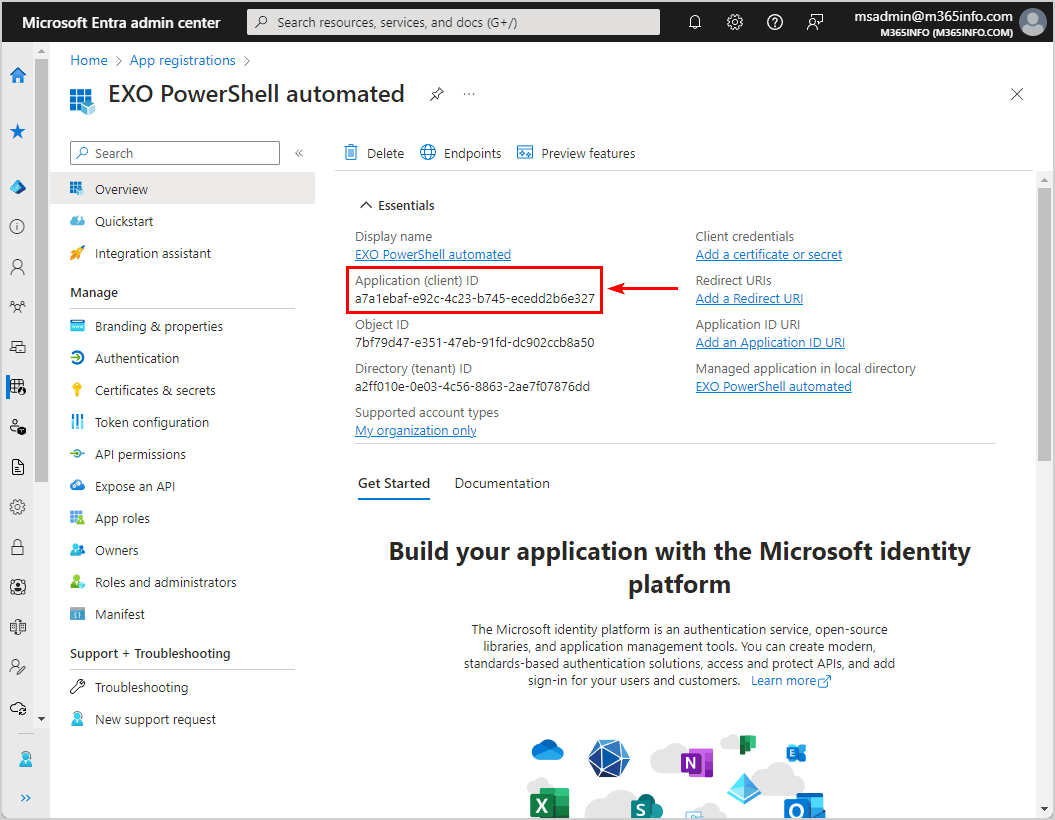
You will get a notification stating Successfully created application, and it will show the EXO PowerShell automated overview.
- Copy the Application (client) ID and paste it into Notepad, as we will use it when connecting to Exchange Online
Step 3. Set up Microsoft Entra app API permissions
You must assign API permissions to the EXO PowerShell automated application you created. To configure API permissions, we will use a script and edit the manifest properties.
Go to the app registrations EXO PowerShell automated overview and follow the below steps:
- Click on Manifest
- Scroll down in the editor to line 42, “requiredResourceAccess”
- Select the script from line 43 to 52

- Copy the below PowerShell syntax
   {
      "resourceAppId": "00000002-0000-0ff1-ce00-000000000000",
      "resourceAccess": [
         {
            "id": "dc50a0fb-09a3-484d-be87-e023b12c6440",
            "type": "Role"
         }
      ]
   }
],- Paste the PowerShell syntax in the manifest
- Click Save
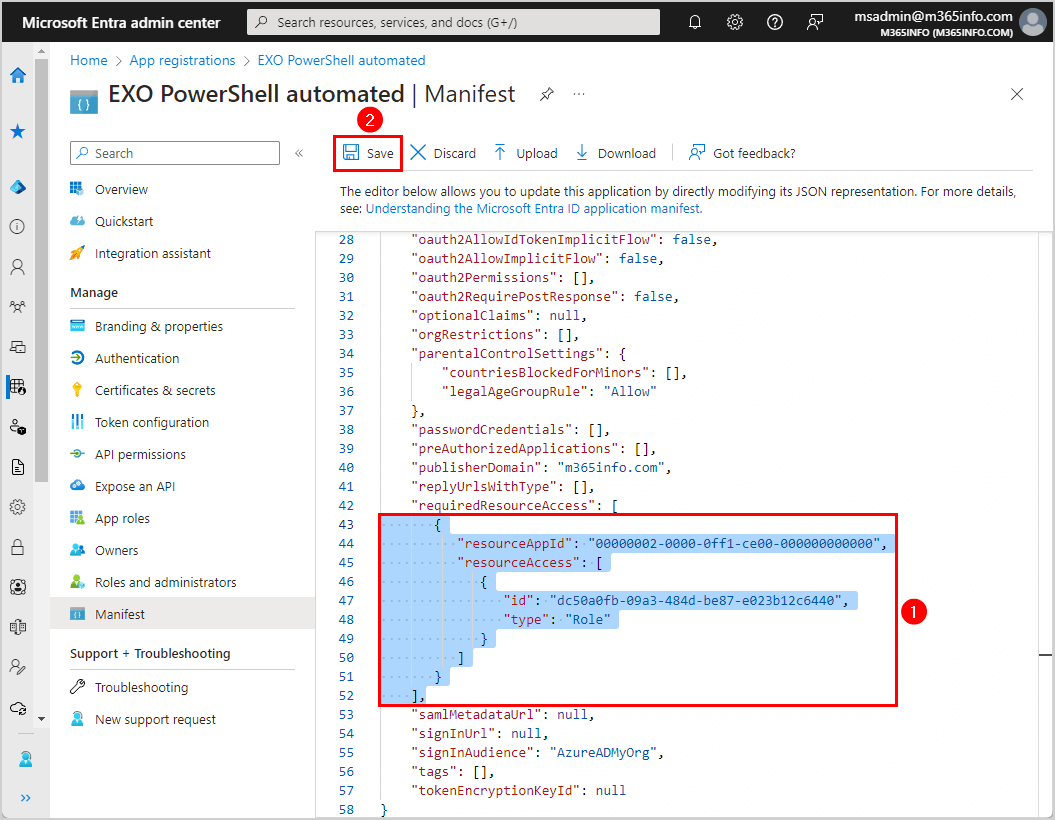
You will get a notification stating that you Successfully updated the application manifest.
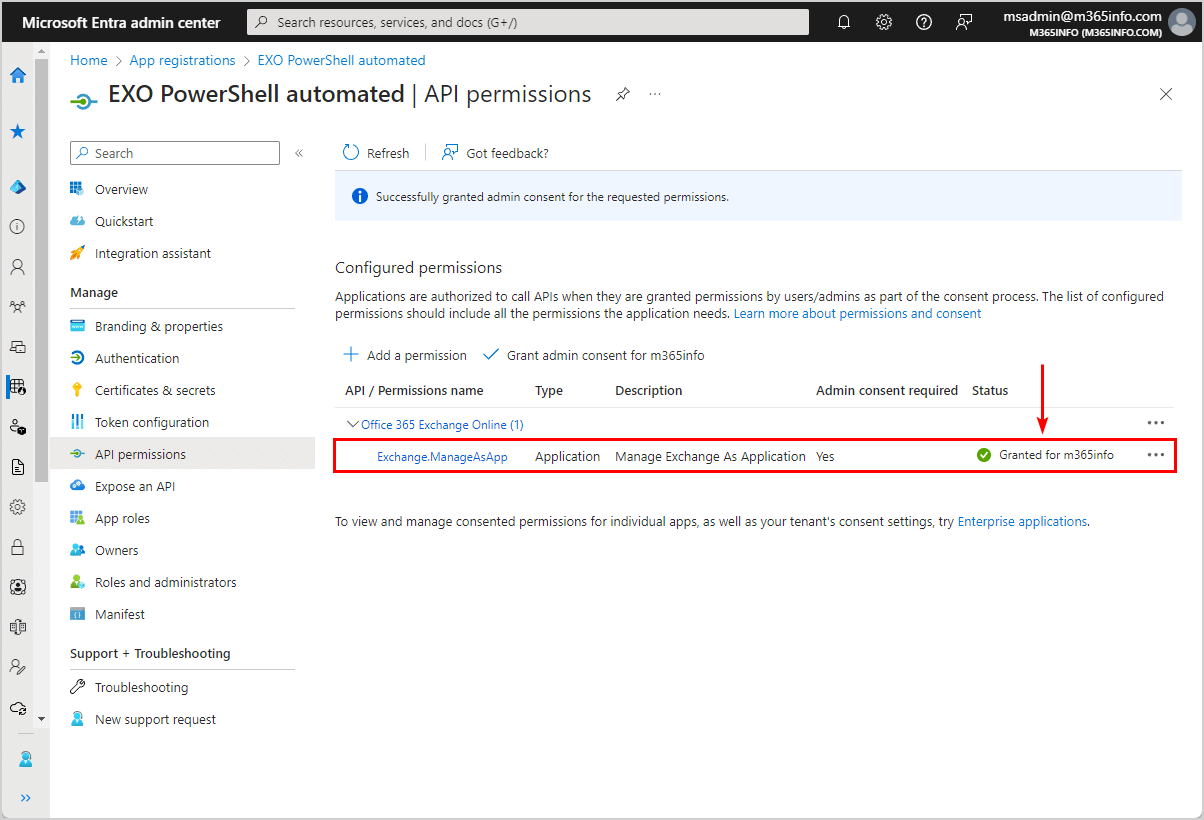
- Click API permission
- Click Grant admin consent for m365info
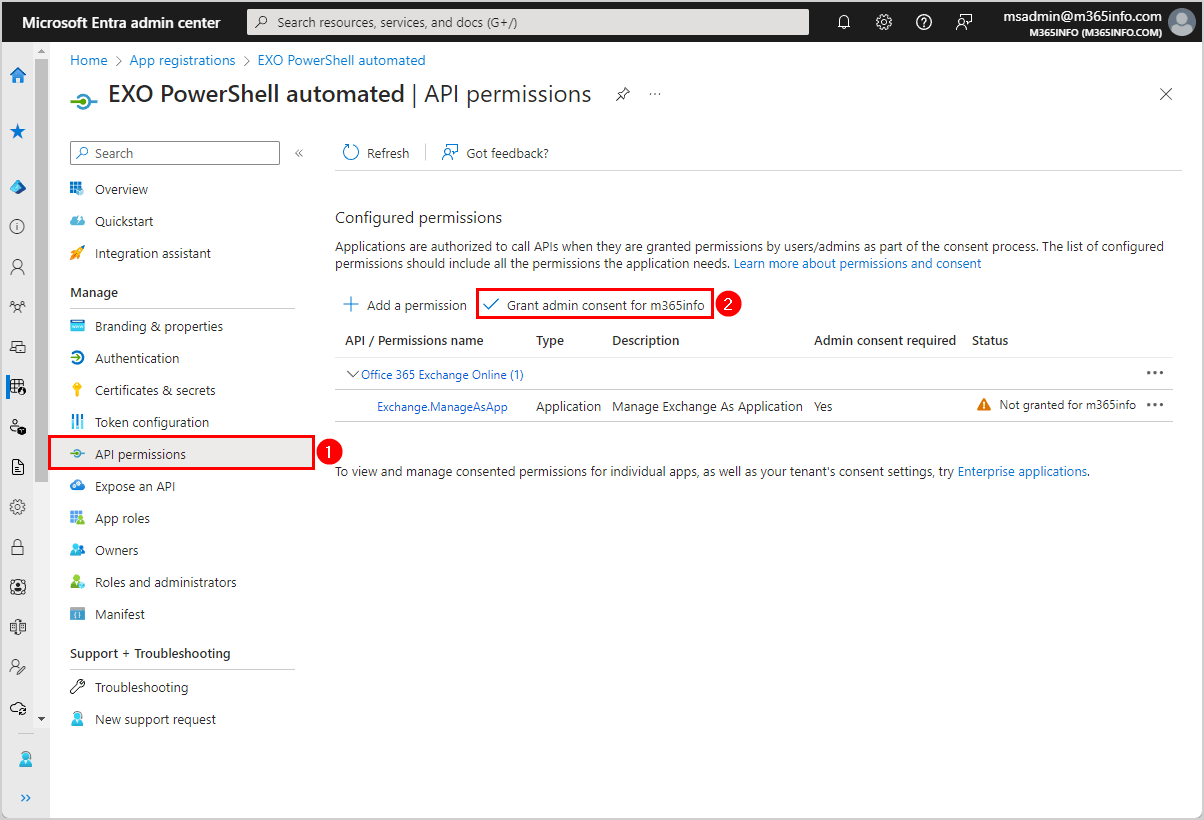
- Click Yes
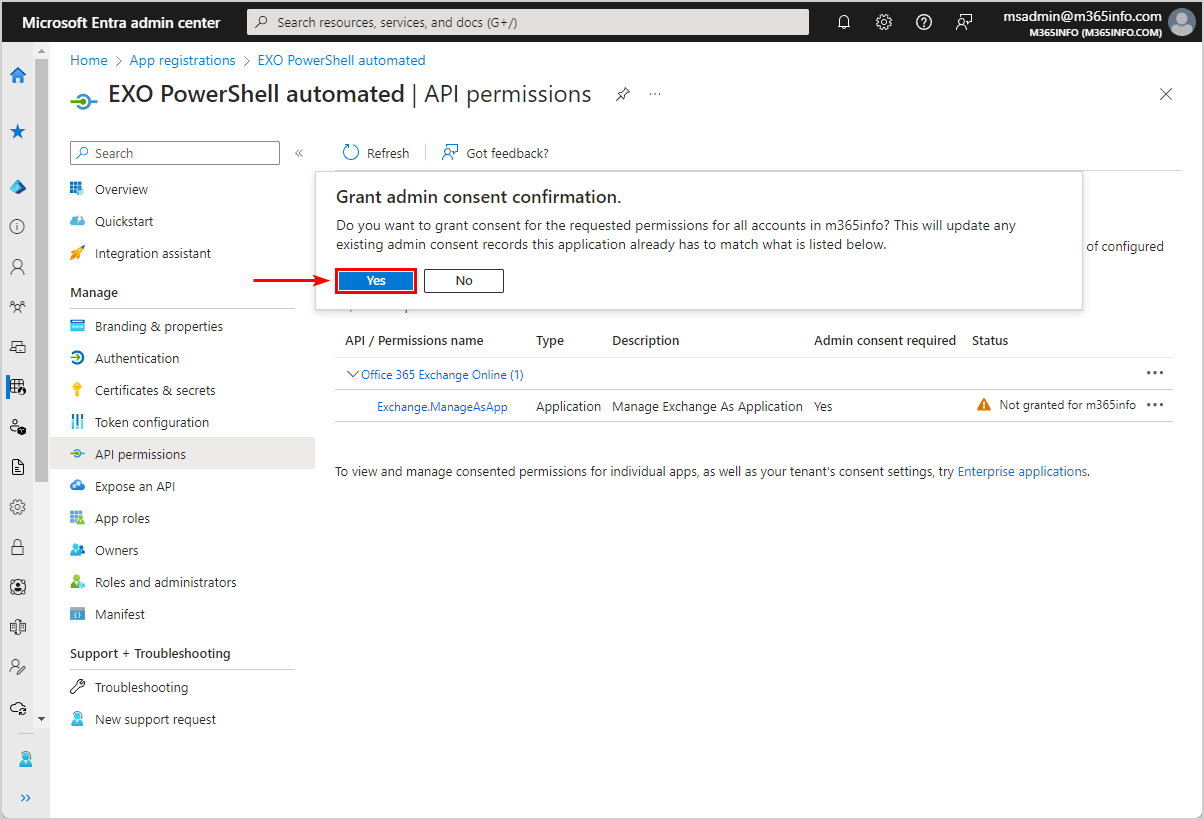
- A green check mark appears that you granted admin consent for m365info successfully
Step 4. Upload certificate to application
You need to upload the self-signed certificate you created earlier.
Go to the app registrations EXO PowerShell automated overview in Microsoft Entra ID:
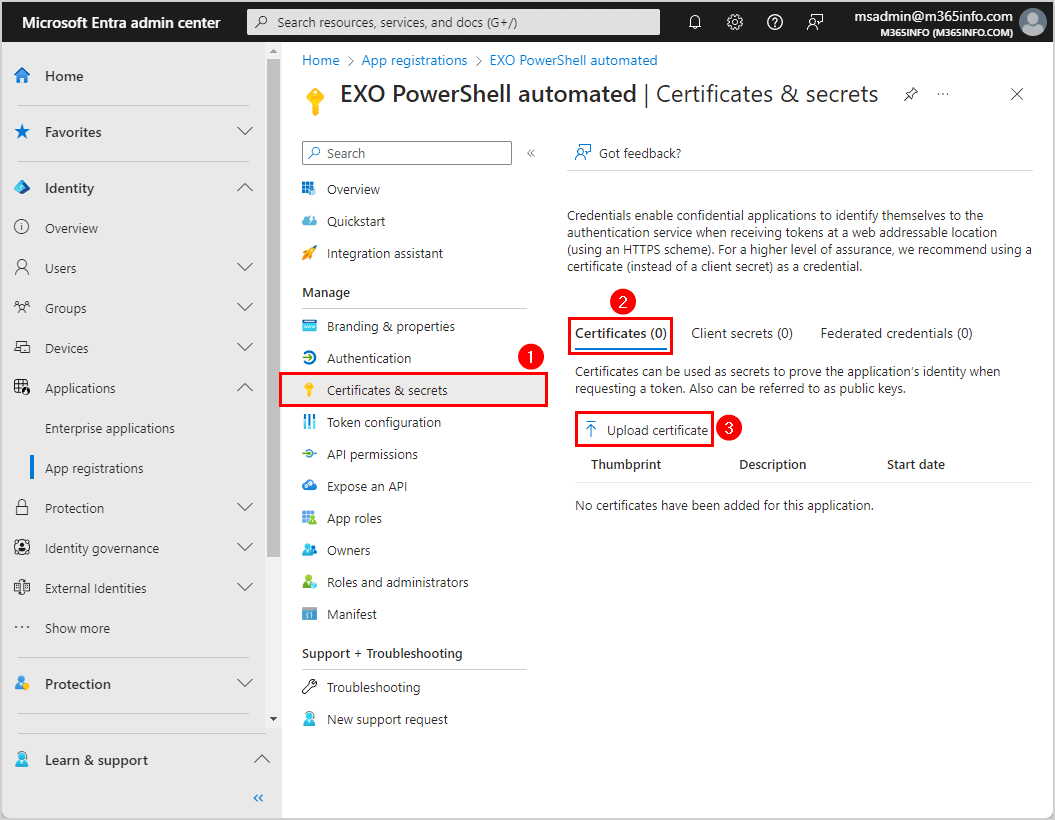
- Click Certificates & secrets
- Select Certificates
- Click Upload certificate
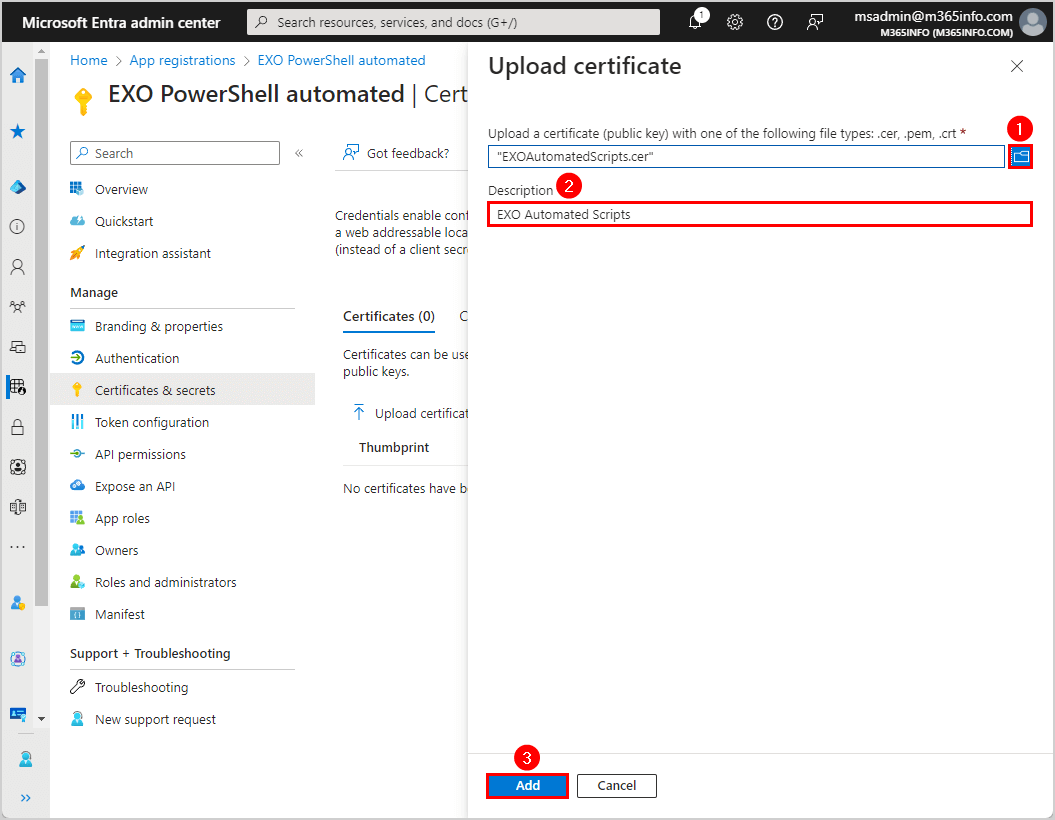
- Click on the browse icon to search in C:\temp and select the EXOAutomatedScripts.cer file
- Add description EXO Automated Scripts
- Click Add
- The certificate appears in the list
Note: Always ensure it has the same certificate thumbprint as the one you created previously.

Step 5. Assign required Microsoft Entra ID roles to application
The last step for the configuration is the RBAC roles with the required permissions for the registered application.
To assign roles in Microsoft Entra ID, follow these steps:
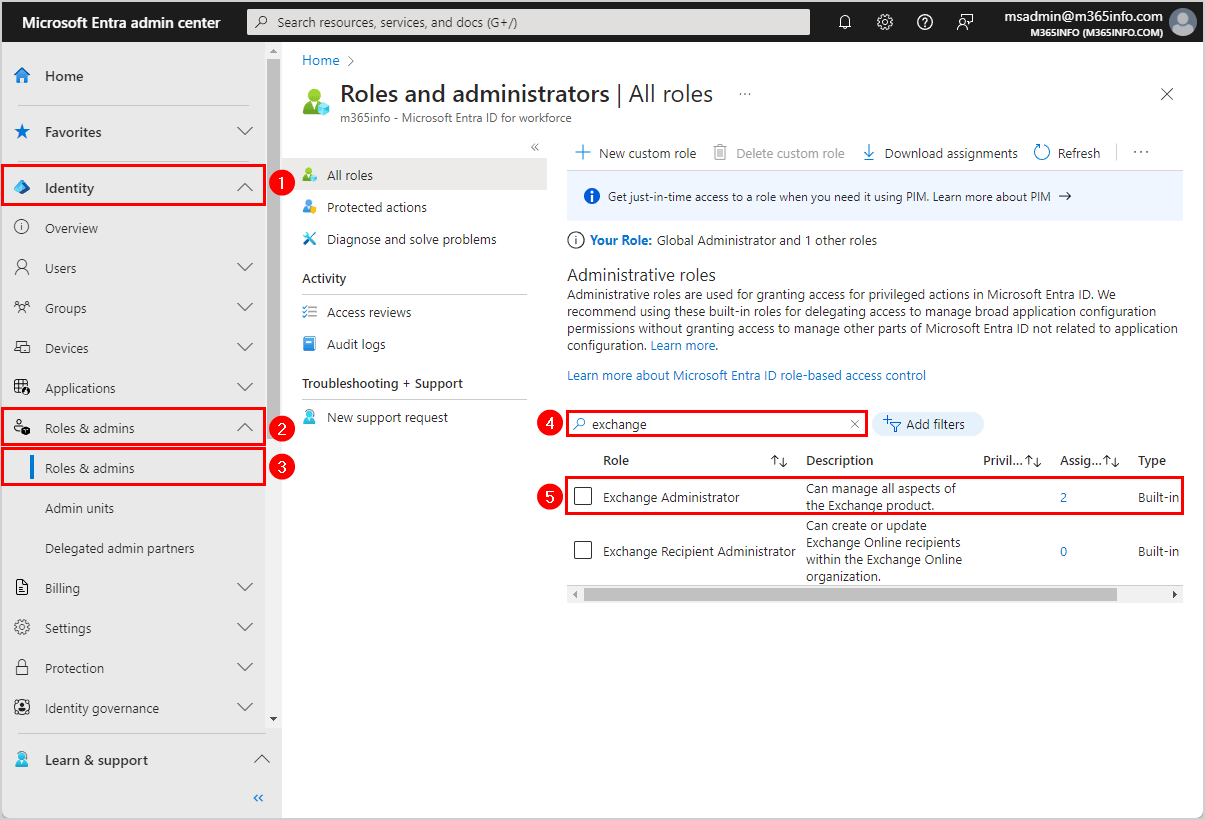
- Expand Identity > (Show more) > Roles & admins > Roles & admins
- Search for exchange
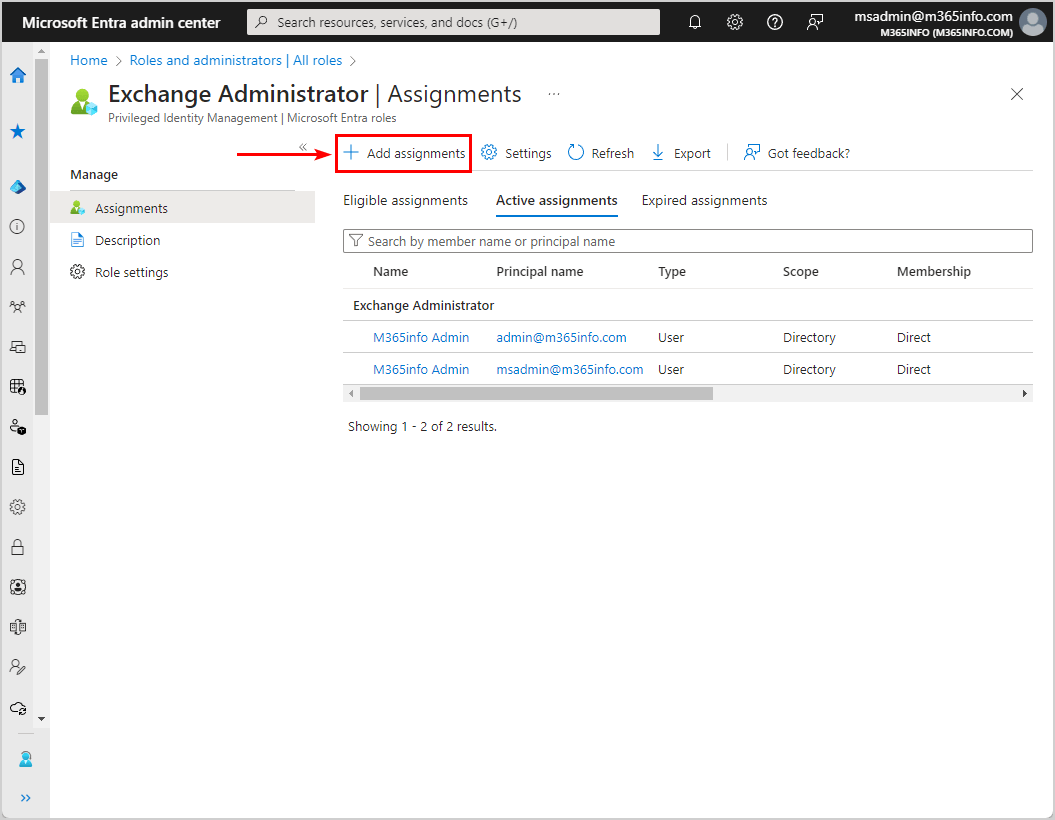
- Click on Exchange Administrator
- Click Add assignments
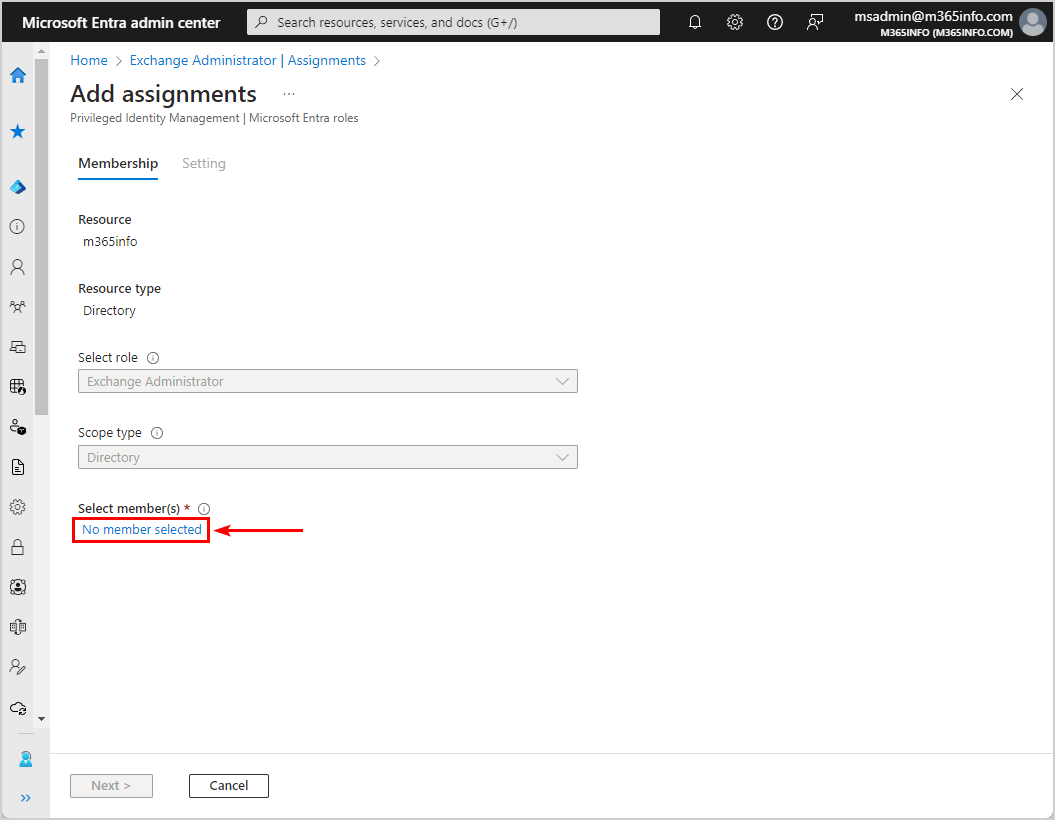
- Click No member selected
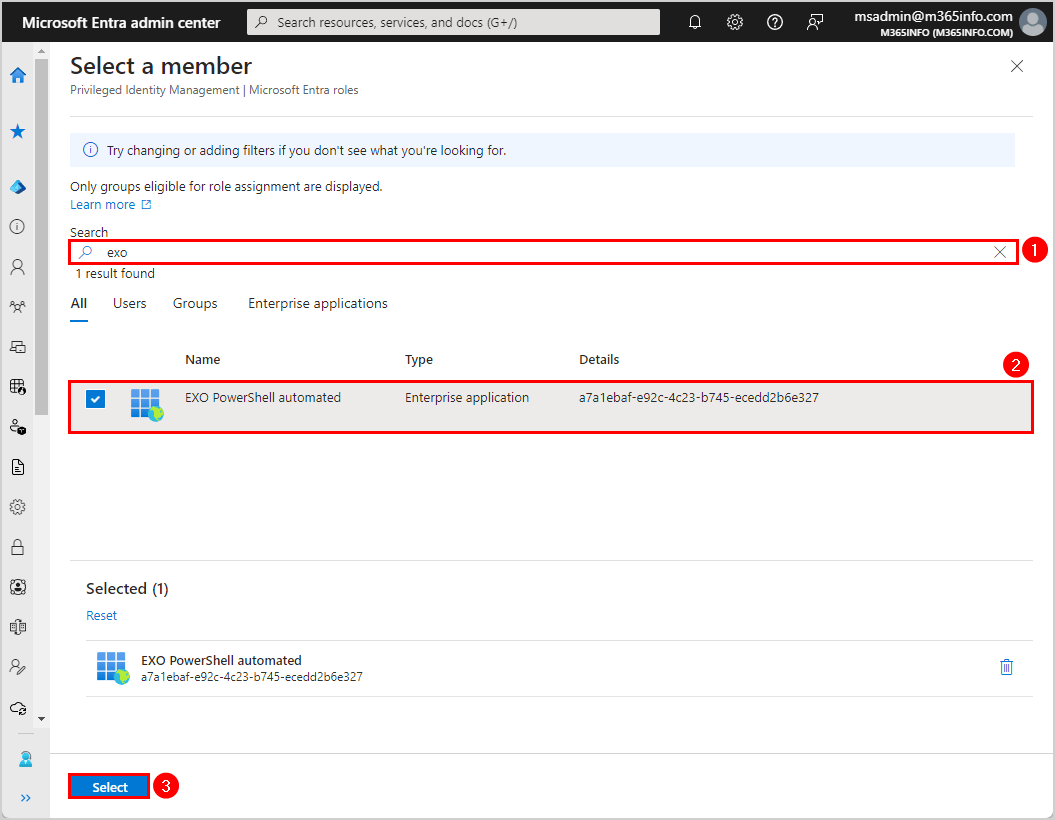
- Search for the application name
- Select the application EXO PowerShell automated
- Click Select
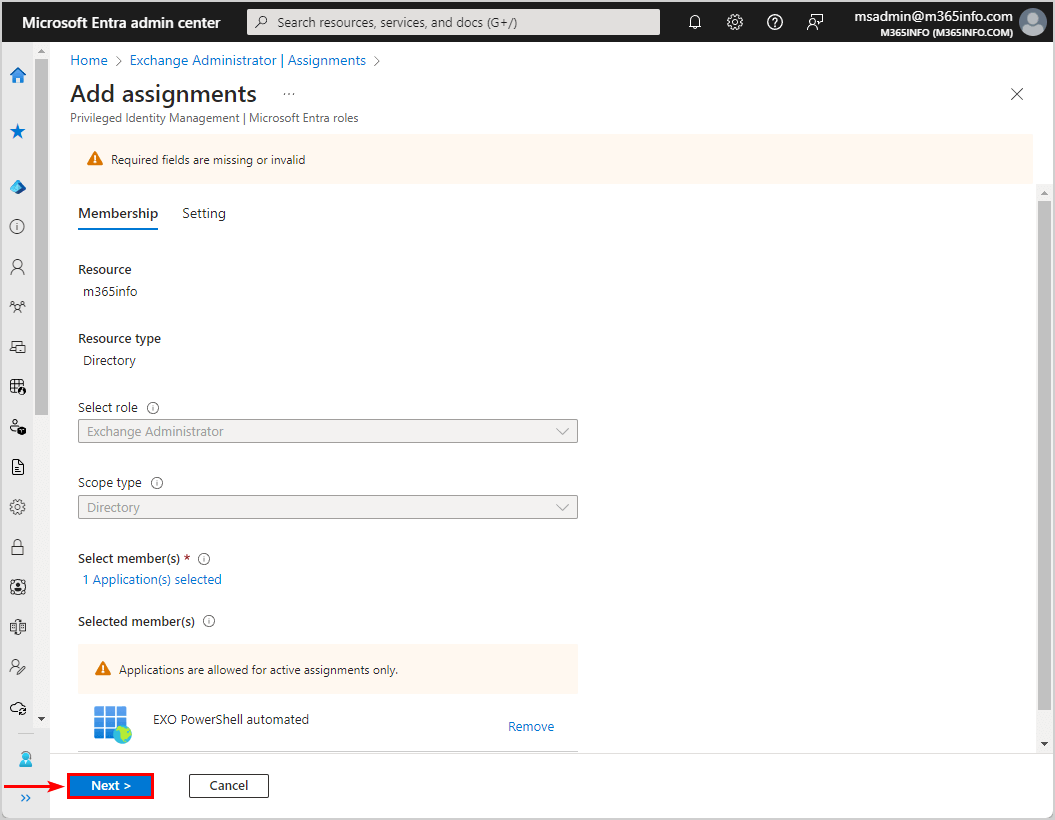
- Click Next
- Enter justification text
- Click Assign
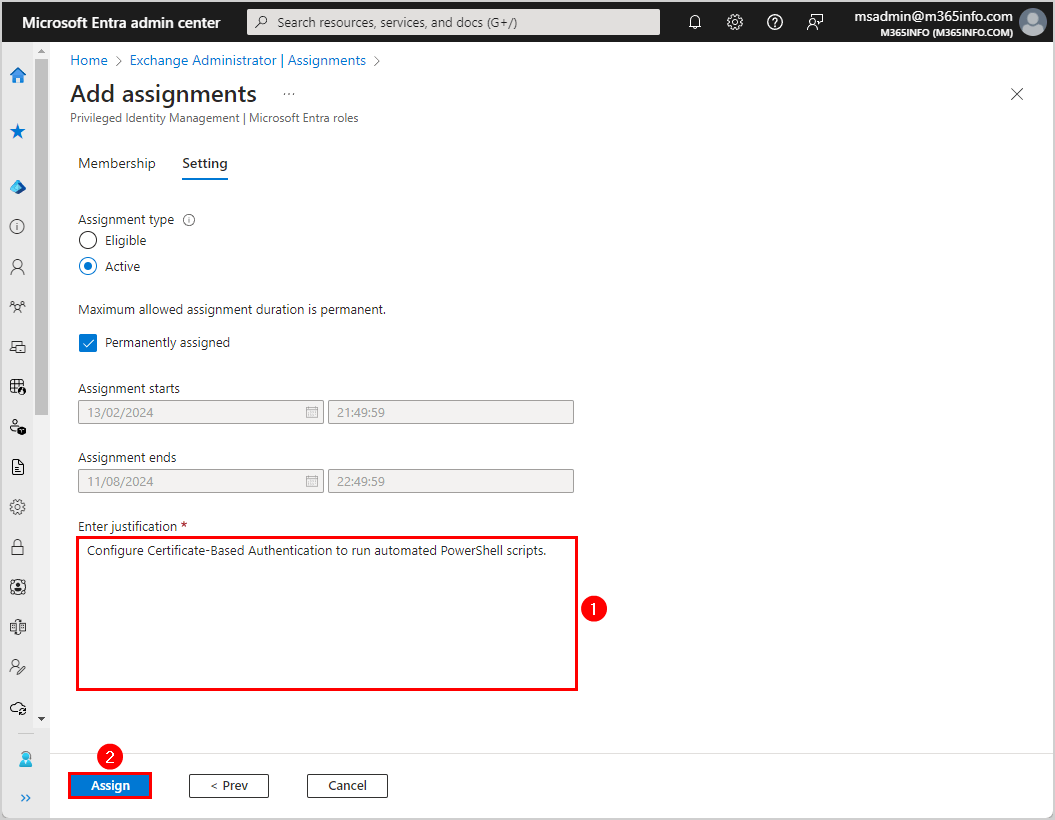
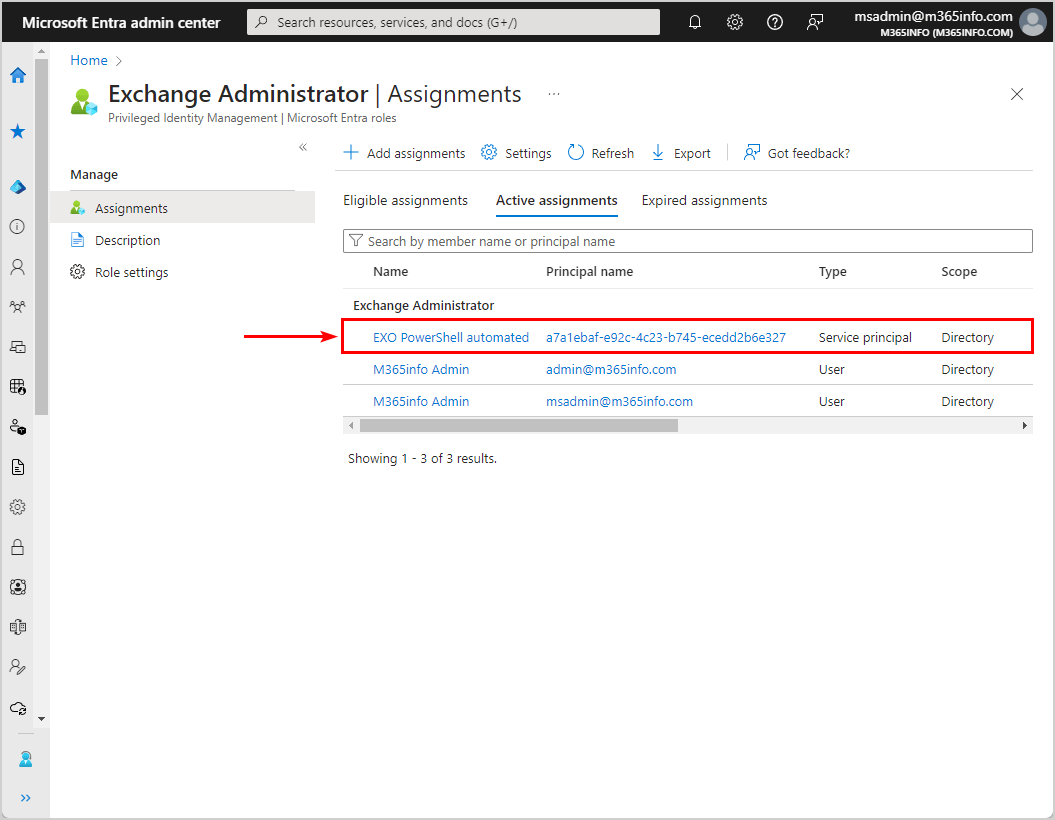
- The assignment name EXO PowerShell automated is added successfully to the Exchange Administrator role assignments list
Connect to Exchange Online PowerShell with Certificate-Based Authentication
Note: You have to Install Exchange Online PowerShell module before you proceed further.
We will use Certificate-Based Authentication (CBA) to connect to EXO PowerShell. You need to get the values from the Microsoft Entra portal and add these values to the following variables:
- $AppId
- $CertificateThumbPrint
- $Organization
In the previous steps, we showed how to get the $AppId and $CertificateThumbprint values. Find the Microsoft 365 tenant organization name in Microsoft Entra admin center or Microsoft 365 admin center to add the value to the $Organization variable.
Once you have found all the values, fill in the three variables below to connect to Exchange Online PowerShell with Certificate-Based Authentication.
$AppId = "a7a1ebaf-e92c-4c23-b745-ecedd2b6e327"
$CertificateThumbprint = "D3083EC9CF8AEE4BD3428D8C8A6A228CB3383B6E"
$Organization = "ms365info.onmicrosoft.com"

Connect-ExchangeOnline -AppId $AppId -CertificateThumbprint $CertificateThumbprint -Organization $Organization -ShowBanner:$false
An excellent way to check that you are connected successfully is to run the Get-EXOMailbox cmdlet to view the mailboxes.
Run the below PowerShell cmdlet.
Get-EXOMailbox -ResultSize 5 | ft Name,UserPrincipalNameThe PowerShell output shows the below result.
Name           UserPrincipalName
----           -----------------
Zoe Howard     Zoe.Howard@m365info.com
Amanda Morgan  Amanda.Morgan@m365info.com
Amelia Nash    Amelia.Nash@m365info.com
Stephen Hunter Stephen.Hunter@m365info.com
Carol Baker    Carol.Baker@m365info.com
Run PowerShell automated script with CBA
Use the below automated PowerShell script that will export the list of mailboxes in Exchange Online to a CSV file in C:\temp. This script is added to a scheduled task that will run every day.
Note: Add Disconnect-ExchangeOnline -Confirm:$false at the end of the PowerShell script. If the script runs without disconnecting the session, you could use up all the remote PowerShell sessions available, and you’ll need to wait for the sessions to expire.
# Connect Exchange Online PowerShell
$AppId = "a7a1ebaf-e92c-4c23-b745-ecedd2b6e327"
$CertificateThumbprint = "D3083EC9CF8AEE4BD3428D8C8A6A228CB3383B6E"
$Organization = "ms365info.onmicrosoft.com"

Connect-ExchangeOnline -AppId $AppId -CertificateThumbprint $CertificateThumbprint -Organization $Organization -ShowBanner:$false

# Split path
$Path = Split-Path -Parent "C:\temp\*.*"

# Create variable for the date stamp
$LogDate = Get-Date -f yyyyMMddhhmm

# Define CSV and log file location variables
$Csvfile = $Path + "\AllMailboxes_$logDate.csv"

Get-EXOMailbox -ResultSize Unlimited | Select-Object DisplayName, PrimarySmtpAddress | Sort-Object PrimarySmtpAddress | Export-CSV -Path $Csvfile -NoTypeInformation -Encoding UTF8

# Disconnect Exchange Online PowerShell
Disconnect-ExchangeOnline -Confirm:$false
You can successfully connect with Exchange Online Certificate-Based Authentication to run automated PowerShell scripts!
Read more: How to improve Microsoft Entra MFA security »
Conclusion
You learned how to configure Certificate-Based Authentication to connect to Exchange Online and run automated PowerShell scripts. There are no more user interactions, usernames, passwords, or MFA involved, which makes it much easier.
Did you enjoy this article? You may also like Bulk create shared mailboxes with PowerShell. Don’t forget to follow us and share this article.
This Post Has 0 Comments