Your Outlook account has several mail profiles, but now you cannot start Microsoft Outlook or…
How to manage user photos with Microsoft Graph PowerShell
You can only set or change the profile picture for a single user in Microsoft Entra. With PowerShell, you can get, download, set, and remove user photos for multiple users. In this article, you will learn how to manage user photos with Microsoft Graph PowerShell.
Table of contents
How to change user photo in Microsoft Entra
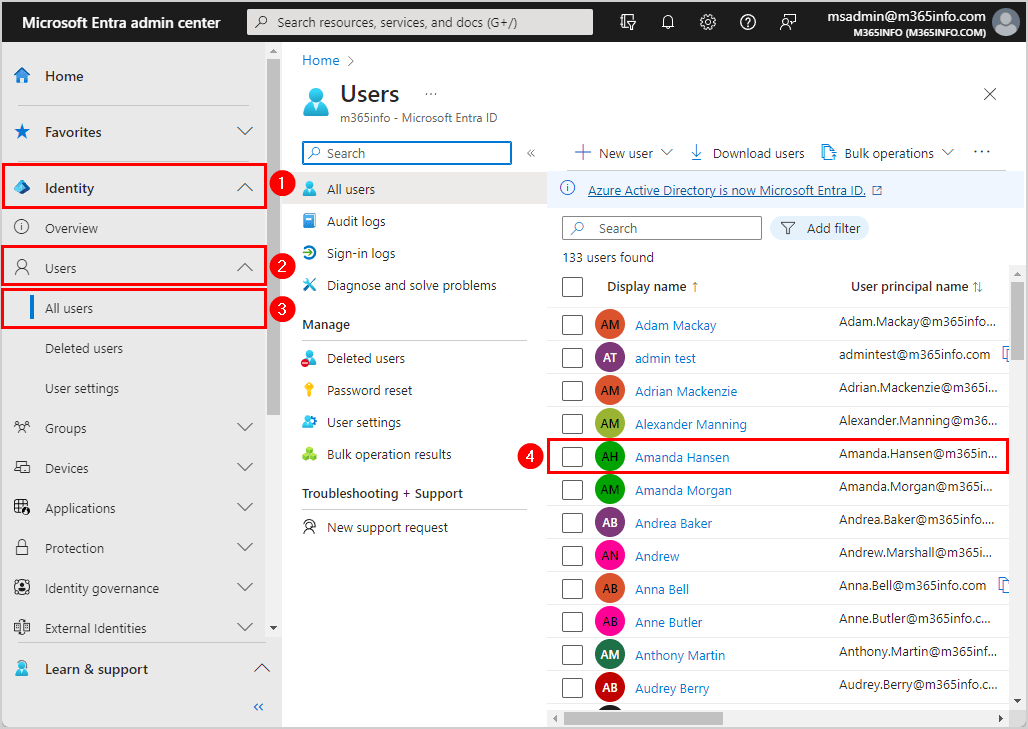
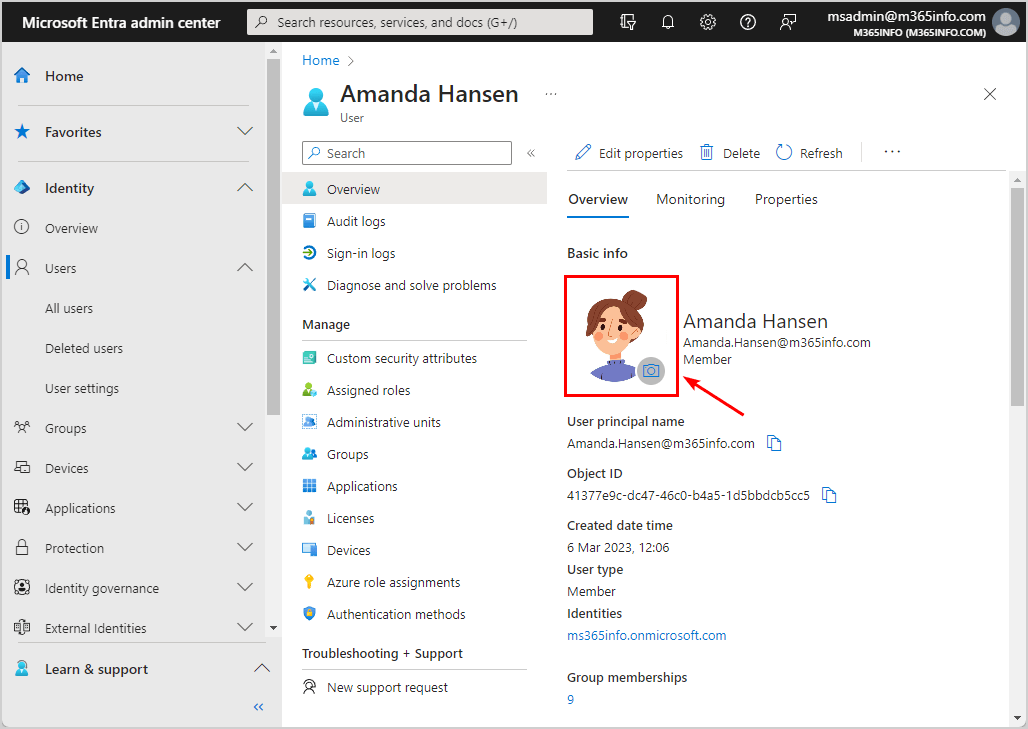
Follow the below steps to change the user photo in Microsoft Entra admin center:
- Go to Microsoft Entra admin center
- Expand Identity
- Click Users > All users
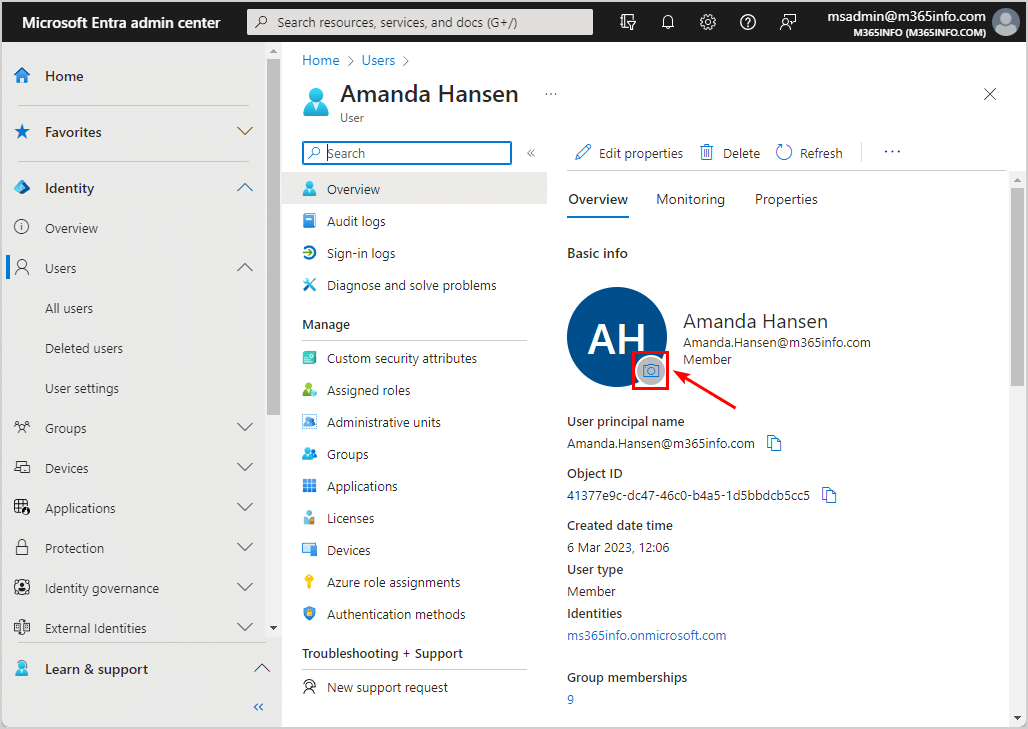
- Click on a user
- Click on the camera icon
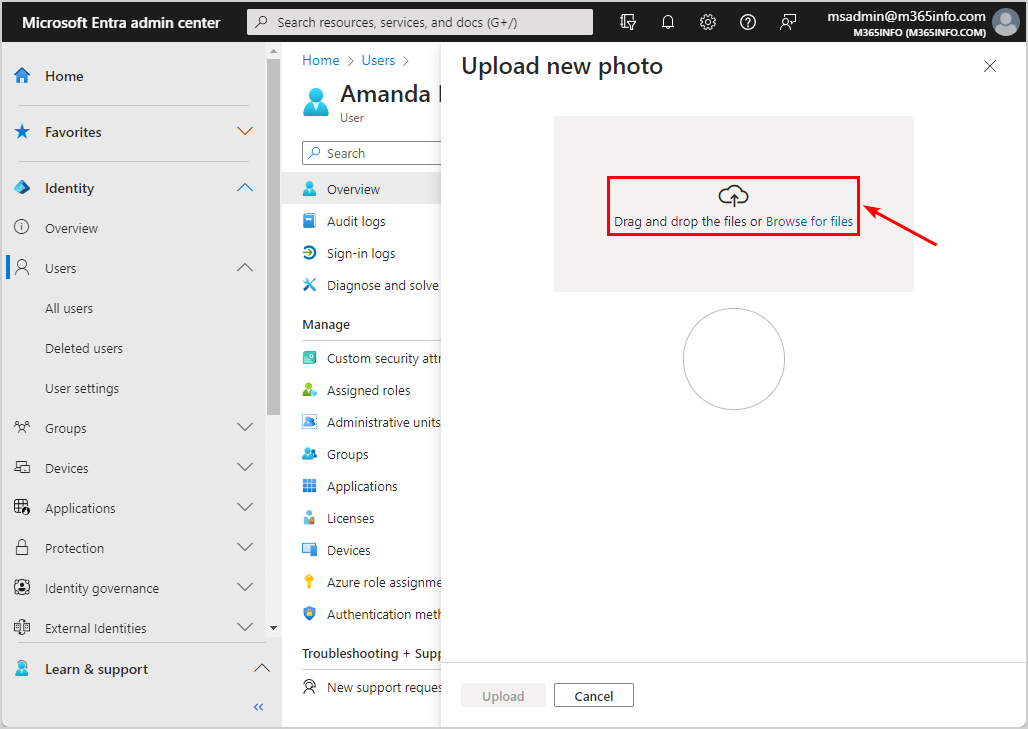
- Drag and drop the files or Browse for files
- Click Upload
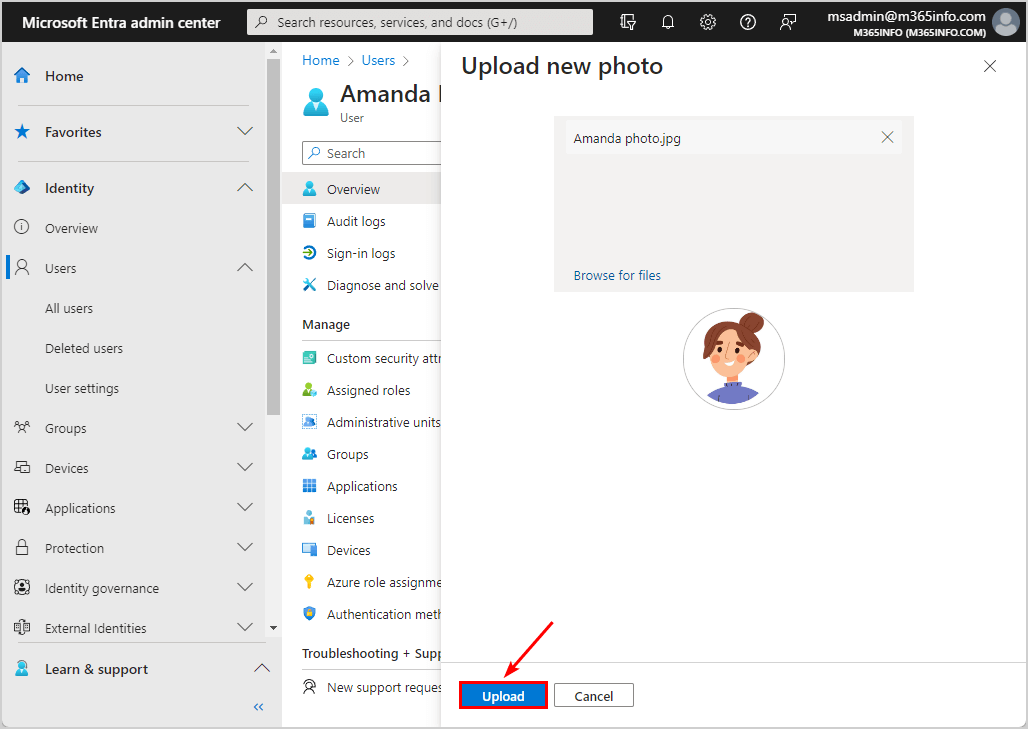
- You have successfully uploaded user profile photo for Amanda Hansen
If you want to upload multiple user photos, it takes time to do this in Microsoft Entra admin center. The fastest and most accurate way to upload photos in bulk is to use PowerShell.
In the next steps, we will show you how to get, download, set, and remove user photos in bulk.
Connect to Microsoft Graph PowerShell
Before you start, you must Install the Microsoft Graph PowerShell module.
Start Windows PowerShell as administrator and run the below command.
Install-Module Microsoft.Graph -ForceImportant: Always install the latest Microsoft Graph PowerShell module version before you run a cmdlet or script to prevent errors and incorrect results.
Run the Connect-MgGraph cmdlet with the below scopes to authenticate with Microsoft Graph.
Connect-MgGraph -Scopes "User.ReadWrite.All"Now that you are all set, you can use the commands with Microsoft Graph PowerShell.
Get user photo with PowerShell
You need to use the Get-MgUserPhoto PowerShell cmdlet to see if a user account has a photo uploaded. It will display the user’s photo properties.
Get user photo for a single account
To get the user photo for a single account, you need to provide the user ID.
Run the below PowerShell command.
Get-MgUserPhoto -UserId "0f38d53f-cbe0-4844-86e9-1032a45ba31b"The PowerShell output result shows the user photo dimensions in pixels.
Id      Height Width
--      ------ -----
default 855    740
If the user has no profile photo, you will get the below error.
Get-MgUserPhoto_Get: Exception of type 'Microsoft.Fast.Profile.Core.Exception.ImageNotFoundException' was thrown.

Status: 404 (NotFound)
ErrorCode: ErrorEntityNotFound
Date: 2023-12-13T21:14:21

Headers:
Transfer-Encoding             : chunked
Vary                          : Accept-Encoding
Strict-Transport-Security     : max-age=31536000
request-id                    : da195fb5-bc40-403b-b913-5e29686f5a36
client-request-id             : 7547fa3b-973f-4366-baf9-846c8d177d2b
x-ms-ags-diagnostic           : {"ServerInfo":{"DataCenter":"West Europe","Slice":"E","Ring":"5","ScaleUnit":"004","RoleInstance":"AM2PEPF0001E31A"}}
Date                          : Thu, 21 Dec 2023 11:27:00 GMT
The user photo requirements:
- Resolution: Unlimited (tested with 10.000 x 10.000 pixels)
- Size: max. 4 MB
- File: supports PNG, JPEG, JPG, BMP
If the size is larger than 4 MB, you should compress the picture. Do not use any online tool, as some save the pictures on their server. Use a local or other secure tool so that your images remain private when you upload them to their website.
Get bulk all user photos
To get all the user properties photos, run the below PowerShell script.
- Specify the file path in line number 2
# Set CSV file path to save the results
$CSVPath = "C:\temp\PhotosStatus.csv"
# Connect with privileges
Connect-MgGraph -Scopes "User.ReadWrite.All"
$users = Get-MgUser -All
$results = foreach ($user in $users) {
$photo = Get-MgUserPhoto -UserId $user.Id -ErrorAction SilentlyContinue
$photoSet = ![string]::IsNullOrEmpty($photo)
$height = if ($photoSet) { $photo.Height } else { $null }
$width = if ($photoSet) { $photo.Width } else { $null }
[PSCustomObject]@{
UserPrincipalName = $user.UserPrincipalName
PhotoSet = $photoSet
Height = $height
Width = $width
}
}
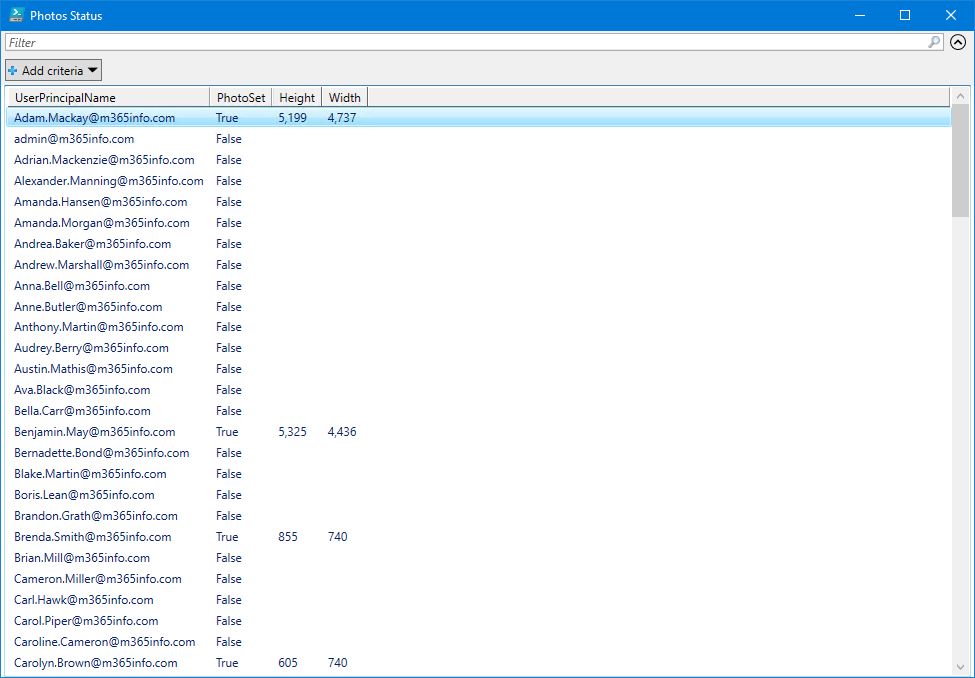
$results | Sort-Object UserPrincipalName | Out-GridView -Title "Photos Status"
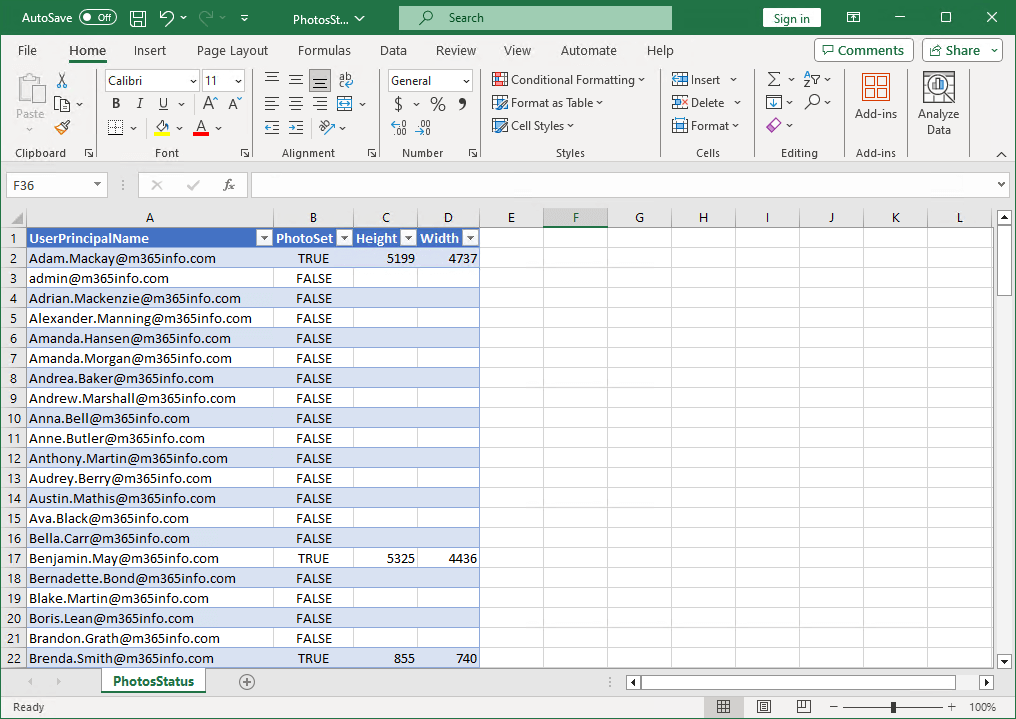
$results | Sort-Object UserPrincipalName | Export-Csv -Path "$CSVPath" -NoTypeInformation -Encoding UTF8This will output the photo properties results in an Out-GridView.
It will also export the photo properties results to CSV file in C:\temp. Open the CSV file with Microsoft Excel to see the results.
Download user photo with PowerShell
You need to use the Get-MgUserPhotoContent PowerShell cmdlet to download the user photo.
Download user photo for a single account
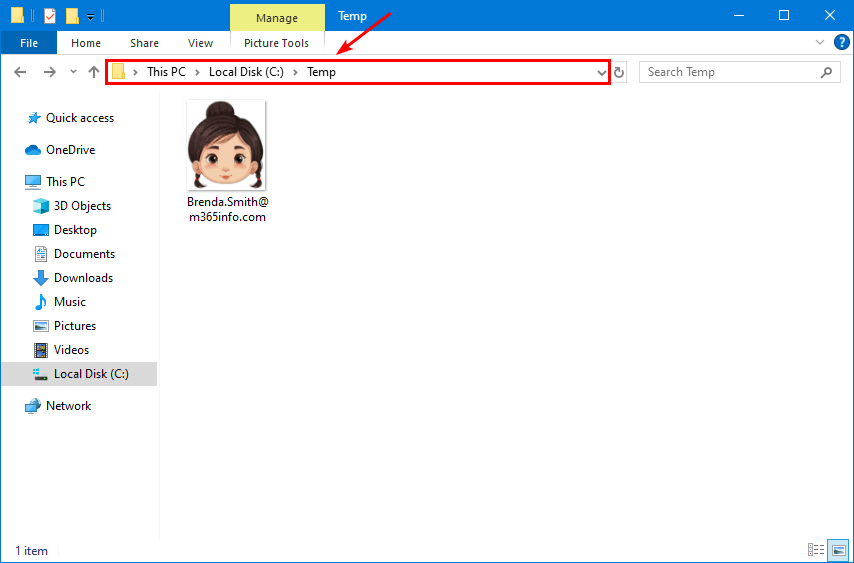
We want to download the user photo of Brenda Smith. So, we must provide a path in the -OutFile parameter. In our example, we will use the C:\temp folder, followed by the UserPrincipalName, to avoid errors.
Run the below PowerShell command.
Get-MgUserPhotoContent -UserId "0f38d53f-cbe0-4844-86e9-1032a45ba31b" -OutFile "C:\temp\Brenda.Smith@m365info.com.png"It will download the picture to the path you provided.
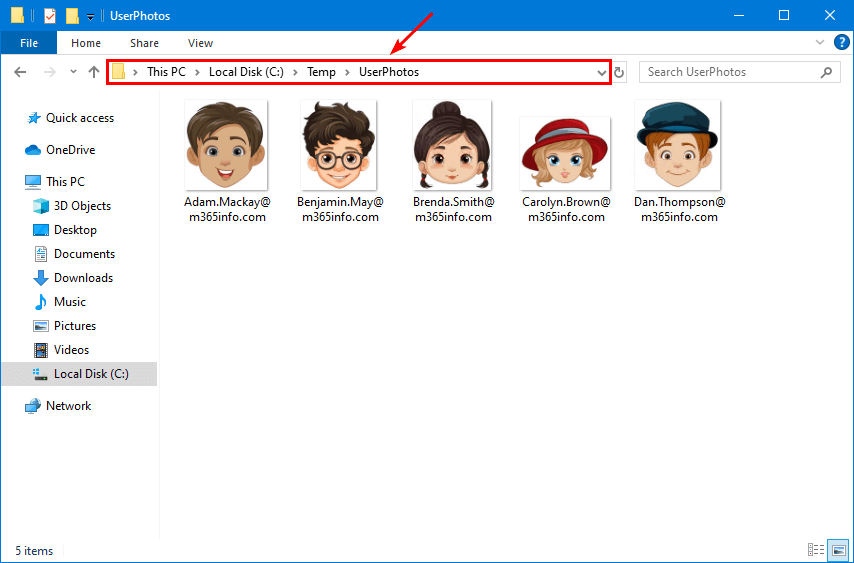
Download bulk all user photos
You can download all the user photos to a folder, where each image will be named with the UserPrincipalName attribute.
Follow the below steps to bulk download all user photos:
- Create a new folder in C:\temp and name it UserPhotos
- Specify the path in line number 2
- Specify which type of file you want to download the images (png, jpg, jpeg or bmp) after $userUPN. in line number 20
- Run the below PowerShell script
# Specify the folder path where the user photos will be saved
$photoFolderPath = "C:\temp\UserPhotos"

# Connect with privileges
Connect-MgGraph -Scopes "User.ReadWrite.All"

# Get all Entra ID accounts
$users = Get-MgUser -All

# Iterate over each user in the $users collection
foreach ($user in $users) {
    $userId = $user.Id
    $userUPN = $user.UserPrincipalName

    # Check if user photo content is available
    $photo = Get-MgUserPhoto -UserId $userId -ErrorAction SilentlyContinue

    if ($photo -ne $null) {
        # Construct the path to save the user's photo using the Join-Path cmdlet
        $photoPath = Join-Path $photoFolderPath "$userUPN.png"

        # Download the user's photo
        $userPhotoContent = Get-MgUserPhotoContent -UserId $userId -OutFile $photoPath -ErrorAction SilentlyContinue

        if ($userPhotoContent -eq $null) {
            Write-Host "Photo downloaded for user: $userUPN" -ForegroundColor Green
        }
    }
    else {
        Write-Host "Photo not found for user: $userUPN" -ForegroundColor Yellow
    }
}
It will download all the user photos in the folder you provided.
Set user photo with PowerShell
Let’s look at how to set or change the user photo of a single user and multiple user accounts.
To set or replace the user photo with PowerShell, we will use the Set-MgUserPhotoContent cmdlet.
Note: When you run the Set-MgUserPhotoContent cmdlet, and there is already a user photo present, it will overwrite that photo.
Set user photo for a single account
To set the user photo for a single user account, you need to specify the path of the picture.
We want to set the user photo of Brenda Smith. So, we must provide a path in the -InFile parameter. In our example, we will use the C:\temp folder, followed by the UserPrincipalName, to avoid errors.
Run the below PowerShell command.
Set-MgUserPhotoContent -UserId "0f38d53f-cbe0-4844-86e9-1032a45ba31b" -Infile "C:\temp\Brenda.Smith@m365info.com.png"It will set or replace the user photo in Microsoft Entra.
Set user photo for multiple accounts
We will show you how to set user photos for multiple user accounts. This script allows you to change multiple user photos without creating a CSV file.
Follow the below steps to change multiple user photos:
- Create a new folder in C:\temp and name it UserPhotos
- Save all the user images you want to update in the folder UserPhotos
- Name each user photo with the UserPrincipalName

- Specify the path for the user images in line number 2
- Run the below PowerShell script
# Specify the folder path where the user photos will be saved
$PhotoLocation = "c:\temp\UserPhotos\"

# Connect with privileges
Connect-MgGraph -Scopes "User.ReadWrite.All"

if (!(Test-Path ($PhotoLocation))) {
    Write-Host "Can't find $PhotoLocation - Double check the user photos folder path"; break
}
$i = 0

# Get all Entra ID accounts
$Users = Get-MgUser -All

$ProgDelta = 100 / ($Users.Count); $CheckCount = 0; $UserNumber = 0
ForEach ($User in $Users) {
    $UserNumber++
    $UserStatus = $User.DisplayName + " [" + $UserNumber + "/" + $Users.Count + "]"
    Write-Progress -Activity "Updating photo for" -Status $UserStatus -PercentComplete $CheckCount
    $CheckCount += $ProgDelta
    $UserPhoto = $PhotoLocation + $User.UserPrincipalName
    $UserPhotoExtensions = @(".png", ".jpg", ".jpeg", ".bmp")
    $UserPhotoPath = $UserPhotoExtensions | Where-Object { Test-Path ($UserPhoto + $_) } | Select-Object -First 1
    if ($UserPhotoPath) {
        # Update the photo
        Write-Host "Updating photo for" $User.UserPrincipalName -ForegroundColor Green
        Set-MgUserPhotoContent -UserId $User.Id -Infile ($UserPhoto + $UserPhotoPath)
        $i++
    }
    else {
        Write-Host "No photo available for" $User.UserPrincipalName
    }
}
Write-Host "All done. $i User Photos updated" -ForegroundColor Green
Remove user photo with PowerShell
Let’s look at how to delete the user photo of a single user and multiple user accounts.
To remove the user photo with PowerShell, we will use the Remove-MgUserPhoto cmdlet.
Remove user photo for a single account
To remove the photo for a single user account, you need to specify the user ID.
Run the below PowerShell command.
Remove-MgUserPhoto -UserId "0f38d53f-cbe0-4844-86e9-1032a45ba31b" -Confirm:$FalseRemove bulk all user photos
To bulk remove all user photos, run the below PowerShell script.
# Get all Entra ID accounts
$users = Get-MgUser -All

# Iterate over each user profile in the $users collection
foreach ($user in $users) {
    $userId = $user.Id
    $userUPN = $user.UserPrincipalName

    # Check if user photo is available
    $userPhoto = Get-MgUserPhoto -UserId $userId -ErrorAction SilentlyContinue

    if ($userPhoto -ne $null) {
        # Remove user photo if available
        Remove-MgUserPhoto -UserId $userId
        Write-Host "User photo removed for user: $userUPN" -ForegroundColor Green
    }
    else {
        Write-Host "User photo not available to remove from user: $userUPN" -ForegroundColor Yellow
    }
}
That’s it!
Read more: Update Azure AD users with Microsoft Graph PowerShell »
Conclusion
You learned how to manage user photos with Microsoft Graph PowerShell. It’s essential that you have the correct PowerShell commands or scripts to make the process easier. You can get, download, set, and remove user photos for a single user and bulk all users.
Did you enjoy this article? You may also like Restore Azure AD users with Microsoft Graph PowerShell. Don’t forget to follow us and share this article.
This was amazingly helpful! Could you help me rewrite this a little bit to just upload the photos for the members of a specific group? I need to find a way to upload profile photos to the members of the “All Students” group that don’t already have a photo. I don’t want to overwrite photos for any other users.
Thanks!
You should follow the “Set user photo for multiple accounts” section.