To connect to Microsoft Defender and Microsoft Purview compliance portal with PowerShell, you need to…
How to Use the New-ComplianceSearch PowerShell cmdlet
To search for specific emails and view mail items in Exchange Online, you need to use the compliance search feature. There are two methods of doing this: the New-ComplianceSearch cmdlet in PowerShell or the Microsoft Purview compliance portal. In this article, you will learn how to use the New-ComplianceSearch PowerShell cmdlet in Exchange Online.
Table of contents
New-ComplianceSearch PowerShell cmdlet
The New-ComplianceSearch PowerShell cmdlet lets us search for many options, such as a specific:
- Folder
- Mail item
- Date
- Sender
- Recipients
- Text string
- File type (attachment)
- Subject
Prerequisites assign permissions
Before you start, you need to assign the following permissions (Compliance Search, Search And Purge, Preview, Export) to the admin account. This will let you search mailboxes to view, export, and delete email messages.
Verify you have set the required permissions in Microsoft Purview to use the New-ComplianceSearch cmdlet with PowerShell.
To create a new role and assign permissions in Microsoft Purview portal, follow the below steps:
- Sign in to Microsoft Purview
- Click Roles & scopes > Permissions
- Click Microsoft Purview solutions > Roles
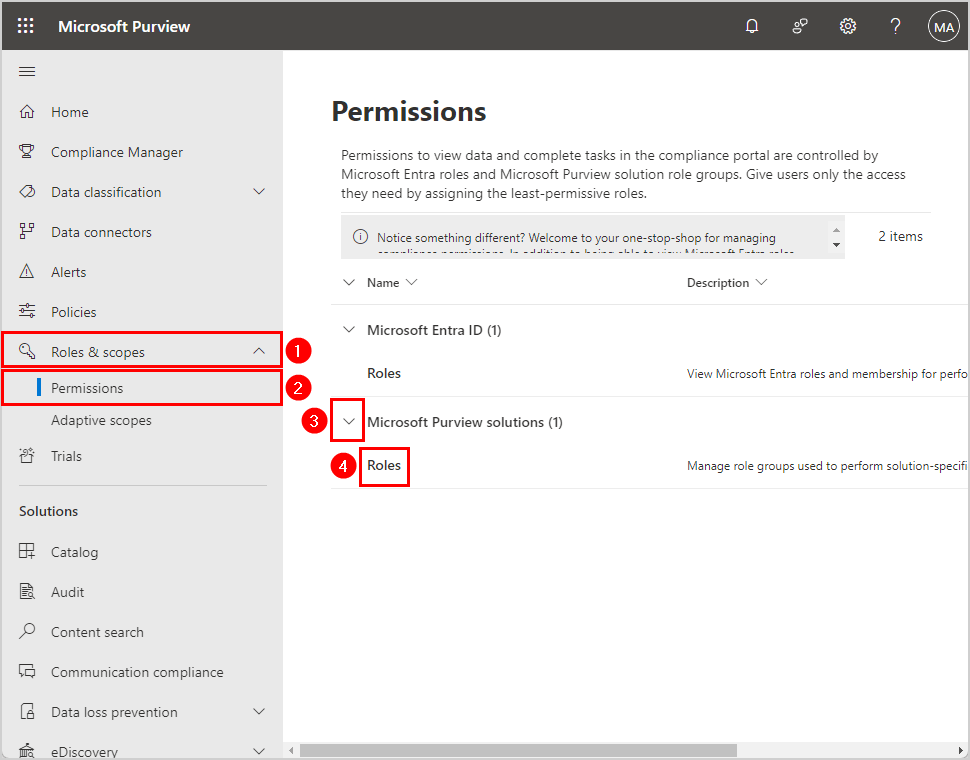
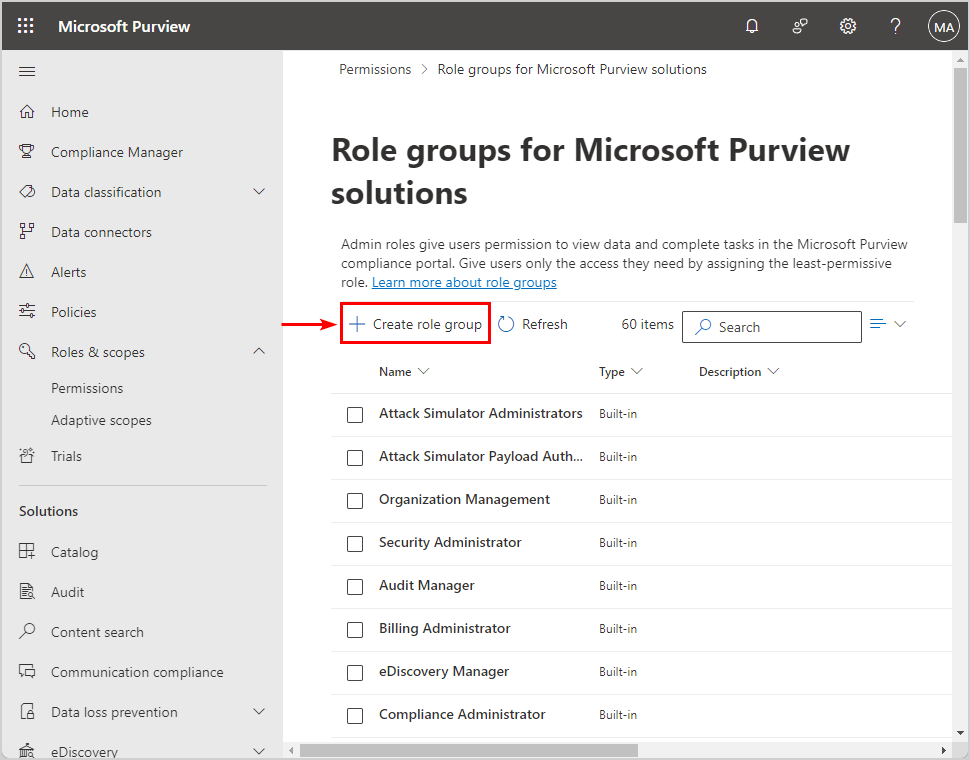
- Click Create role group
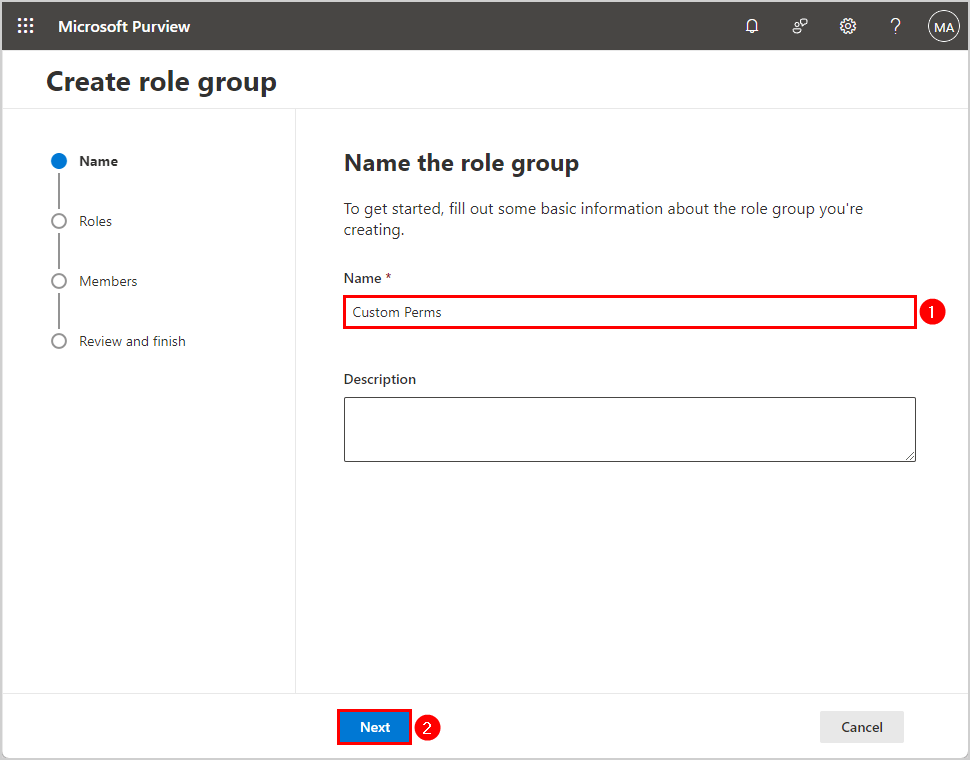
- Name the role group
- Click Next
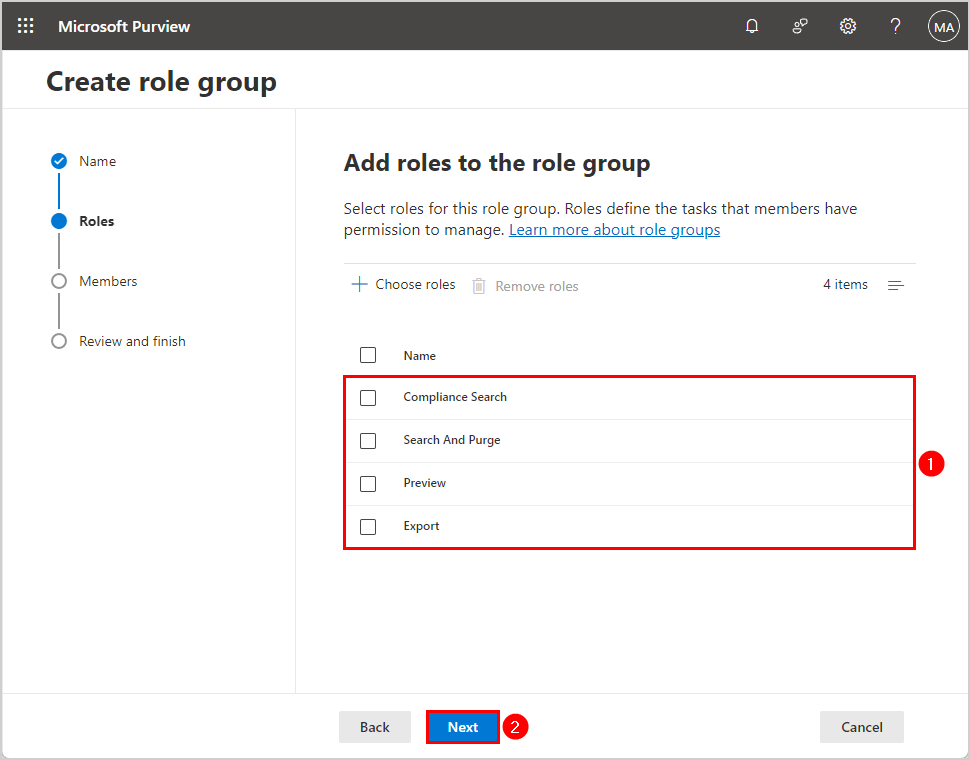
- Click Choose roles
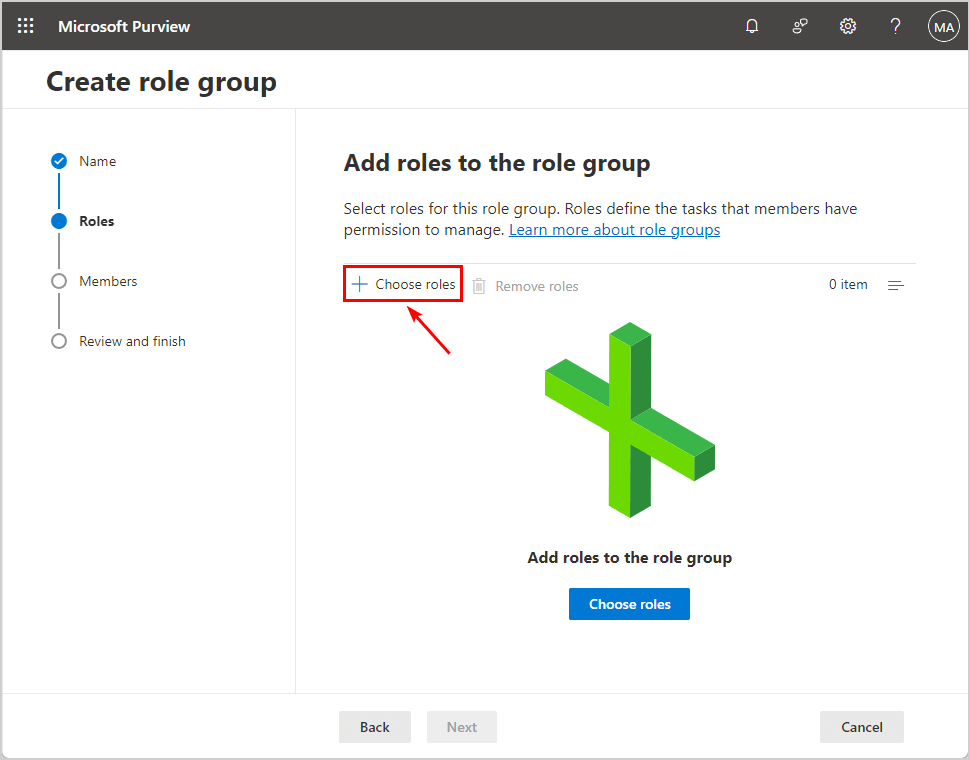
- Add these roles (Compliance Search, Search And Purge, Preview, Export)
- Click Next
- Click Choose users
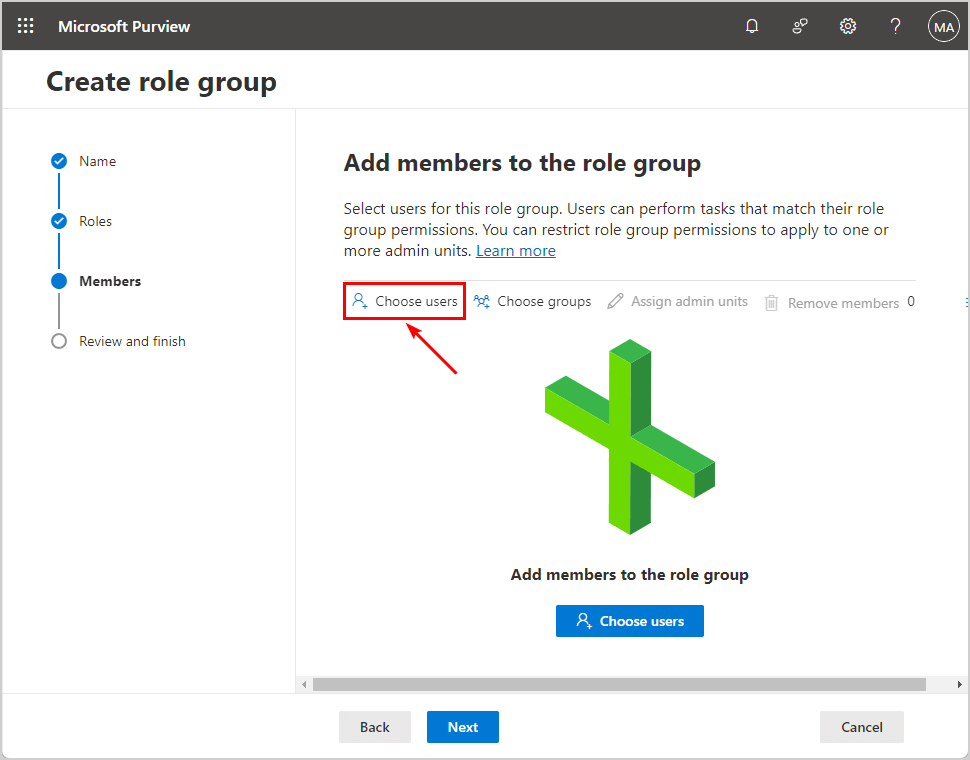
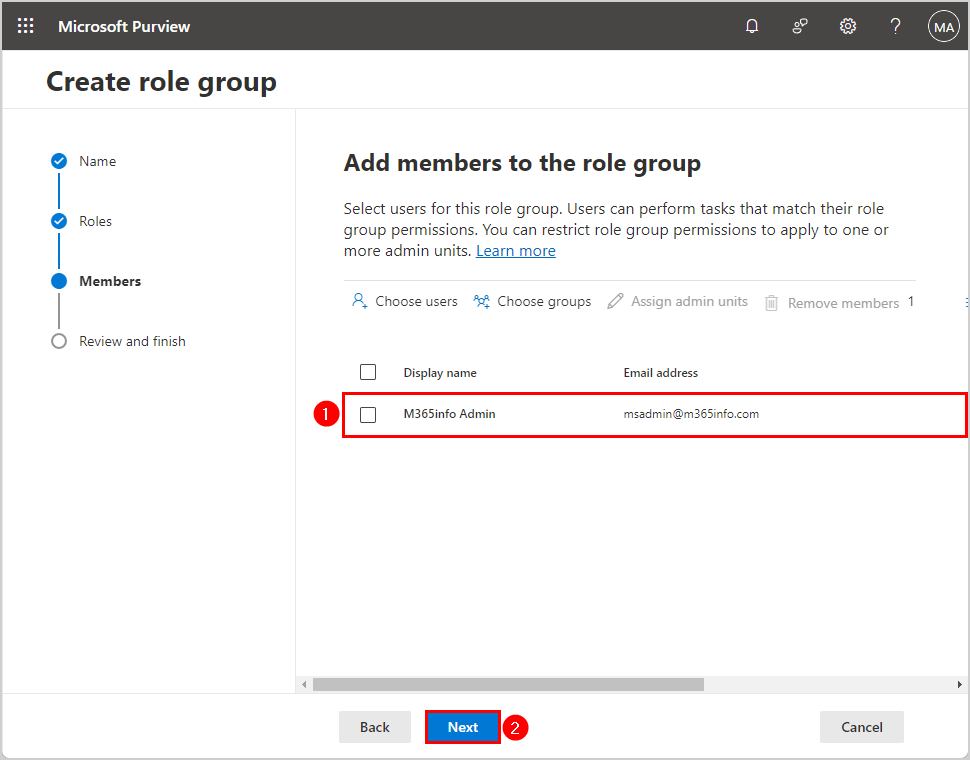
- Add the user
- Click Next
- Click Create
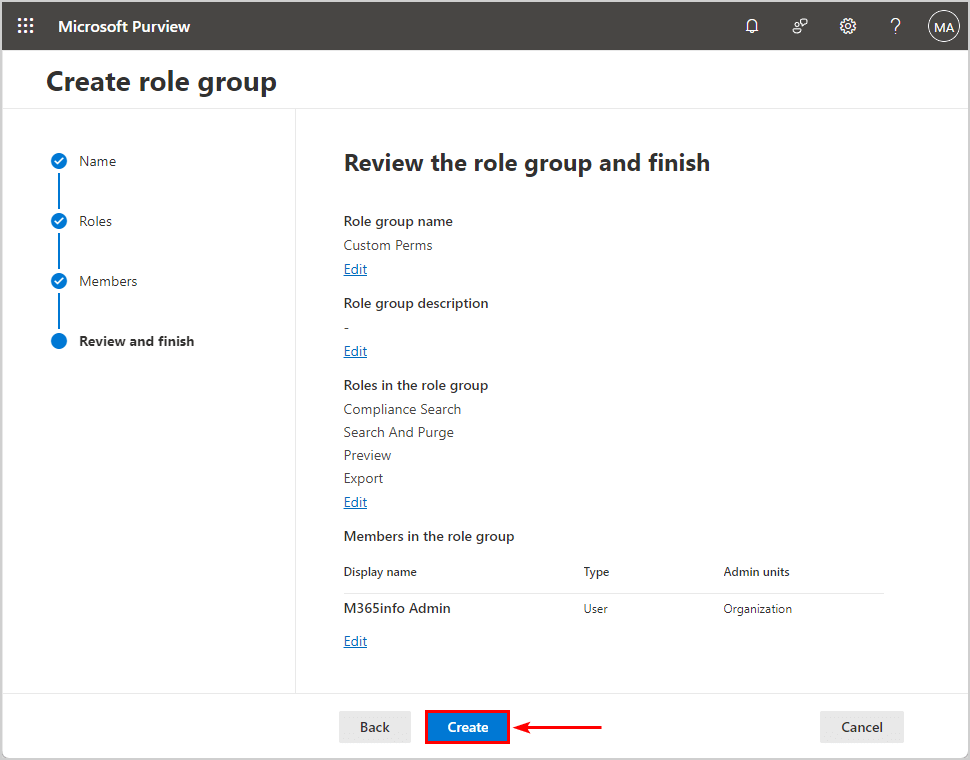
- Click Done
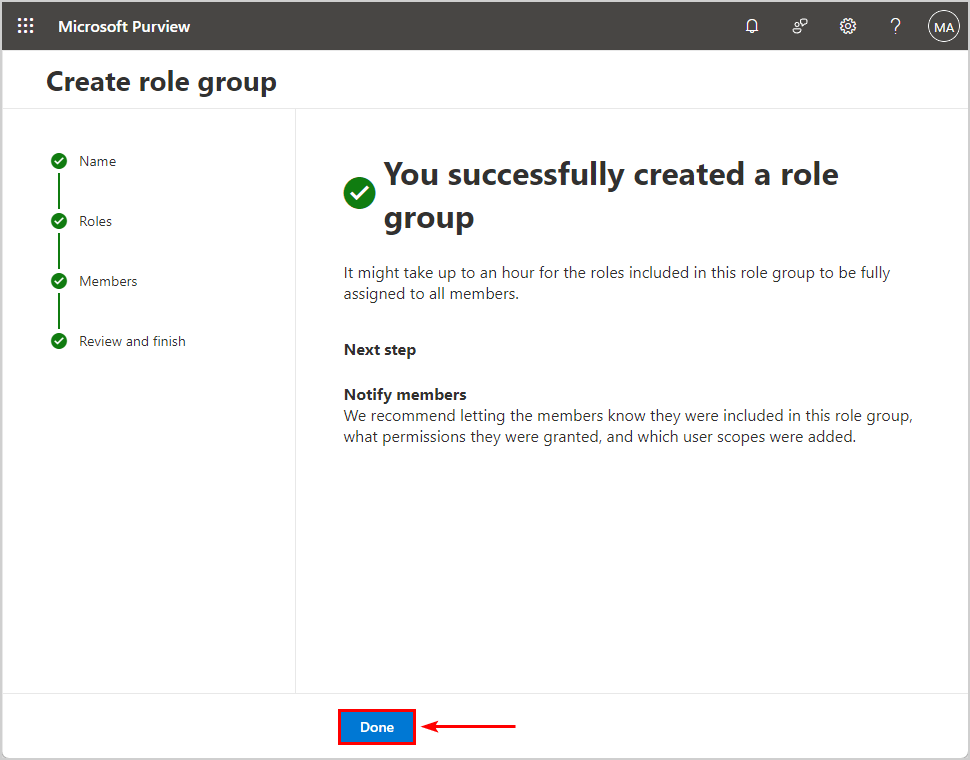
All the permissions are set now.
Note: It can take up to one hour for the permissions to be assigned to the user.
Connect to Exchange Online PowerShell
To be able to run the PowerShell commands specified in the current article, you will need to Connect to Exchange Online PowerShell.
Important: You need at least Exchange Online Management module version 3.2.0 installed on the system before you connect to the Microsoft Defender and Microsoft Purview compliance portal with the Connect-IPPSession cmdlet. Ensure you go through the article Install Exchange Online PowerShell module.
Start Windows PowerShell as administrator and run the cmdlet Connect-ExchangeOnline.
Connect-ExchangeOnlineThen you need to connect to the Microsoft Defender and Microsoft Purview compliance with the below cmdlet.
Connect-IPPSSessionNow that you are connected, you can start with the compliance search.
Compliance search examples with PowerShell
Let’s say you want to search for a specific email address or a subject. You can choose to mix and match both of them, by using the Comparison operators and Logical operators in PowerShell.
We will use the New-ComplianceSearch PowerShell cmdlet to search emails with the following parameters:
- -Name: Use any name you like to name this specific search
- -ExchangeLocation: Use the All value to search for all exchange mailboxes, or specify the users, groups, or teams
- -ContentMatchQuery: Use the query format KQL (Keyword Query Language) to specify the exact values to search for specific emails
Compliance search for specific mailboxes
To look for a specific user mailbox, you can use the below PowerShell command.
New-ComplianceSearch -Name "Test Mailbox" -ExchangeLocation "Amanda.Hansen@m365info.com"The PowerShell output result.
Name         RunBy JobEndTime Status
----         ----- ---------- ------
Test Mailbox                 NotStarted
In our example, we want to search for members in a specific distribution group.
Run the below PowerShell command.
New-ComplianceSearch -Name "Test Group" -ExchangeLocation "Finance1@m365info.com"The PowerShell output result.
Name       RunBy JobEndTime Status
----       ----- ---------- ------
Test Group                  NotStarted
Compliance search for specific date
To search mail items on a specific date, we need to use the -ContentMatchQuery PowerShell parameter.
Run the below PowerShell command.
New-ComplianceSearch -Name "Test SpecificDate" -ExchangeLocation "All" -ContentMatchQuery "Sent:2024-02-21"The PowerShell output result.
Name              RunBy JobEndTime Status
----              ----- ---------- ------
Test SpecificDate                  NotStarted
You can also search for the last couple of days, weeks, or months.
In our example we want to search all the mailboxes of the last month. Use the -ContentMatchQuery PowerShell parameter and specify both dates (sent:before date..now date).
Run the below PowerShell command.
New-ComplianceSearch -Name "Test Date" -ExchangeLocation "All" -ContentMatchQuery "Sent:2024-02-29..2024-03-30"The PowerShell output shows the below result.
Name      RunBy JobEndTime Status
----      ----- ---------- ------
Test Date                  NotStarted
Compliance search from a specific sender
You can search all the mail items sent from a specific sender.
Run the below PowerShell command.
New-ComplianceSearch -Name "Test Sender" -ExchangeLocation "All" -ContentMatchQuery "From:Alexus.Bardot@gmail.com"The PowerShell output shows the below.
Name        RunBy JobEndTime Status
----        ----- ---------- ------
Test Sender                 NotStarted
Compliance search sent to a specific recipient
We want to search all the mail items that are sent to a specific recipient.
Run the below PowerShell command.
New-ComplianceSearch -Name "Test Recipient" -ExchangeLocation "All" -ContentMatchQuery "To:Ken.Walker@m365info.com"The PowerShell result is shown below.
Name           RunBy JobEndTime Status
----           ----- ---------- ------
Test Recipient                  NotStarted
Compliance search for specific subject
You can search all the mail items that have a specific subject name.
Run the below PowerShell command.
New-ComplianceSearch -Name "Test Subject" -ExchangeLocation "All" -ContentMatchQuery "Subject:Meeting"PowerShell will show the below output.
Name         RunBy JobEndTime Status
----         ----- ---------- ------
Test Subject                  NotStarted
Now you have seen all these different examples to create a compliance search with PowerShell. Next, we will show you the steps to create, start, and get a new compliance search.
How to run Compliance Search cmdlet with PowerShell
To run a compliance search and get the results in PowerShell, follow the below steps:
1. Create new compliance search
In our example, a user in our organization received spam mail on a specific date. We want to find this specific spam mail with the PowerShell command below.
We will use the New-ComplianceSearch PowerShell cmdlet with the -ContentMatchQuery parameter and specify the recipient and date at the same time.
Run the below PowerShell command example.
New-ComplianceSearch -Name "Spam Mail" -ExchangeLocation All -ContentMatchQuery "(To:Amanda.Hansen@m365info.com) AND (Sent:2024-03-15)" The PowerShell output result.
Name      RunBy JobEndTime Status
----      ----- ---------- ------
Spam Mail                  NotStarted
2. Start compliance search
After you create a compliance search using the New-ComplianceSearch PowerShell cmdlet, you run the search using the Start-ComplianceSearch cmdlet.
Run the below PowerShell command to start the new search.
Start-ComplianceSearch -Identity "Spam Mail"3. Get compliance search
You can find the compliance searches you created and check the status with the Get-ComplianceSearch PowerShell cmdlet.
Run the below PowerShell command to view a specific compliance search.
Get-ComplianceSearch -Identity "Spam Mail"The PowerShell output shows the compliance search status Starting.
Name      RunBy          JobEndTime Status
----      -----          ---------- ------
Spam Mail M365info Admin            Starting
Note: Wait a few minutes for the compliance search to complete.
To check all the compliance searches you created, run the below PowerShell command.
Get-ComplianceSearchThe PowerShell output result shows all the compliance searches with their status.
Name                  RunBy          JobEndTime          Status
----                  -----          ----------          ------
Amanda Hansen mailbox M365info Admin 25/03/2024 23.21.46 Completed
Test Subject                                             NotStarted
Spam Mail             M365info Admin 30/03/2024 22.22.40 Completed
4. Export compliance search results
You can also view or export the compliance search results to a CSV file with PowerShell.
Get-ComplianceSearch -Identity "Spam Mail" | Format-ListTo export the results to a CSV file, you need to create a temp folder in the (C:) drive.
Get-ComplianceSearch -Identity "Spam Mail" | Export-Csv "C:\temp\Results.csv" -NoTypeInformation -Encoding utf8Open the CSV file with Microsoft Excel to see the results.
Content search in Microsoft Purview
In Microsoft Purview, you can also create and start a compliance search.
In our example, we have a spammer in our organization who uses a specific email address and subject. To find the spammer we want to search the mail items from this specific sender.
1. Create and start a new search in Microsoft Purview
To create a new email search in Microsoft Purview, follow these steps:
- Sign in to Microsoft Purview
- Click Content search
- Click the tab Search
- Click +
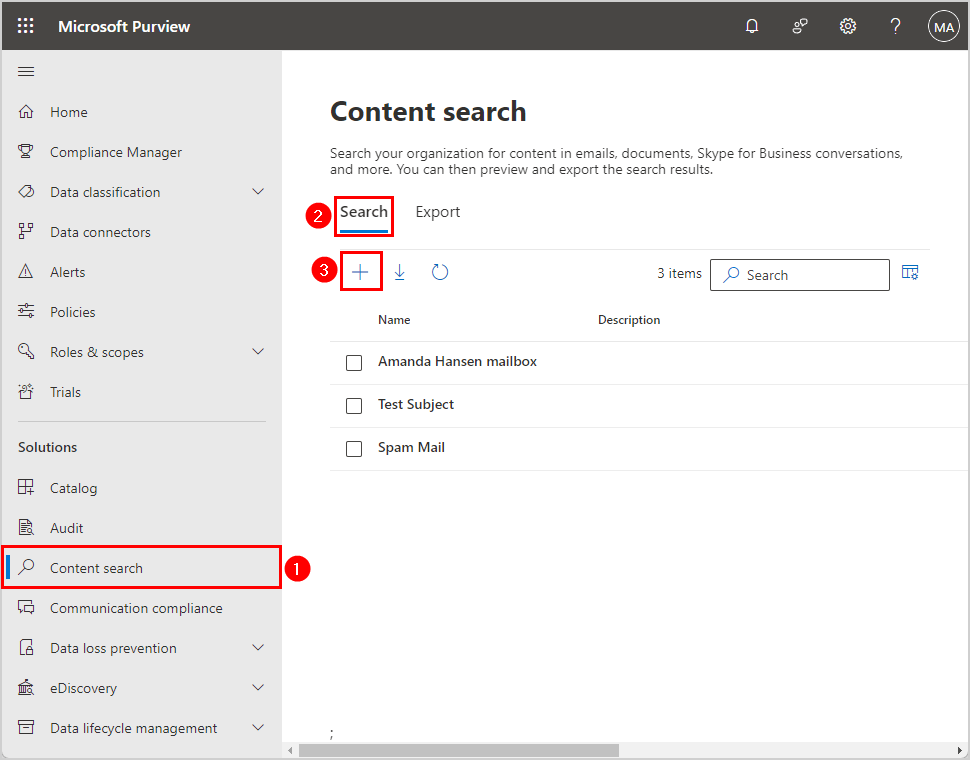
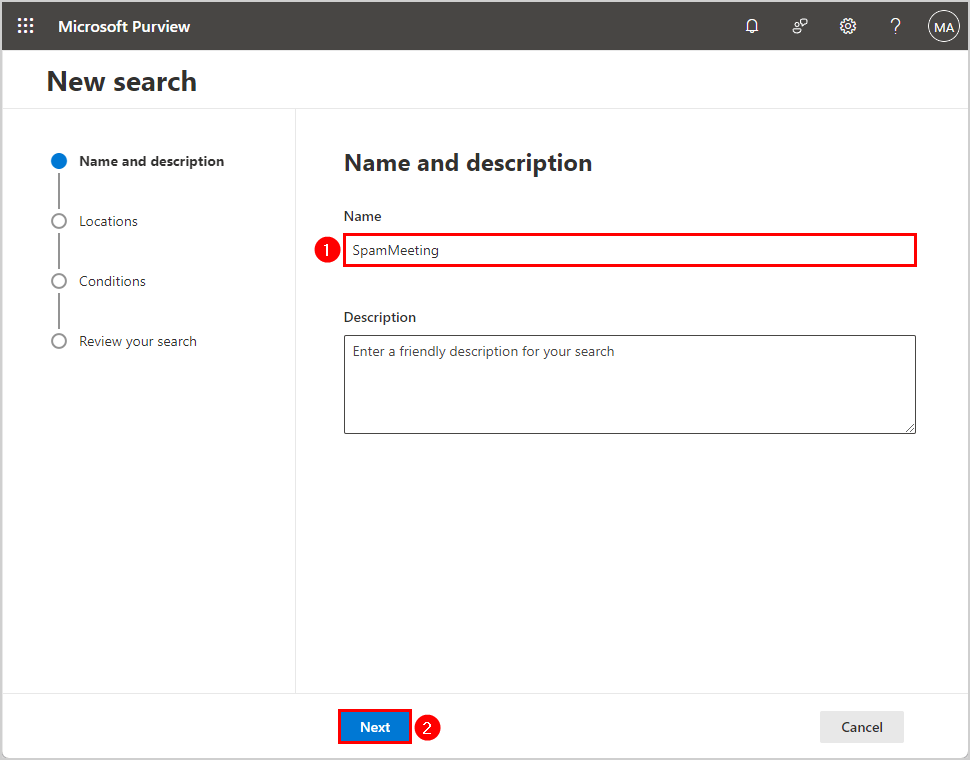
- Name the search
- Click Next
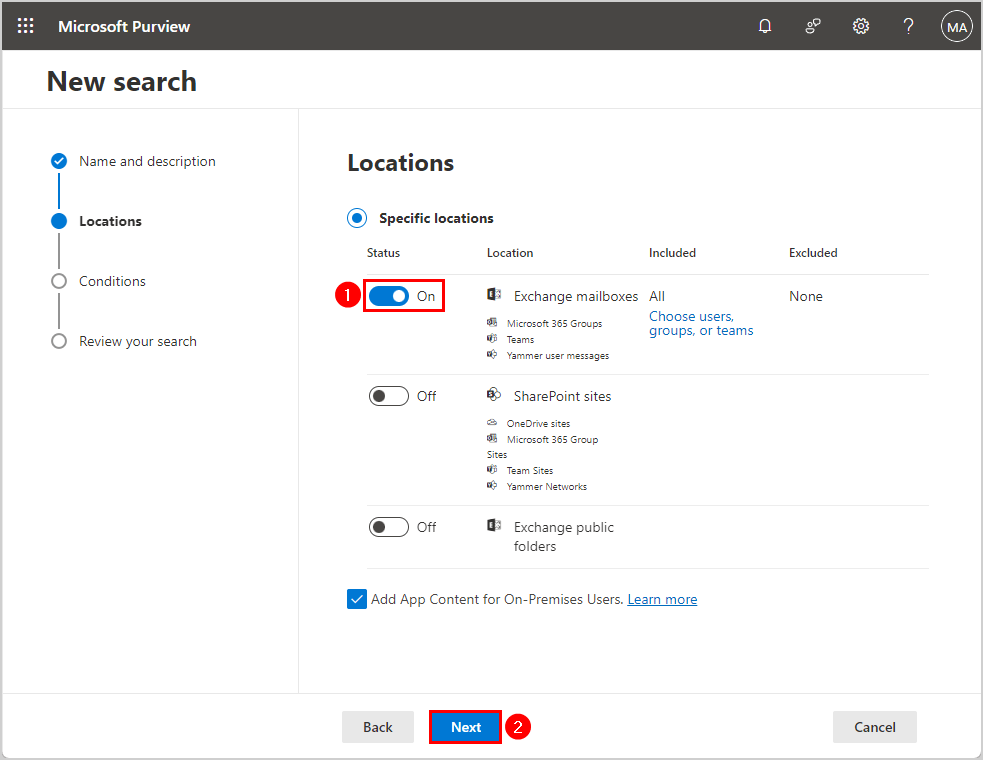
- Select status On > Exchange mailboxes
- Click Next
- Select Query builder
- Select Add condition > Sender/Author
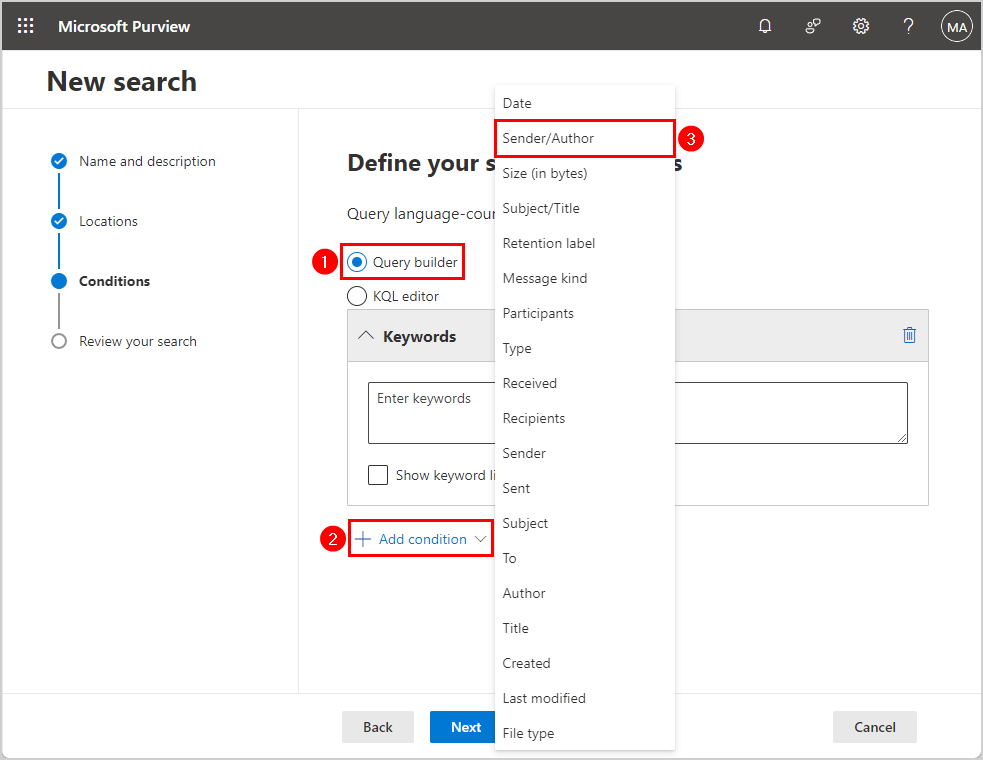
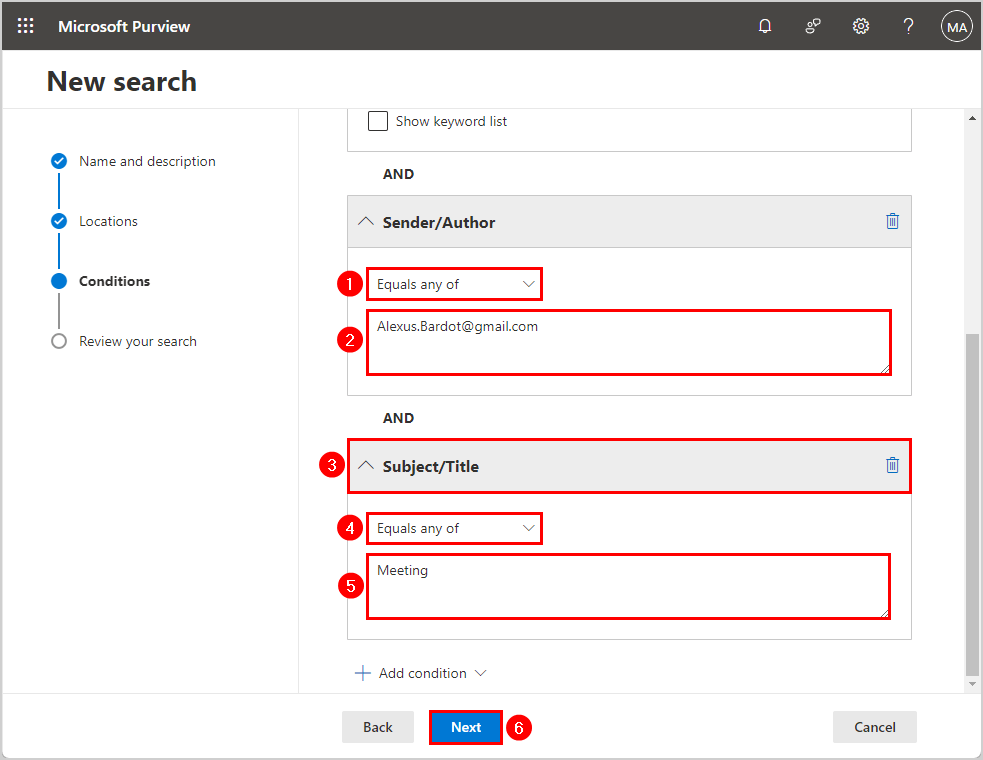
- Select Equals any of
- Type the sender
- Select Add condition > Subject/Title
- Select Equals any of
- Type the subject of the mail
- Click Next
- Click Submit
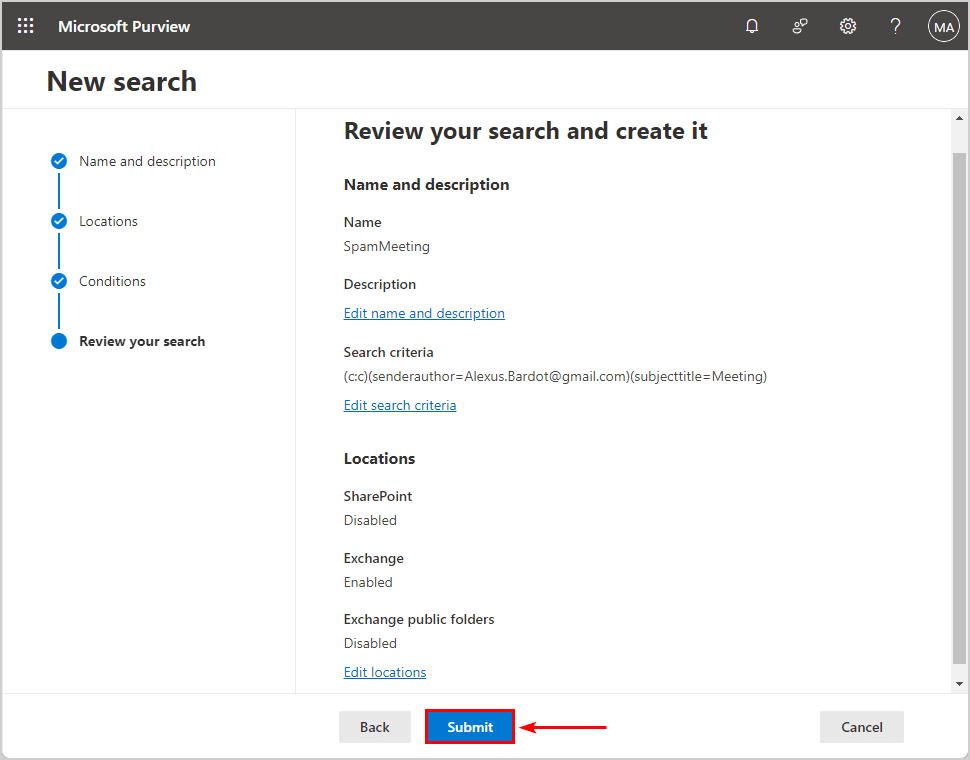
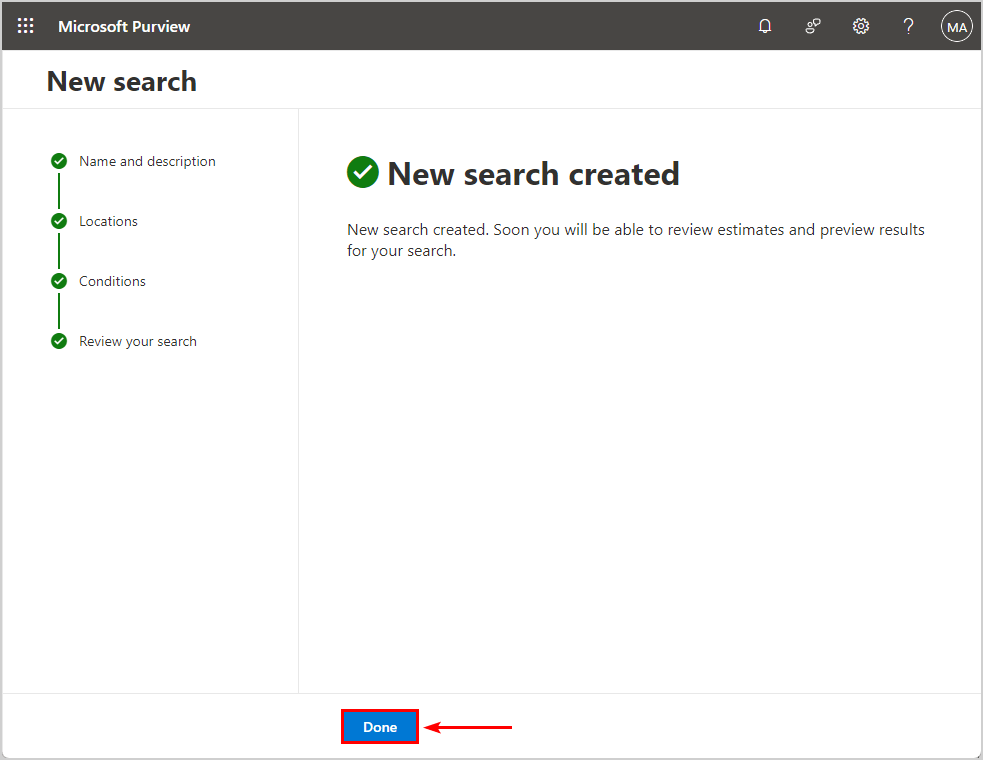
- Click Done
Note: It will automatically create and start the new search compliance.
In the next step, we will show you how to view the results of your search.
2. Get compliance search results in Microsoft Purview
To get and view the mail items in Microsoft Purview, follow these steps:
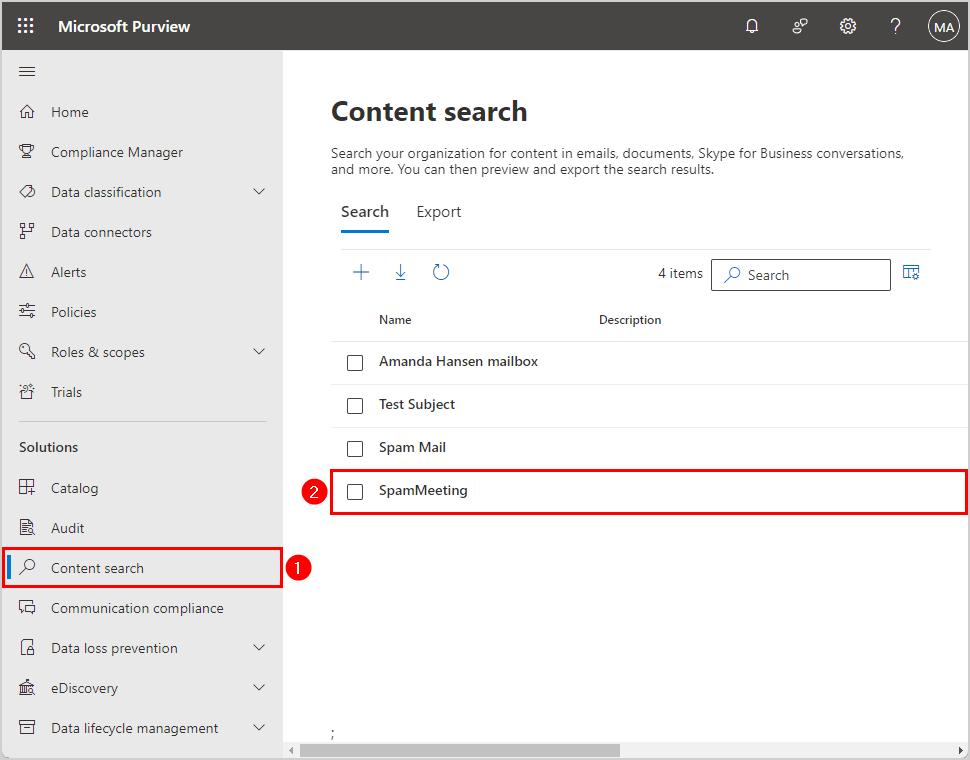
- Sign in to Microsoft Purview
- Click Content search
- Click the name of your search (SpamMeeting)

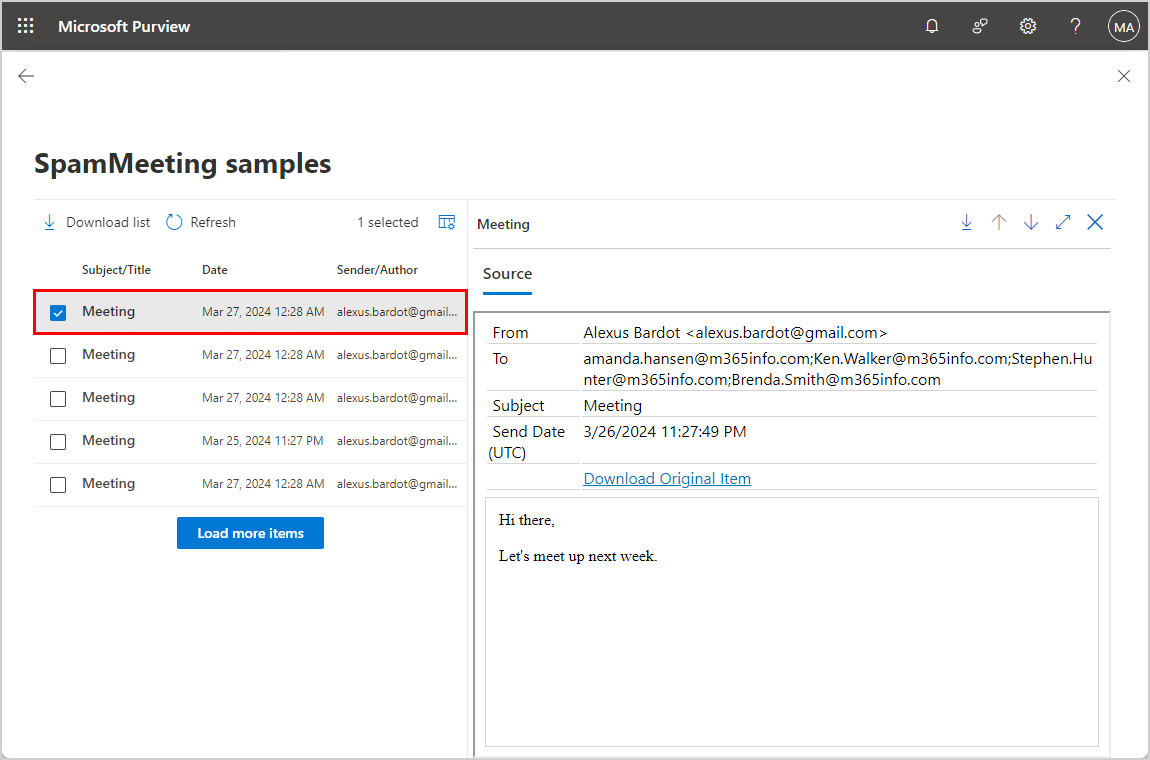
- Click Review sample
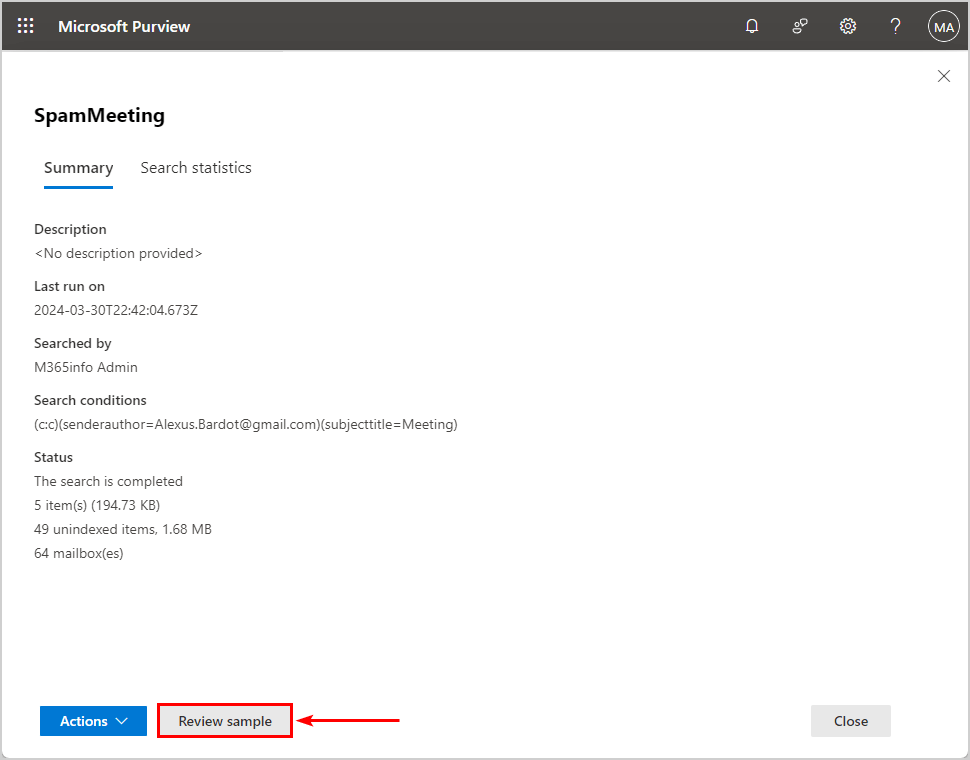
- Click on each mail item to see the message content
3. Export compliance search results
To export the compliance search results in Microsoft Purview, follow these steps:
- Sign in to Microsoft Purview
- Click Content search
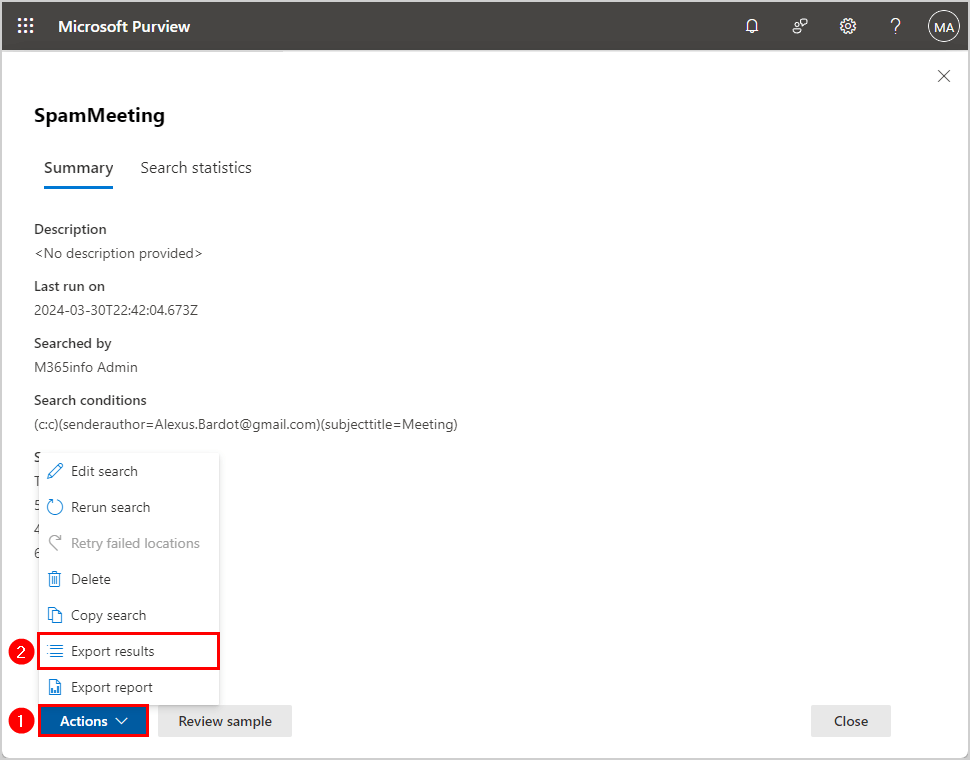
- Click the name of your search (SpamMeeting)
- Click Actions > Export results
- Select All items, excluding ones that have unrecognized format, are encrypted, or weren’t indexed for other reasons
- Select One PST file containing all messages
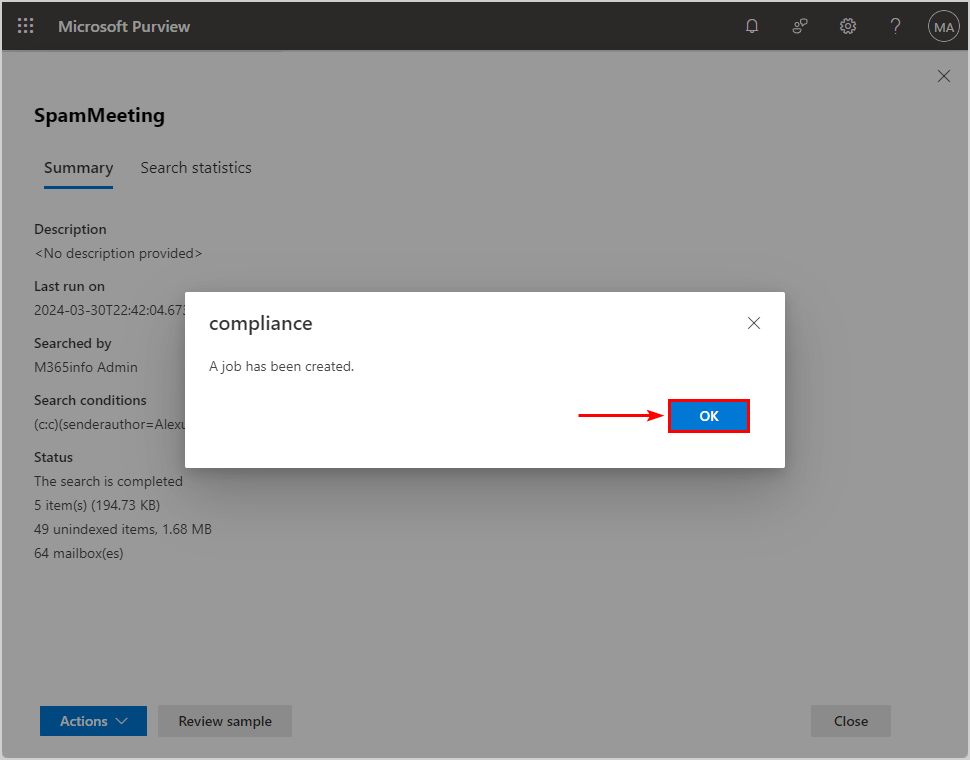
- Click Export
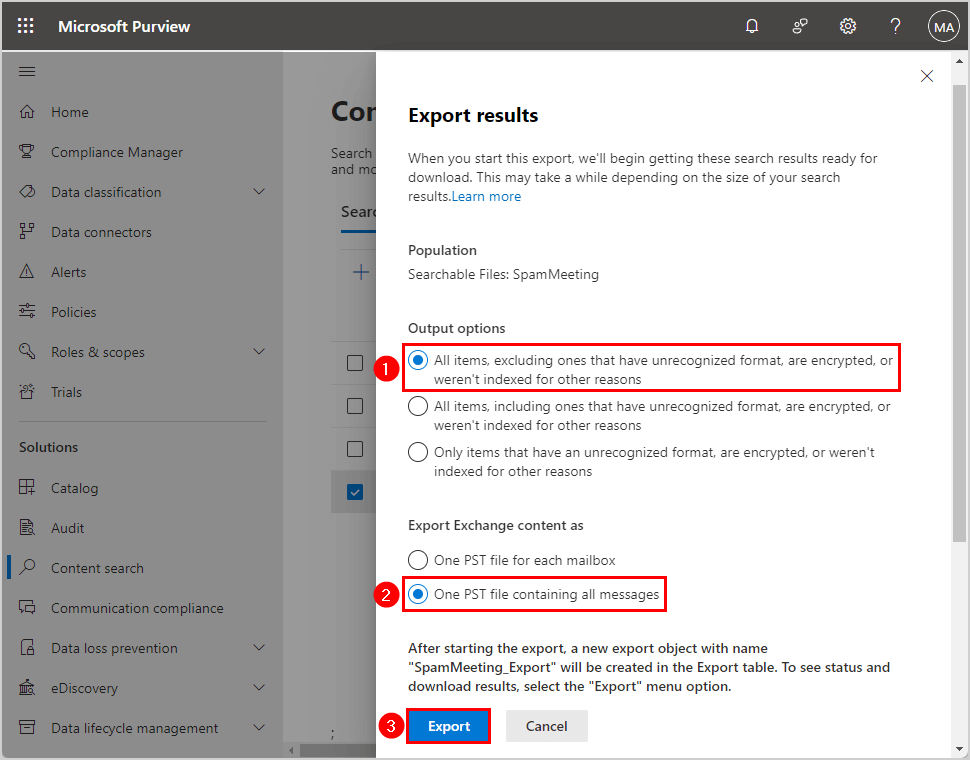
- Click OK
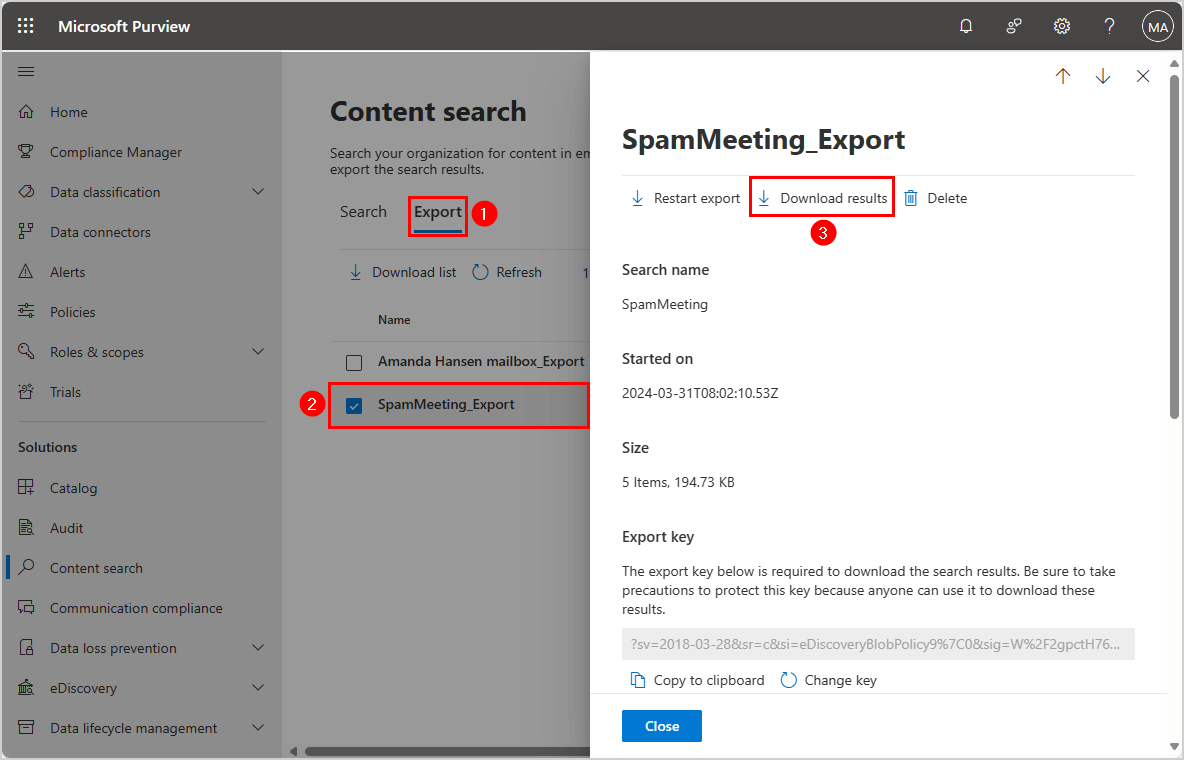
- Click the tab Export
- Click on the export name from the list
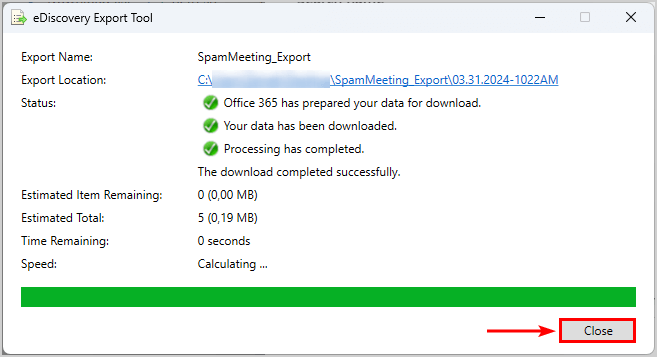
- Click Download results
Note: You need to use the Microsoft Edge browser to download the PST file report. Once you download it, you can open it as a CSV file.
- Click Copy to clipboard
- Paste the export key
- Browse the location to download the files
- Click Start
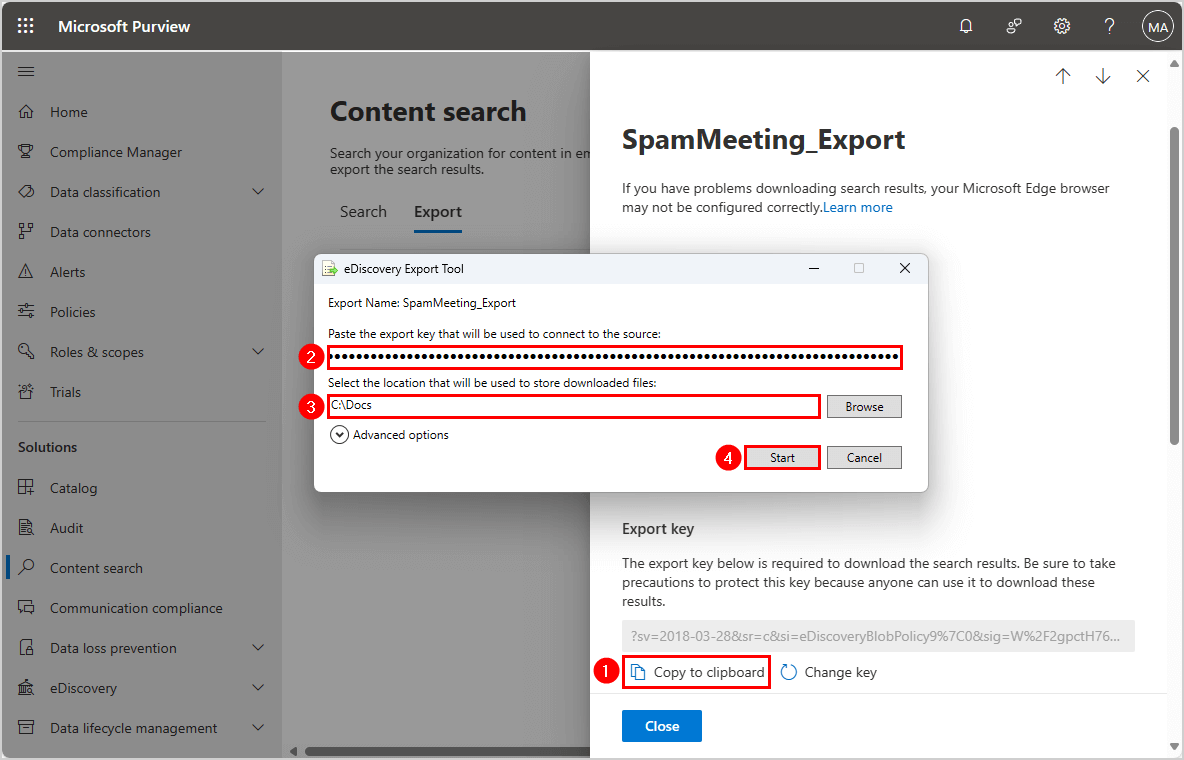
- Click Close
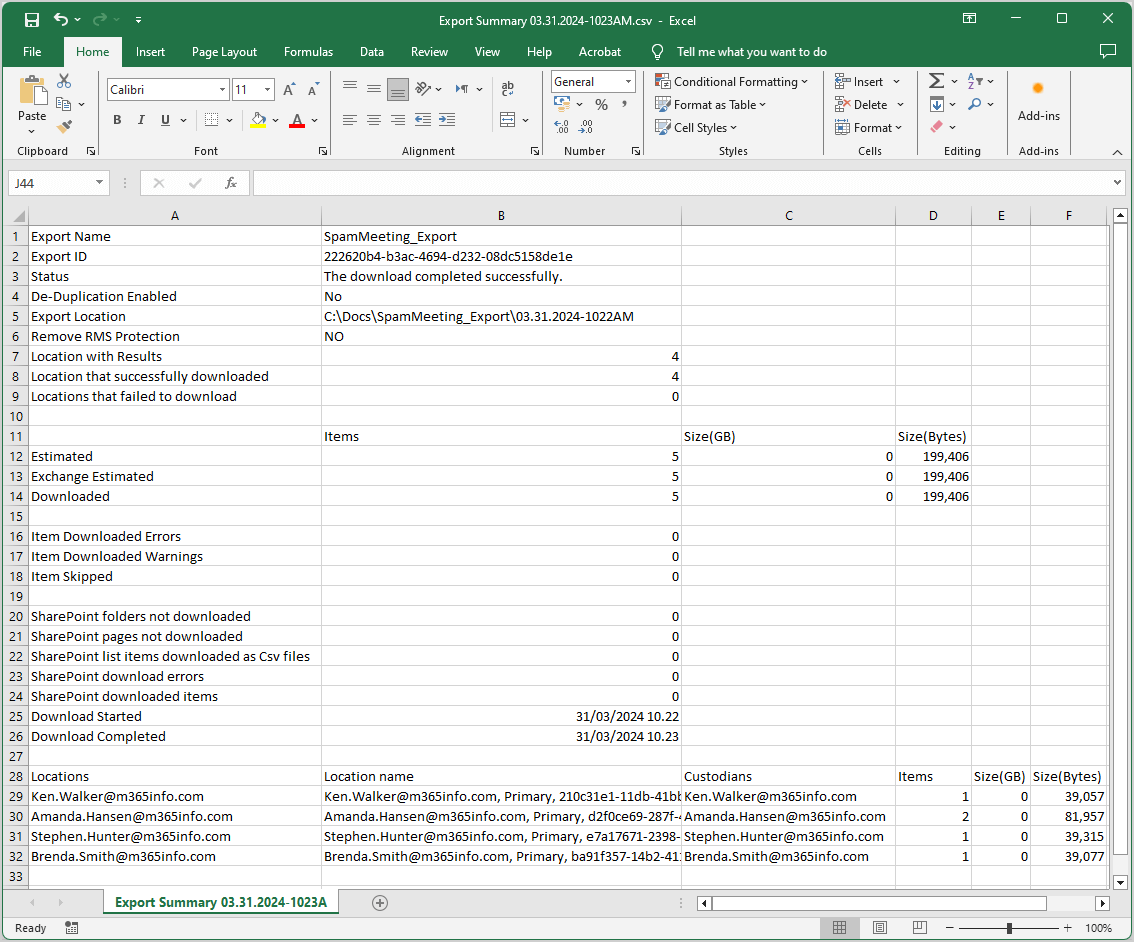
- Find the folder and open the CSV file to see the export results

- The CSV file shows the mail items and locations of the results
That’s it!
Read more: Exchange Online historical message trace report »
Conclusion
You learned how to use the New-ComplianceSearch PowerShell cmdlet. First, you need to assign permissions in Microsoft Purview. After that, you can create, view, and export compliance search results in Microsoft Purview compliance portal and PowerShell.
Did you enjoy this article? You may also like Get Message Trace in Exchange Online. Don’t forget to follow us and share this article.
This Post Has 0 Comments