A Microsoft 365 shared mailbox allows a group of two or more users to send…
Install Exchange Online PowerShell module
Some things can only be done in Exchange Online using PowerShell. With Exchange Online PowerShell, you can work remotely and manage features in the cloud. For example, create bulk mailboxes or create a specific report. Read this article to learn how to install the Exchange Online PowerShell module.
Table of contents
Exchange Online PowerShell module
The Exchange Online PowerShell module allows admins online access on remote computers. Once you connect to Exchange Online, you can get data, update, create, or remove objects in Microsoft 365 remotely.
In September 2022, Microsoft released version 3.0.0, which is known as the Exchange Online PowerShell V3 module (EXO V3 module).
Install Exchange Online PowerShell
We will guide you through the steps to install Exchange Online PowerShell module.
1. Set Execution Policy
First, we need to open PowerShell as administrator in Windows.
Run the below Powershell command.
Set-ExecutionPolicy RemoteSigned -ForceWarning: You must close the PowerShell window and reopen it to save the changes.
2. Install PowerShellGetModule
Open PowerShell as administrator in Windows again and run the below command.
Install-Module PowershellGet -Force3. Install Exchange Online Management Module
Run the below command to install Exchange Online Management Module.
Install-Module ExchangeOnlineManagement -ForceYou installed the Exchange Online PowerShell module successfully.
Connect to Exchange Online PowerShell V3
In this step, we will connect to Exchange Online with PowerShell.
Run the below command in PowerShell.
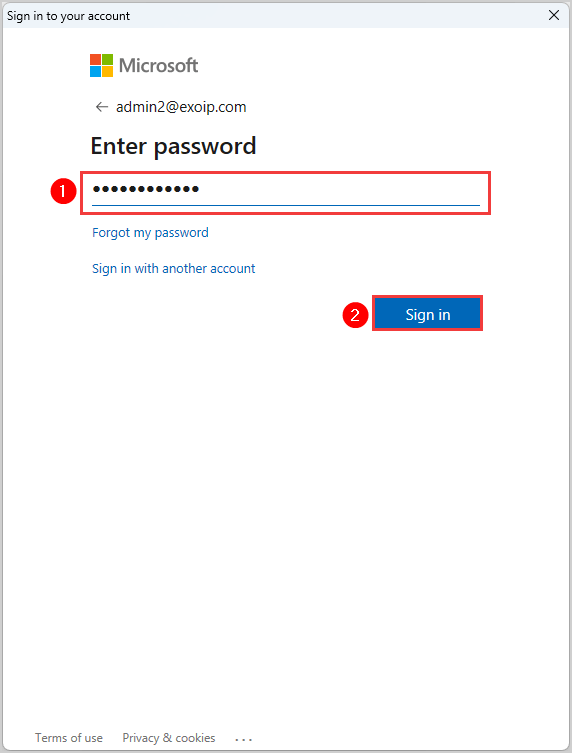
Connect-ExchangeOnline -UserPrincipalName admin@domain.comThe sign in to your account window appears, where you can enter the password and click Sign in.
If you have MFA enabled, you will get a verification code sent as a text message or to your Authentication app on your phone. If your MFA is disabled, you will not do anything here.
Now you must go back to the PowerShell window, where you will see this text.
----------------------------------------------------------------------------------------
This V3 EXO PowerShell module contains new REST API backed Exchange Online cmdlets which doesn't require WinRM for Client-Server
communication. You can now run these cmdlets after turning off WinRM Basic Auth in your client machine thus making it more secure.

Unlike the EXO* prefixed cmdlets, the cmdlets in this module support full functional parity with the RPS (V1) cmdlets.

V3 cmdlets in the downloaded module are resilient to transient failures, handling retries and throttling errors inherently.

However, REST backed EOP and SCC cmdlets are not available yet. To use those, you will need to enable WinRM Basic Auth.

For more information check https://aka.ms/exov3-module
----------------------------------------------------------------------------------------
If you don’t want to see this information and new commands, then you can use this below.
Run this command below to hide the text banner.
Connect-ExchangeOnline -UserPrincipalName admin@exoip.com -ShowBanner:$falseUpdate Exchange Online PowerShell module
Microsoft provides updates to the Exchange Online PowerShell module, and you should keep it up to date.
Note: If the update does not work, remove the Exchange Online PowerShell module and exit all PowerShell sessions. Next, start PowerShell and install the Exchange Online PowerShell module.
Update Exchange Online Management module with the below PowerShell command.
Update-Module ExchangeOnlineManagement -ForceThat’s it!
Conclusion
You managed to install Exchange Online PowerShell module. The next step is to connect to Exchange Online with PowerShell, whether you have MFA enabled or not. After verifying, you can use the new commands in PowerShell.
Did you enjoy this article? You may also like Enable message recall in Exchange Online. Don’t forget to follow us and share this article.
This Post Has 0 Comments