A guest is an external user in an organization that can share data from Microsoft…
How to Configure multitenant organization in Microsoft 365
When an organization collaborates with external tenants, it’s difficult to communicate with other users because they are considered external guests in Microsoft 365. Creating a multitenant organization allows the tenants to share users without merging the tenants. In this article, you will learn how to configure a multitenant organization in Microsoft 365.
Table of contents
Multitenant Organization in Microsoft 365
The multitenant organization (MTO) is a feature in Microsoft 365 that you can enable to create a tenant group and allow other tenants to join it.
The tenant who creates the multitenant organization is the owner, and the other tenants who join it are the members. Only the owner can make changes to the organization settings and invite or remove tenants from the organization. Each organization can only create one multitenant organization. The maximum number of active tenants is 100, including the owner tenant.
Configure the multitenant organization in Microsoft 365 to:
- Simplify cross-tenant collaboration in Microsoft 365
- Collaborate across tenants in Microsoft Teams, Viva Engage, Defender XDR, or People Search
The picture below shows how a multitenant organization collaborates with the other tenants.
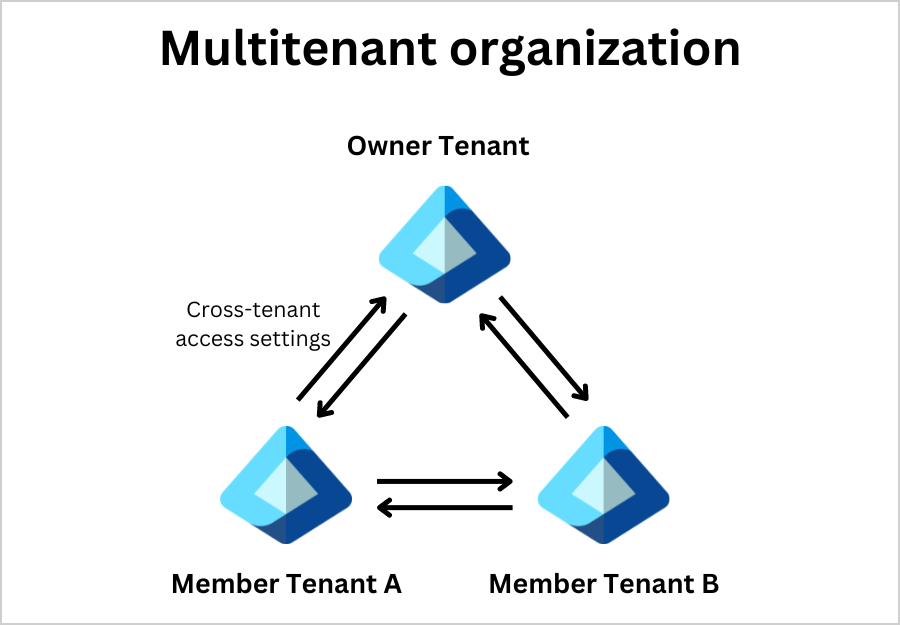
In the cross-tenant access settings, you can manage how the multitenant organization collaborates with other tenants in Microsoft Entra. It controls cross-tenant synchronization, where you can create, update, and delete B2B collaboration users across your multitenant organization.
To configure a multitenant organization, at least one employee of each tenant must have:
- Microsoft Entra ID P1 license
1. Create multitenant organization in Microsoft 365
Follow the below steps to create a new multitenant organization:
- Sign in to Microsoft 365 admin center
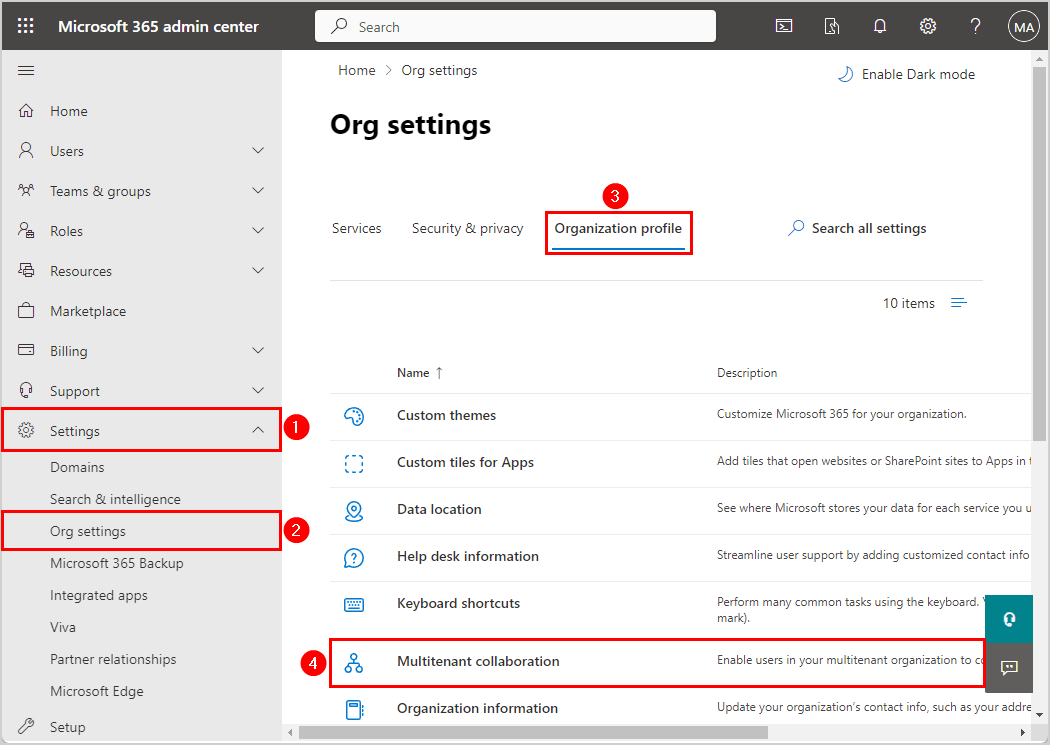
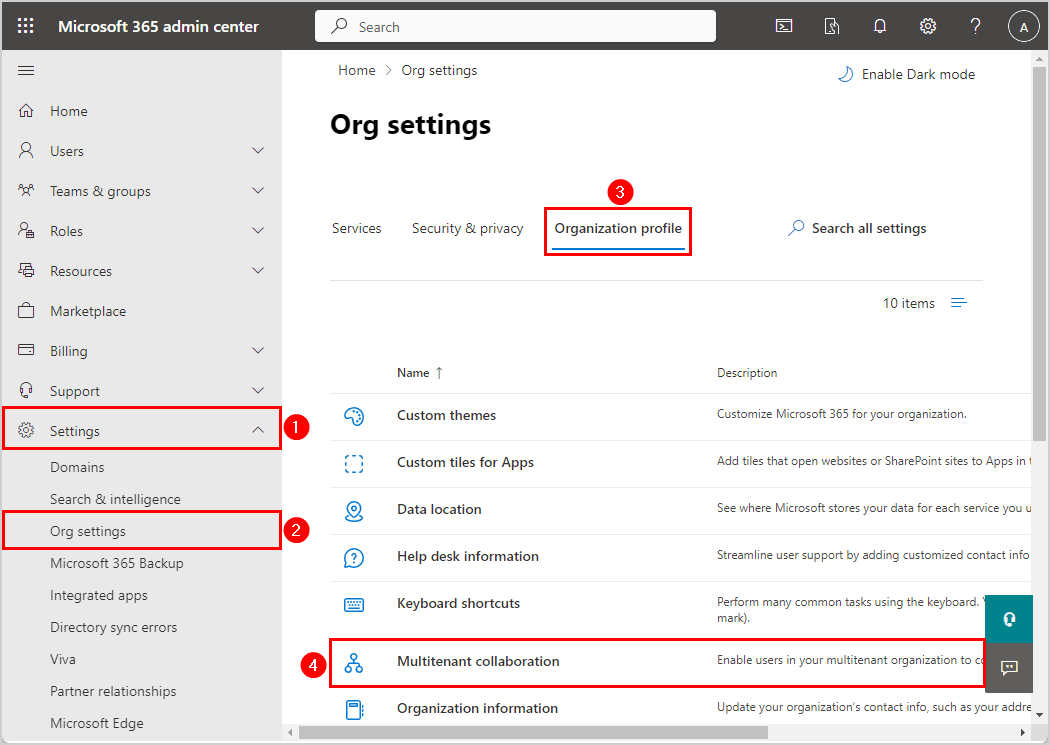
- Click Settings > Org settings
- Click the tab Organization profile
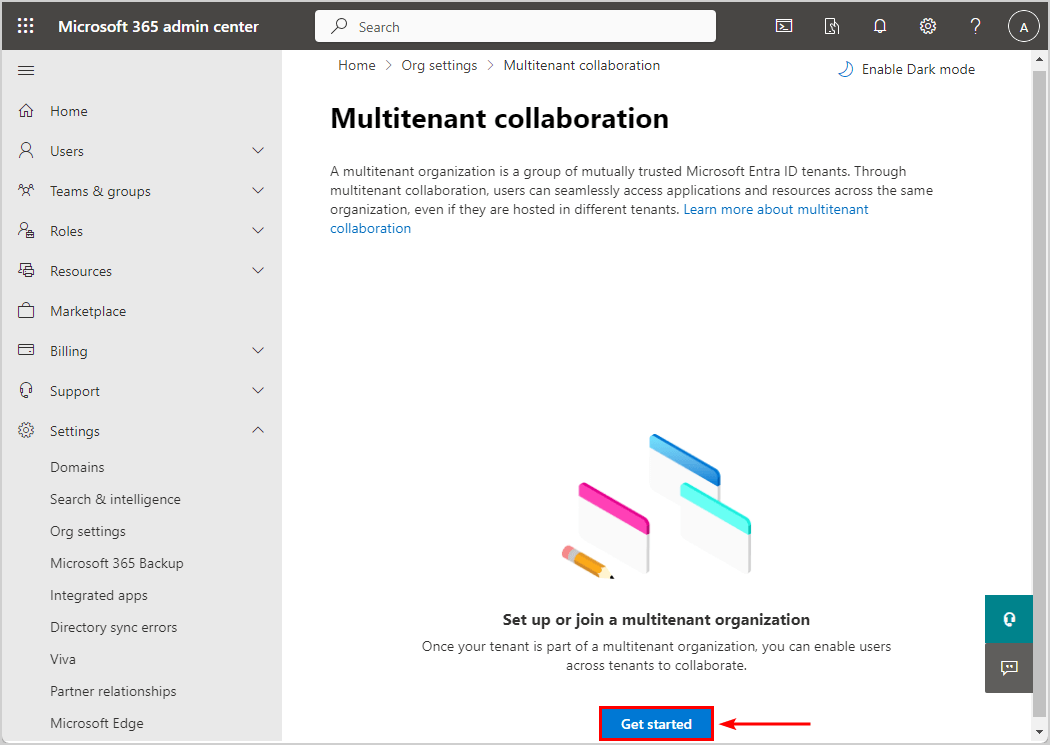
- Click Multitenant collaboration
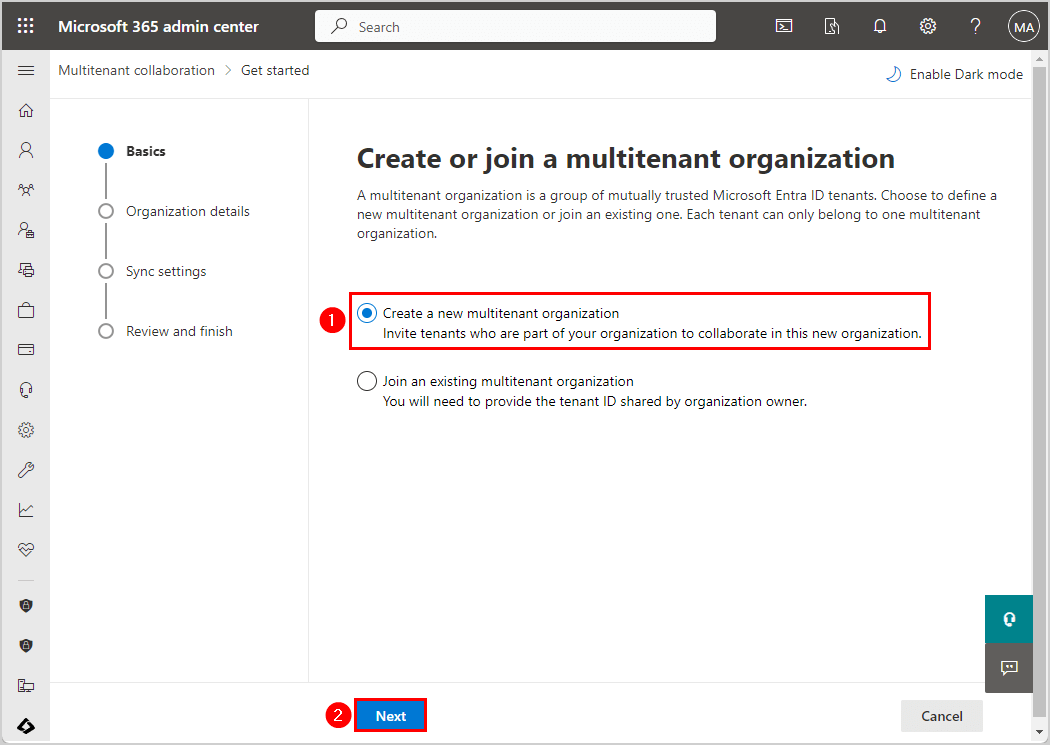
- Click Get started

- Select Create a new multitenant organization
- Click Next
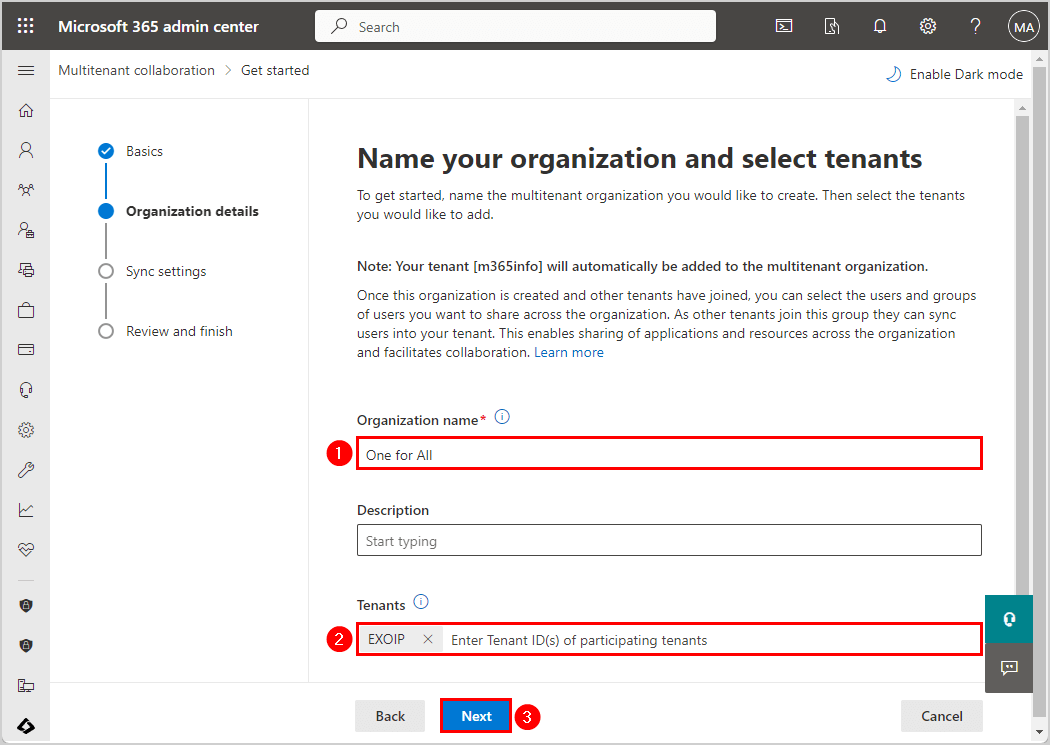
- Type Organization name
- Enter member Tenant ID and select the name of the tenant
- Click Next
- Select Allow users to sync into this tenant from the other tenants in this multitenant organization
- Select Suppress consent prompt for users from the other tenant when they access apps and resources in my tenant
- Click Next

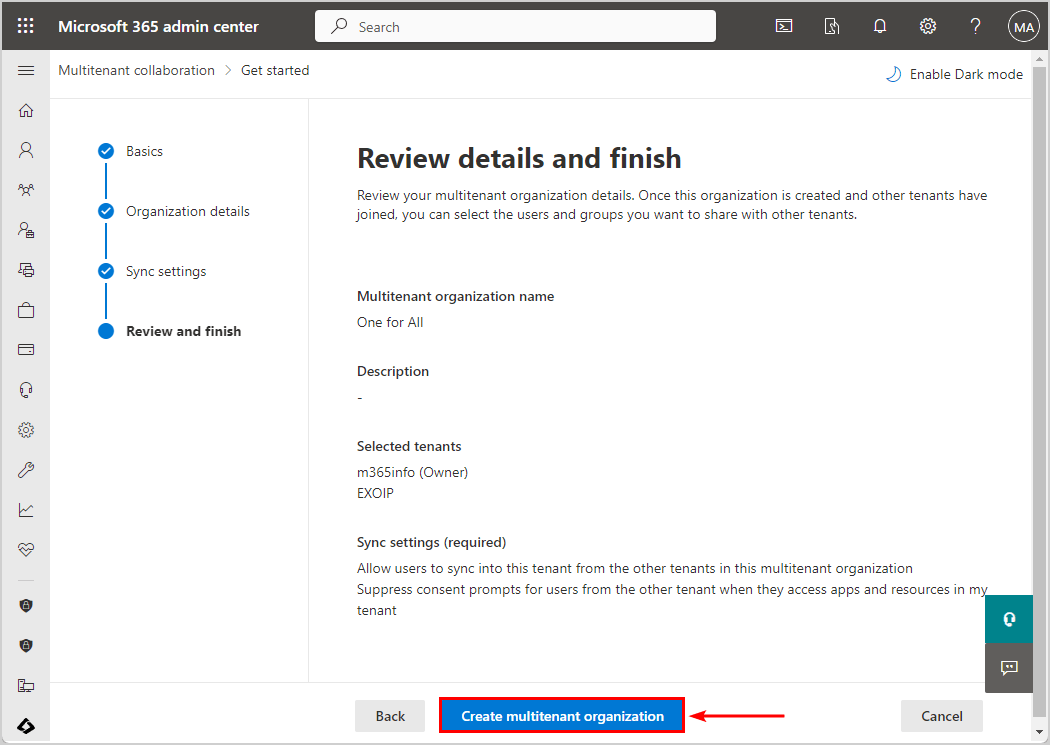
- Click Create multitenant organization
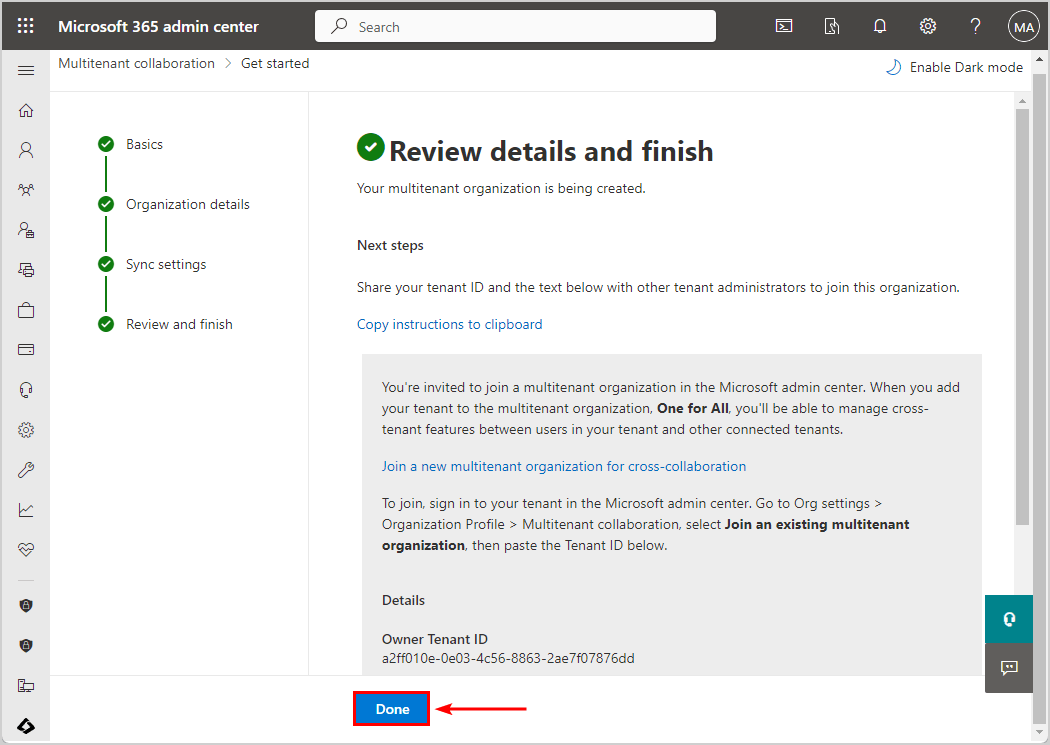
- Click Done
Note: Wait a few minutes for Microsoft to configure the multitenant organization.
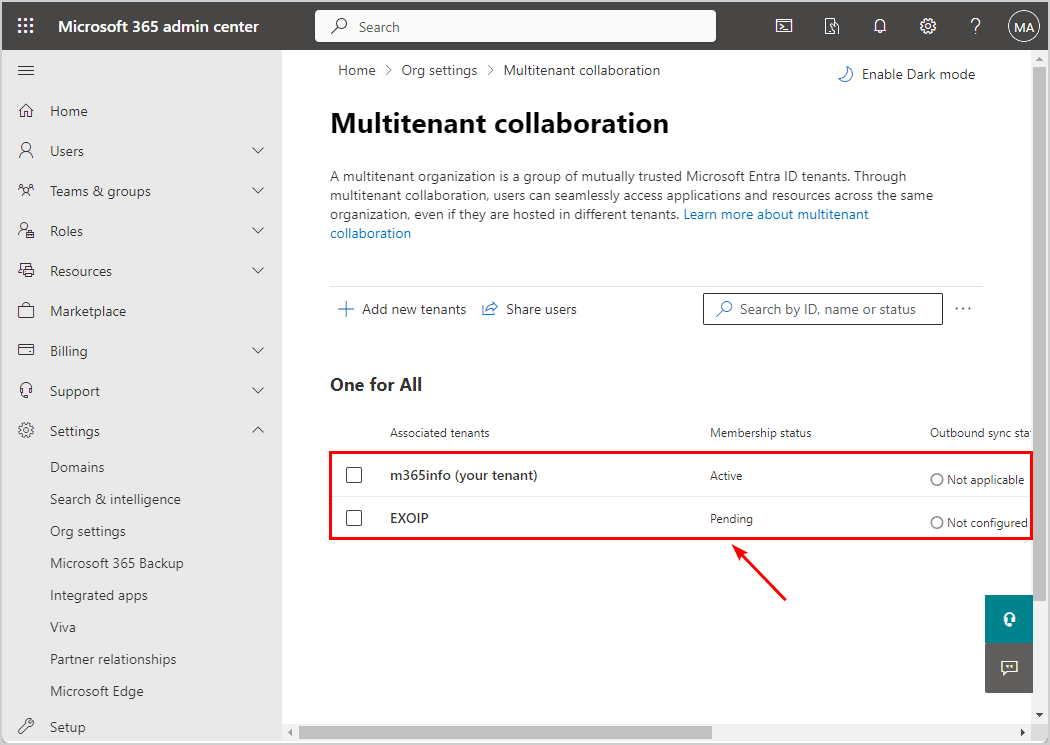
- The membership status of the owner tenant is Active
- The membership status of the member tenant appears Pending because it still has to join the multitenant organization
The owner tenant can always add or delete member tenants. The next step is to let the tenant join the multitenant organization.
2. Join multitenant organization in Microsoft 365
The member tenant needs to join the multitenant organization that was created by the owner tenant in the previous step.
Follow these steps to join a multitenant organization in Microsoft 365:
- Sign in to Microsoft 365 admin center
- Click Settings > Org settings
- Click the tab Organization profile
- Click Multitenant collaboration
- Click Get started
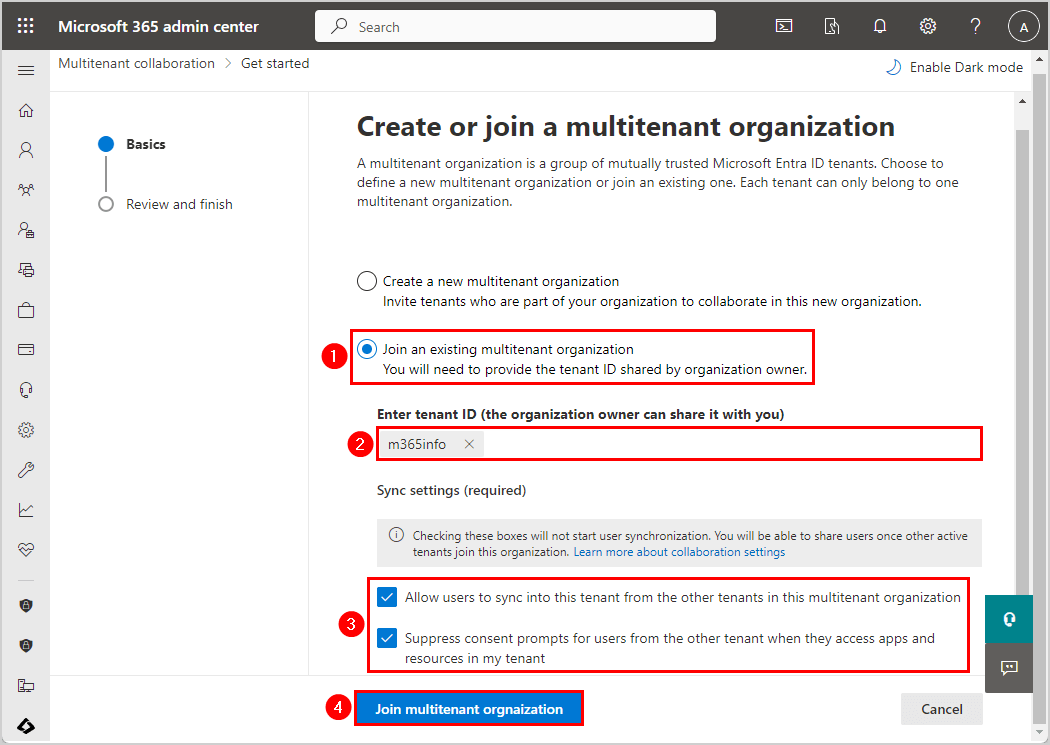
- Select Join an existing multitenant organization
- Enter owner Tenant ID and select the name of the tenant
- Select both checkboxes
- Click Join multitenant organization
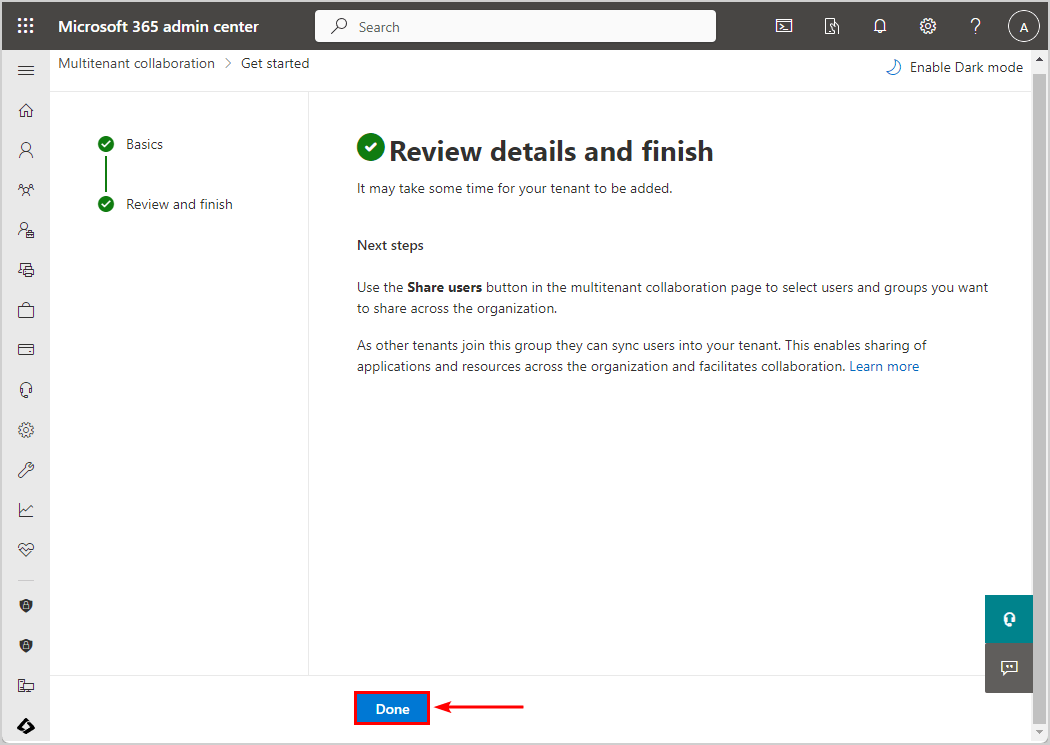
- Click Done
- Click Refresh or wait a few minutes
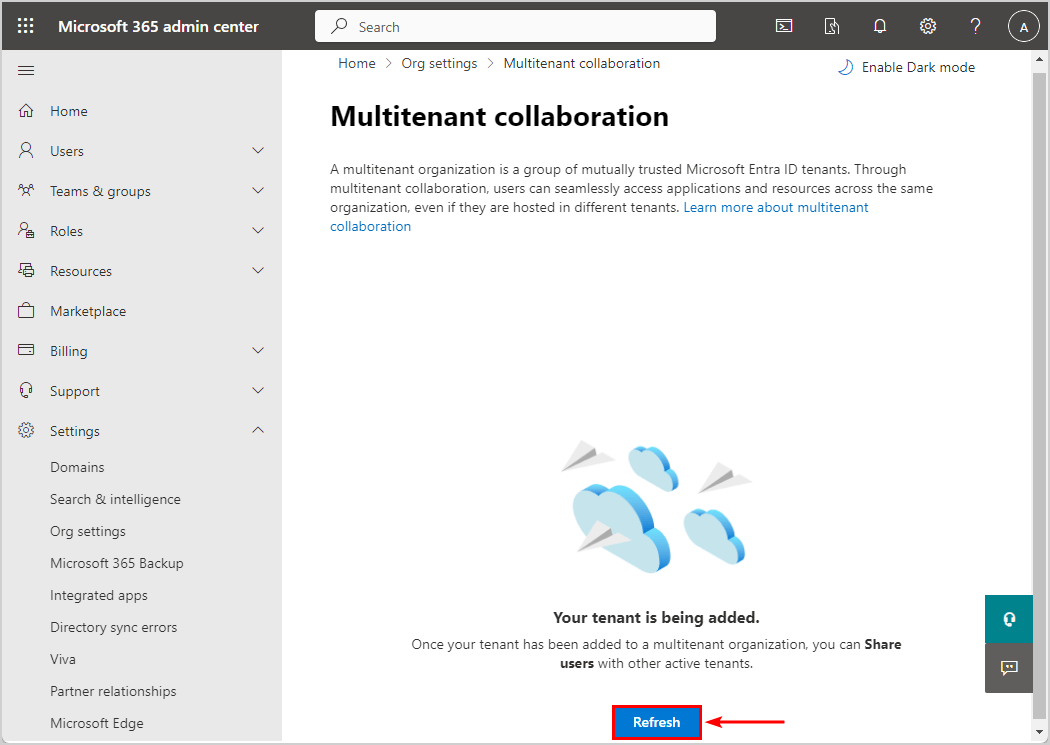
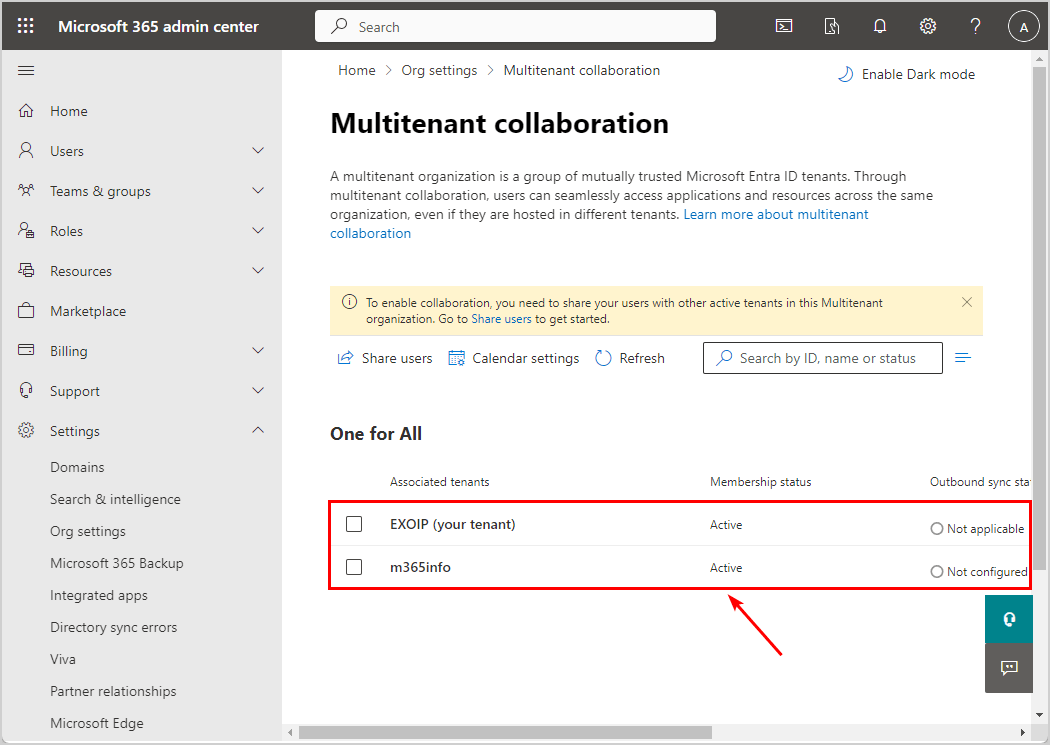
- Verify the tenant is created
- The membership status for the tenant changes from Pending to Active
3. Share users in multitenant organization
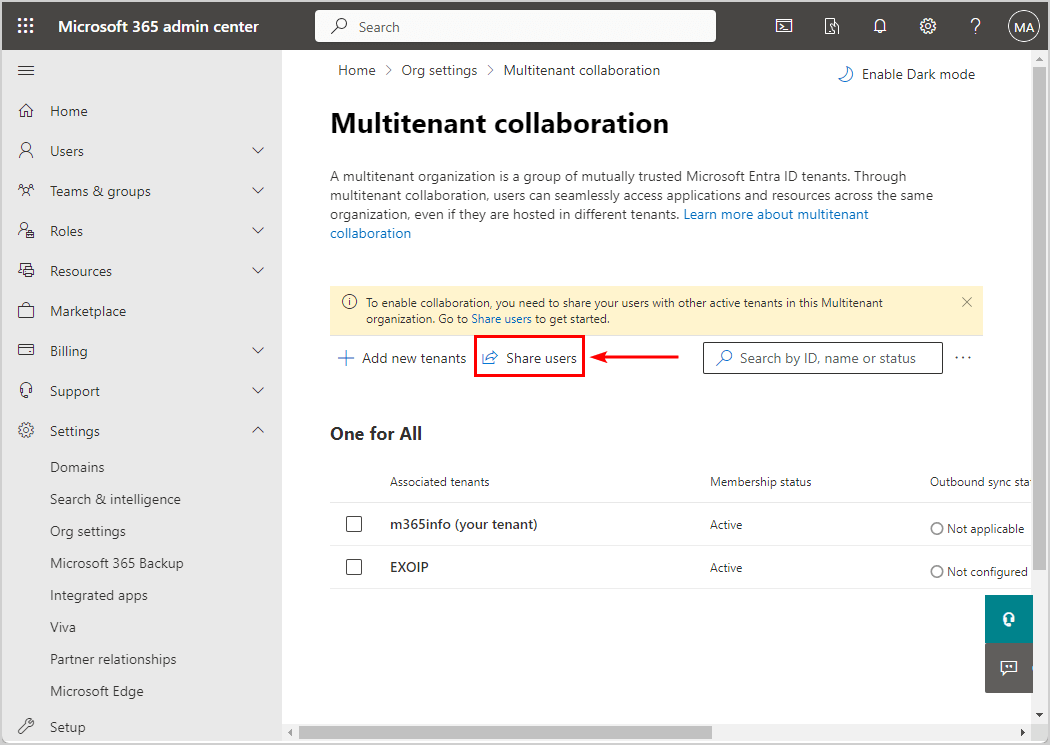
Once you create a multitenant organization and let the member tenants join it, you need to enable collaboration by sharing users. All the tenants can share their users with other tenants in the multitenant organization.
In our example, we will share users from the owner tenant with the other tenant (EXOIP).
To share users with other active tenants in the multitenant organization in Microsoft 365, follow these steps:
- Click Share users
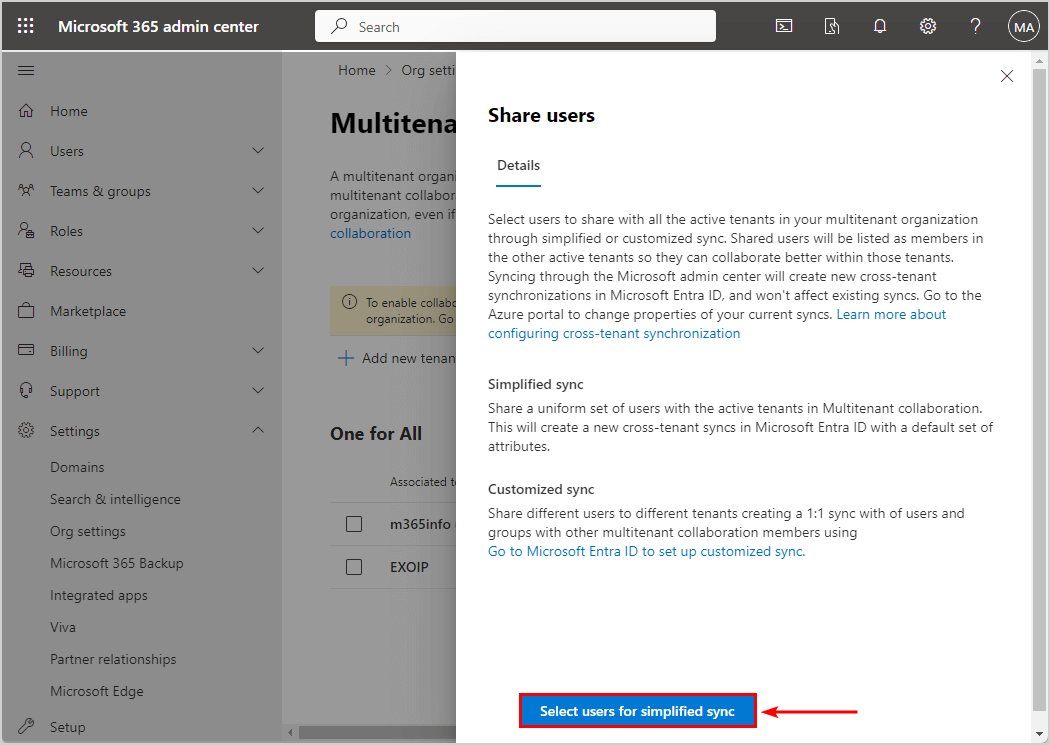
- Click Select users for simplified sync
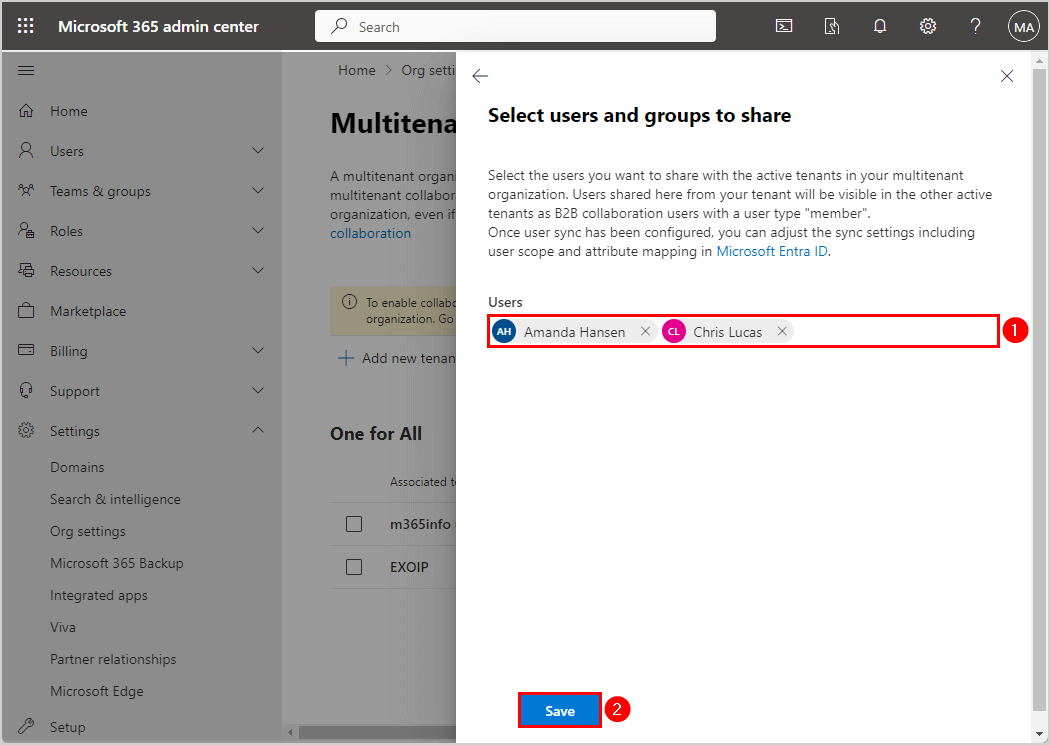
- Type the Users or groups you want to share
- Click Save
- Click Yes
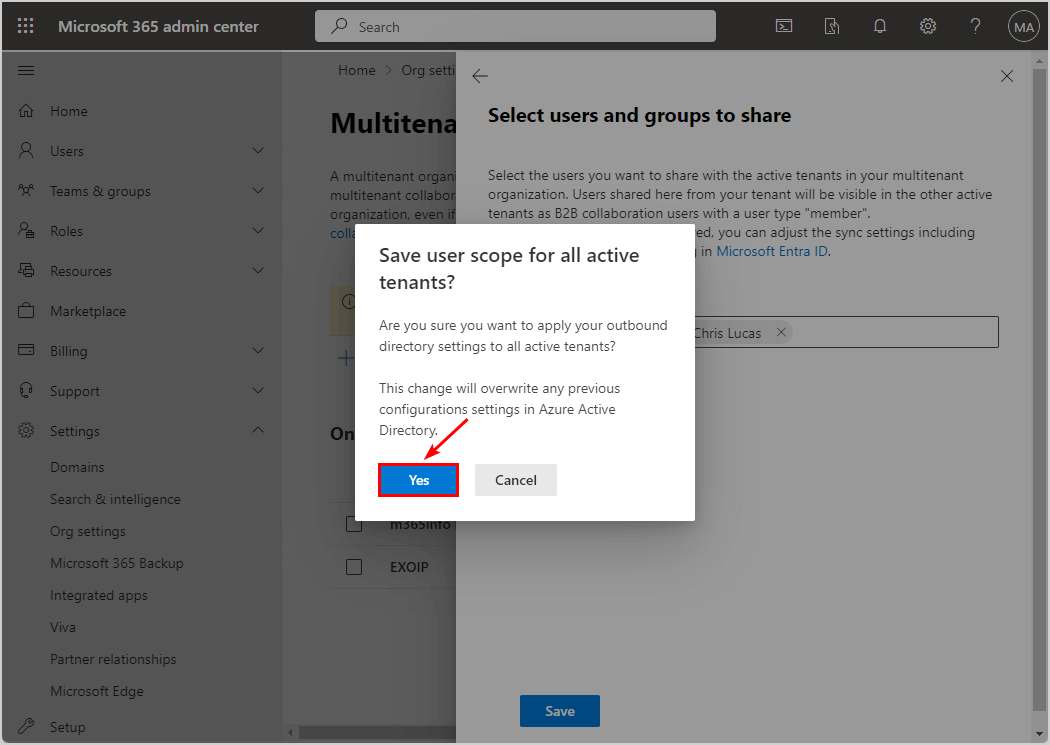
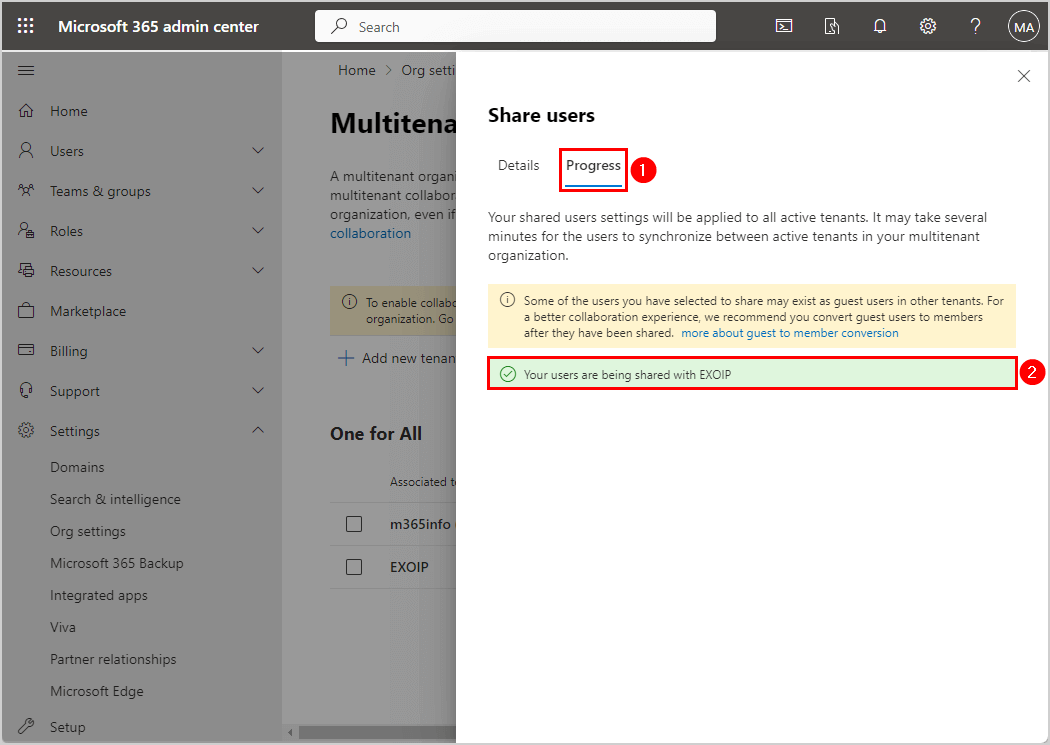
- Check the Progress
Note: It may take several minutes for the users to synchronize between active tenants in your multitenant organization.
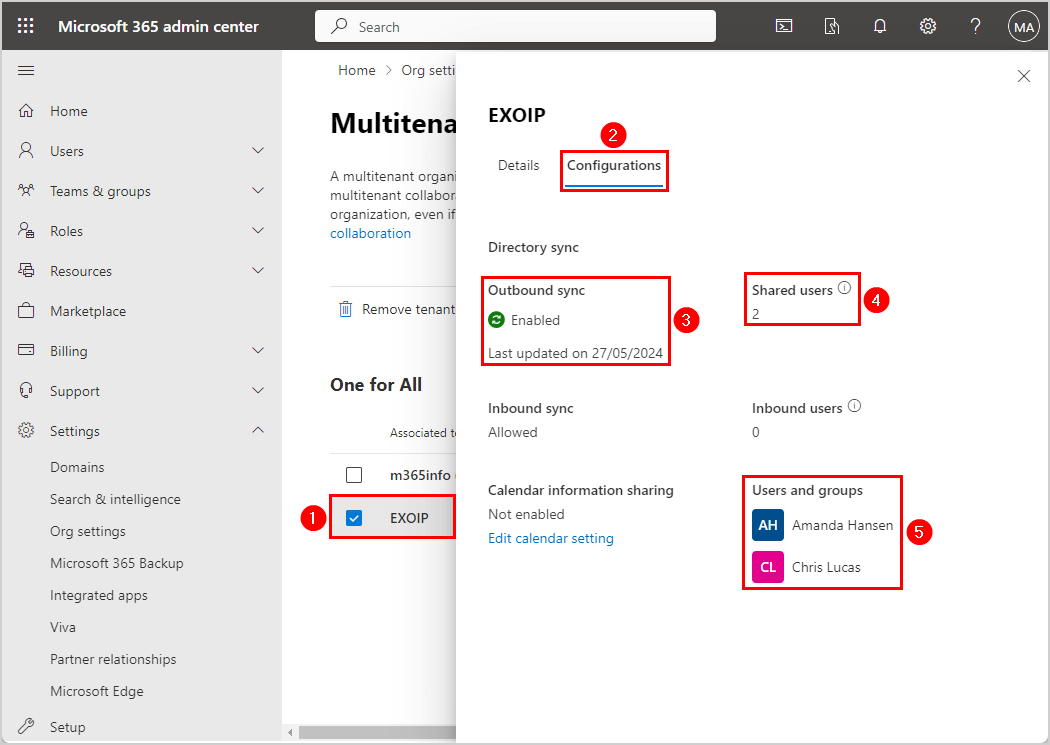
- Click on the other member tenant
- Click Configurations
- Verify the Outbound sync changed to Enabled
- Check Shared users number changed to 2
- Check the names under Users and groups
We can verify that the owner tenant has users shared with the other tenant in the Microsoft 365 admin center. Let’s see if the other member tenant can verify this from their side as well.
4. Verify users synced with other tenants
The member tenant should also check if the users are shared and synced correctly in Microsoft 365. The member tenant can find these shared users as external users, so the owner tenant doesn’t need to do anything here.
To verify the users are shared in the multitenant organization, follow these steps:
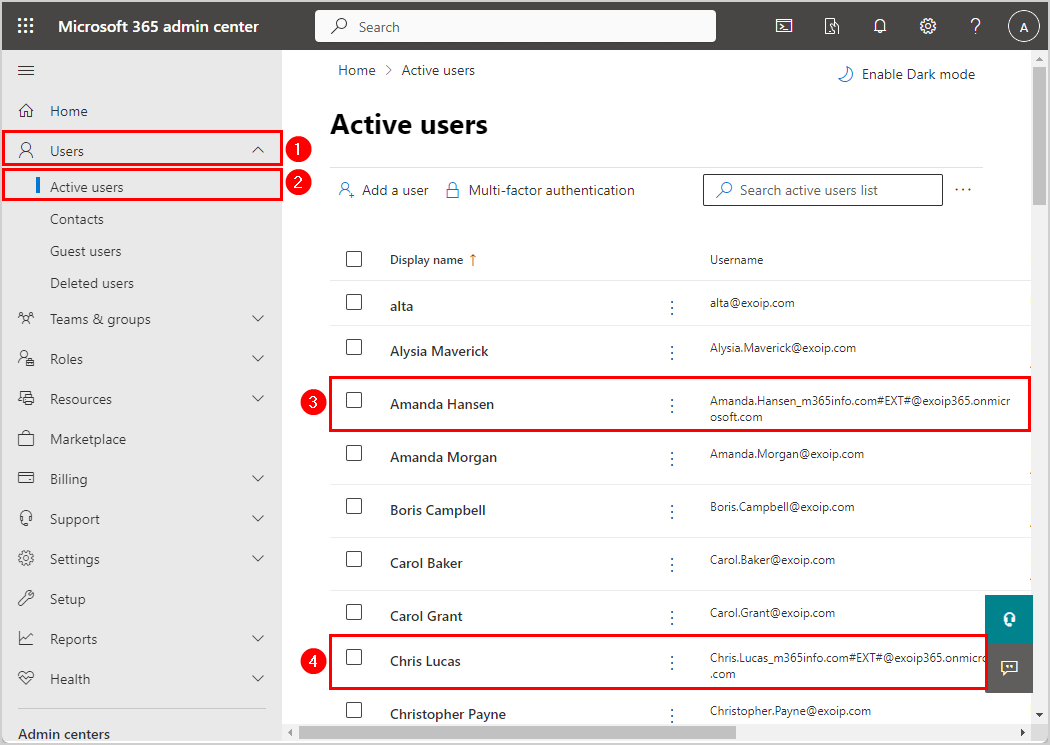
- Sign in to Microsoft 365 admin center
- Click Users > Active users
- Verify the external users added to the list
That’s it!
Read more: How to export Conditional Access policy »
Conclusion
You learned how to configure a multitenant organization in Microsoft 365. The owner tenant needs to create a multitenant organization and add member tenants in Microsoft 365 admin center. The next step is to let the member tenant join the multitenant organization in Microsoft 365 admin center. Lastly, you should share users across active tenants to enable collaboration in a multitenant organization.
Did you enjoy this article? You may also like How to find Microsoft 365 tenant domain name. Don’t forget to follow us and share this article.
Thank you for your valuable article.
Is it possible to manage the configuration profile or other settings in the member tenants through the owner tenant?
That’s not possible.