A licensed mailbox can have multiple email addresses, but each mailbox has only one primary…
How to add owners to Distribution Group with PowerShell
Administrators need to make many changes to a distribution group. When it comes to managing multiple distribution group owners it can be a daunting task. In this article, you will learn how to add, remove, and replace distribution list group owners with PowerShell.
Table of contents
Connect to Exchange Online PowerShell
To be able to run PowerShell commands, you must Connect to Exchange Online PowerShell. Open Windows PowerShell as administrator, run the below cmdlet, and sign in with your admin credentials.
Connect-ExchangeOnlineSet-DistributionGroup Error: You don’t have sufficient permissions
Each distribution group has at least one owner. It means only the distribution group owner is allowed to perform these management tasks. So when the Exchange Online administrator tries to update the properties of the distribution group with the Set-DistributionGroup cmdlet, and it’s not the owner of this distribution group, the following error message appears.
Error: You don’t have sufficient permissions. This operation can only be performed by a manager of the group.
Notice that even a user with global administrator credentials can’t remove or make a change to a distribution group. The fact that you are not the distribution group owner could stop you from completing the required management task.
The PowerShell cmdlets you need to use for managing a distribution group include a parameter named -BypassSecurityGroupManagerCheck. So whenever you try to perform a management task, and the permission error appears, you can add the -BypassSecurityGroupManagerCheck parameter to the original PowerShell command.
See the PowerShell command syntax example.
Set-DistributionGroup -Identity "Distribution Group" -ManagedBy "Identity" -BypassSecurityGroupManagerCheckRun the PowerShell command example.
Set-DistributionGroup -Identity "SalesUK@m365info.com" -ManagedBy "admin@m365info.com" -BypassSecurityGroupManagerCheckIn our example, the admin (admin@m365info.com) can control and manage the distribution group (Sales UK).
Distribution Group -ManagedBy parameter
The -ManagedBy parameter specifies an owner for the group. A group must have at least one owner. If you don’t use this parameter to specify the owner when you create the group, the user account that created the group will be the owner by default.
The distribution group owner can:
- Modify the properties of the group
- Add or remove group members
- Delete the group
- Approve a member depart or join requests (if available)
- Approve messages sent to the group if moderation is enabled, but no moderators are specified
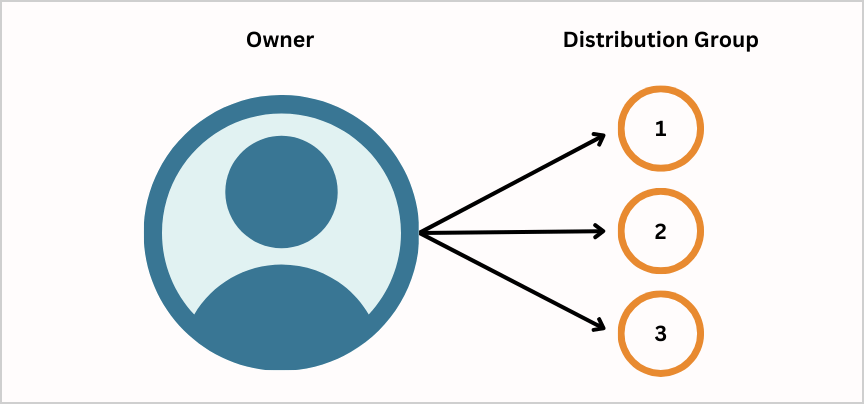
All groups must have at least one owner, and the distribution group can have multiple owners.
Set Distribution Group owners
Let’s look at how to add distribution group owners to a distribution list or mail-enabled security group with PowerShell.
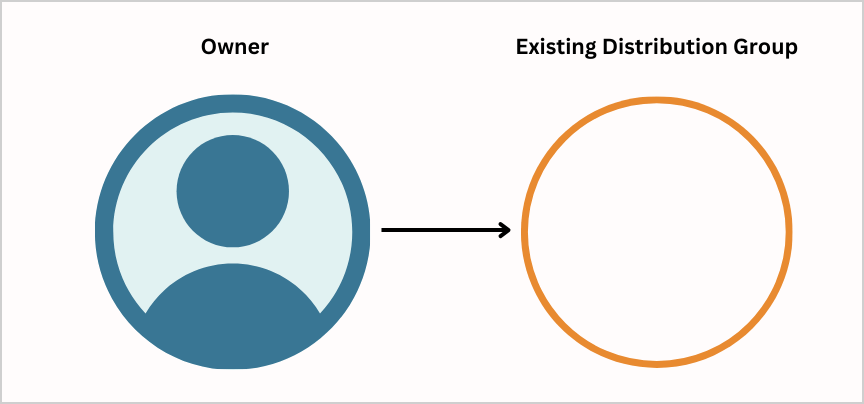
Add additional owners in single Distribution Group
You can add additional owners to your distribution list group with PowerShell.
In our example, the owner of the distribution group (Sales USA) is the user (David Kent). We will add two additional existing users as owners to the distribution list.
See the PowerShell command syntax.
Set-DistributionGroup "Distribution Group" -ManagedBy @{Add='Identity 1','Identity 2'} -BypassSecurityGroupManagerCheckRun the below PowerShell command example.
Set-DistributionGroup "SalesUSA@m365info.com" -ManagedBy @{Add='Amanda.Hansen@m365info.com','Brenda.Smith@m365info.com'} -BypassSecurityGroupManagerCheckAdd additional and remove existing owners in single Distribution Group
Let’s say we have a distribution group with a couple of owners. We wish to implement the following requirements:
- Add new owners
- Remove some of the existing distribution group owners
Note: You can’t remove all distribution group owners. There should always be one owner for each distribution group.
See the PowerShell command syntax.
Set-DistributionGroup "Distribution Group" -ManagedBy @{Add='Identity 1','Identity 2';Remove='Identity 1'} -BypassSecurityGroupManagerCheckRun the below PowerShell command example.
Set-DistributionGroup "SalesUSA@m365info.com" -ManagedBy @{Add='Stephen.Hunter@m365info.com','Jill.Bates@m365info.com';Remove='David.Kent@m365info.com'} -BypassSecurityGroupManagerCheckIn our example, we added two new owners and removed a distribution group owner for Sales USA.
Add additional owners to multiple Distribution Groups from CSV
If you want to add additional owners to multiple distribution groups, it’s better to use a CSV file. It will add the user as a group owner to the distribution group list but will not remove any previous owners.
You need to create a CSV file with two columns.
- GroupName: The column header that stores information about the distribution groups
- ManagedBy: The column header that stores information about the user name that we wish to define as the distribution group owner
Follow the below steps to create a CSV file to replace existing owners:
- Open Microsoft Excel
- Type GroupName at the top of the first column
- List the distribution group primary SMTP address
- Type ManagedBy at the top of the second column
- List the new distribution group owner UserPrincipalName
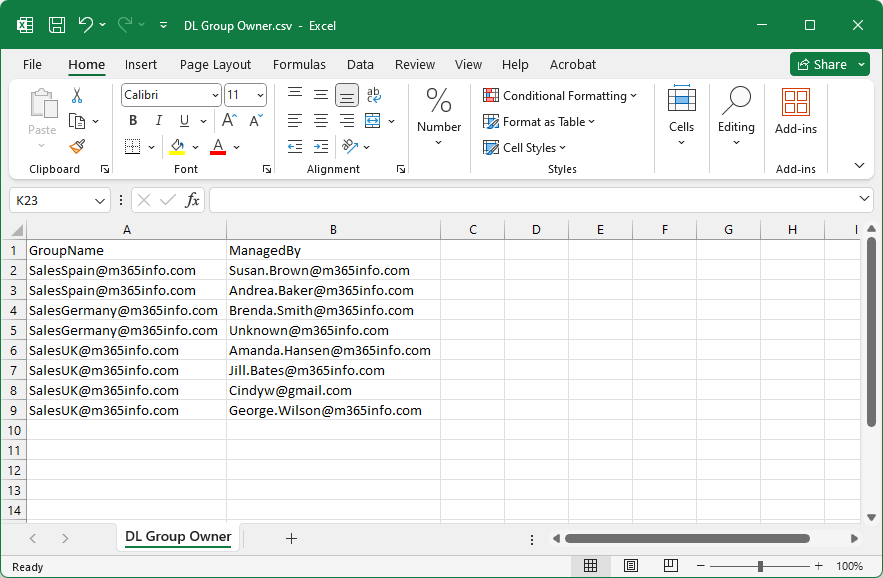
Name the file DL Group Owner and save it as a CSV file in the temp folder if you don’t have it already in the (C:) drive.
- To ensure PowerShell can read the file, run the Import-Csv cmdlet
Import-Csv "C:\temp\DL Group Owner.csv"- Run the below PowerShell script
# Specify the path to your CSV file
$csvPath = "C:\temp\DL Group Owner.csv"

# Import the CSV file
$csvData = Import-Csv -Path $csvPath

# Loop through each row in the CSV file and update the distribution group
foreach ($row in $csvData) {
    $groupName = $row.GroupName
    $owner = $row.ManagedBy

    # Check if the user specified in Owner exists
    $userExists = @()
    $userExists += Get-User -Identity $owner -ErrorAction SilentlyContinue
    $userExists += Get-Contact -Identity $owner -ErrorAction SilentlyContinue

    # Check if the distribution group specified in GroupName exists
    $groupExists = Get-DistributionGroup -Identity $groupName -ErrorAction SilentlyContinue

    if ($userExists -and $groupExists) {
        # Both user and group exist, so proceed with updating the distribution group
        try {
            # Get the user's ID
            $userID = $userExists.Identity

            # Check if the user is already an owner of the group
            $isOwner = Get-DistributionGroup -Identity $groupName | Where-Object { $_.ManagedBy -contains $userID }

            if (-not $isOwner) {
                # User is not an owner, so add them
                Set-DistributionGroup -Identity $groupName -ManagedBy @{Add = $userID } -BypassSecurityGroupManagerCheck -ErrorAction Stop
                Write-Host "Added user $owner to $groupName as owner." -ForegroundColor Green
            }
            else {
                Write-Host "User $owner is already an owner of $groupName. No action needed." -ForegroundColor Cyan
            }
        }
        catch {
            Write-Host "Failed to update owner for $groupName. Error: $($_.Exception.Message)" -ForegroundColor Red
        }
    }
    elseif (-not $groupExists) {
        # Group doesn't exist, display a message
        Write-Host "Distribution group $groupName specified in GroupName column doesn't exist. Skipping." -ForegroundColor Yellow
    }
    elseif (-not $userExists) {
        # User doesn't exist, display a message
        Write-Host "User $owner specified in owner column doesn't exist. Skipping." -ForegroundColor Yellow
    }
}
The PowerShell output result shows:
- When you add a user as an owner of the distribution group
- If the distribution group doesn’t exist
- If the user is already an owner of the distribution group
- The user doesn’t exist in Microsoft 365
Added user Susan.Brown@m365info.com to SalesSpain@m365info.com as owner.
Added user Andrea.Baker@m365info.com to SalesSpain@m365info.com as owner.
User Brenda.Smith@m365info.com is already an owner of SalesGermany@m365info.com. No action needed.
User Unknown@m365info.com specified in owner column doesn't exist. Skipping.
User Amanda.Hansen@m365info.com is already an owner of SalesUK@m365info.com. No action needed.
User Jill.Bates@m365info.com specified in owner column doesn't exist. Skipping.
Added user Cindyw@gmail.com to SalesUK@m365info.com as owner.
User George.Wilson@m365info.com is already an owner of SalesUK@m365info.com. No action needed.
Replace Distribution Group owners
To replace distribution group owners, you need to assign a single new owner, which will automatically remove the old distribution group owners.
Replace existing owners in single Distribution Group
You can always change the owner of a distribution list or mail-enabled security group.
In our example, we have multiple owners of the distribution group Sales USA. We want to change the owners to a single owner, David.Kent@m365info.com.
Note: Suppose multiple owners already exist for a distribution group, and you replace it with a single owner, then all existing owners will be removed.
See the PowerShell command syntax.
Set-DistributionGroup -Identity "Distribution Group" -ManagedBy "Identity" -BypassSecurityGroupManagerCheckRun the below PowerShell command example.
Set-DistributionGroup -Identity "SalesUSA@m365info.com" -ManagedBy "David.Kent@m365info.com" -BypassSecurityGroupManagerCheckThe new owner of the distribution group Sales USA has been replaced by David.Kent@m365info.com.
Assign new owner for all Distribution Groups created in the last two weeks
We want to assign the user (Brenda.Smith@m365info.com) as a distribution group owner for all the existing distribution groups created in the last 2 weeks.
The PowerShell command will consist of these parts:
- In the first part, we define the PowerShell variable $AllDistributionGroups. It will store the output of a PowerShell query and fetch all the distribution groups created in a specific time.
- To define a two-week time range, we need to add a time range of 14 days.
- We will use the ForEach PowerShell statement. To execute a loop process on the results where it will add Brenda Smith as owner to each of the existing (security) distribution groups that appear on the list.
- You can’t perform a management task if you are not the owner of the distribution groups. Therefore, add the -BypassSecurityGroupManagerCheck parameter to the original PowerShell command.
Run the below PowerShell command.
$AllDistributionGroups = Get-DistributionGroup -ResultSize Unlimited | Where-Object { $_.WhenCreated -ge (Get-Date).AddDays(-14) }

foreach ($Group in $AllDistributionGroups) {
    Set-DistributionGroup -Identity $Group.Name -ManagedBy "Brenda.Smith@m365info.com" -BypassSecurityGroupManagerCheck
}
We assigned Brenda Smith as the only owner of all your distribution groups created in the last two weeks.
Bulk replace owner for all existing Distribution Groups
We want to define a specific user as the owner of all existing distribution groups. So, we will remove the existing distribution group owners and assign a new owner for all the distribution groups.
- The first part of the PowerShell command gets a list of every existing distribution and mail-enabled security group.
- The second part of the PowerShell command will add the specific user as an owner to the distribution group list you got from the first part.
We want all our existing distribution groups to be replaced by a specific owner (Brenda.Smith@m365info.com).
See the below PowerShell command syntax.
Get-DistributionGroup -ResultSize Unlimited | Set-DistributionGroup -ManagedBy "Identity" -BypassSecurityGroupManagerCheckRun the below PowerShell command.
Get-DistributionGroup -ResultSize Unlimited | Set-DistributionGroup -ManagedBy "Brenda.Smith@m365info.com" -BypassSecurityGroupManagerCheckThat’s it!
Read more: Export Azure AD group members to CSV with PowerShell »
Conclusion
You learned how to manage distribution group owners with PowerShell. Using the correct commands, you can add, remove, and replace owners to a distribution group. If you are not the owner of the distribution group, use the -BypassSecurityGroupManagerCheck parameter to manage all distribution group settings.
Did you enjoy this article? You may also like Bulk create shared mailboxes with PowerShell. Don’t forget to follow us and share this article.
How to do this when you have multiple managers for many of the groups
I have exported a list of groups and managers and now i need to create them to a different tenant
Create the distribution groups if you don’t have them already. Then, go through the step that explains how to add additional owners to multiple Distribution Groups from CSV.