Do you want to export all Microsoft 365 mailbox storage size data? In Microsoft 365…
How to install PowerShell 7 on Windows
PowerShell is an open-source program that automates tasks and processes with commands and scripting language. In some cases, you need to update to PowerShell 7. However, it’s all free, and you can do this in three different ways. This article shows you three ways to install the latest PowerShell 7 on Windows.
Table of contents
How to download and install PowerShell 7
There are three different options to download and install PowerShell 7 on Windows. Let’s look at all these options, and you can decide which suits you best.
Option 1. Get PowerShell 7 app in Microsoft Store
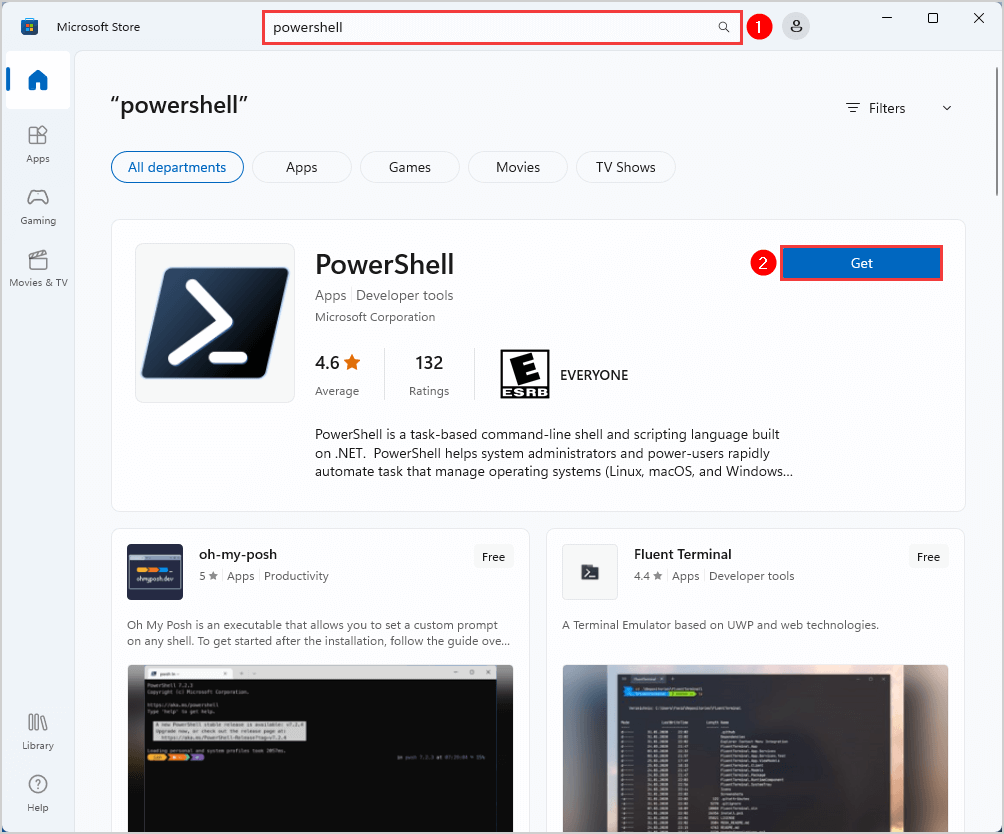
The easiest way to install PowerShell 7 on Windows 10 is to get the app on Microsoft Store.
- Open the Microsoft Store app
- Type PowerShell and search
- Click on Get
It will download the PowerShell 7 app on your Windows, and it is ready to use.
Another option is to download the PowerShell app by going to the Microsoft Store homepage and clicking on the Get in Store app.
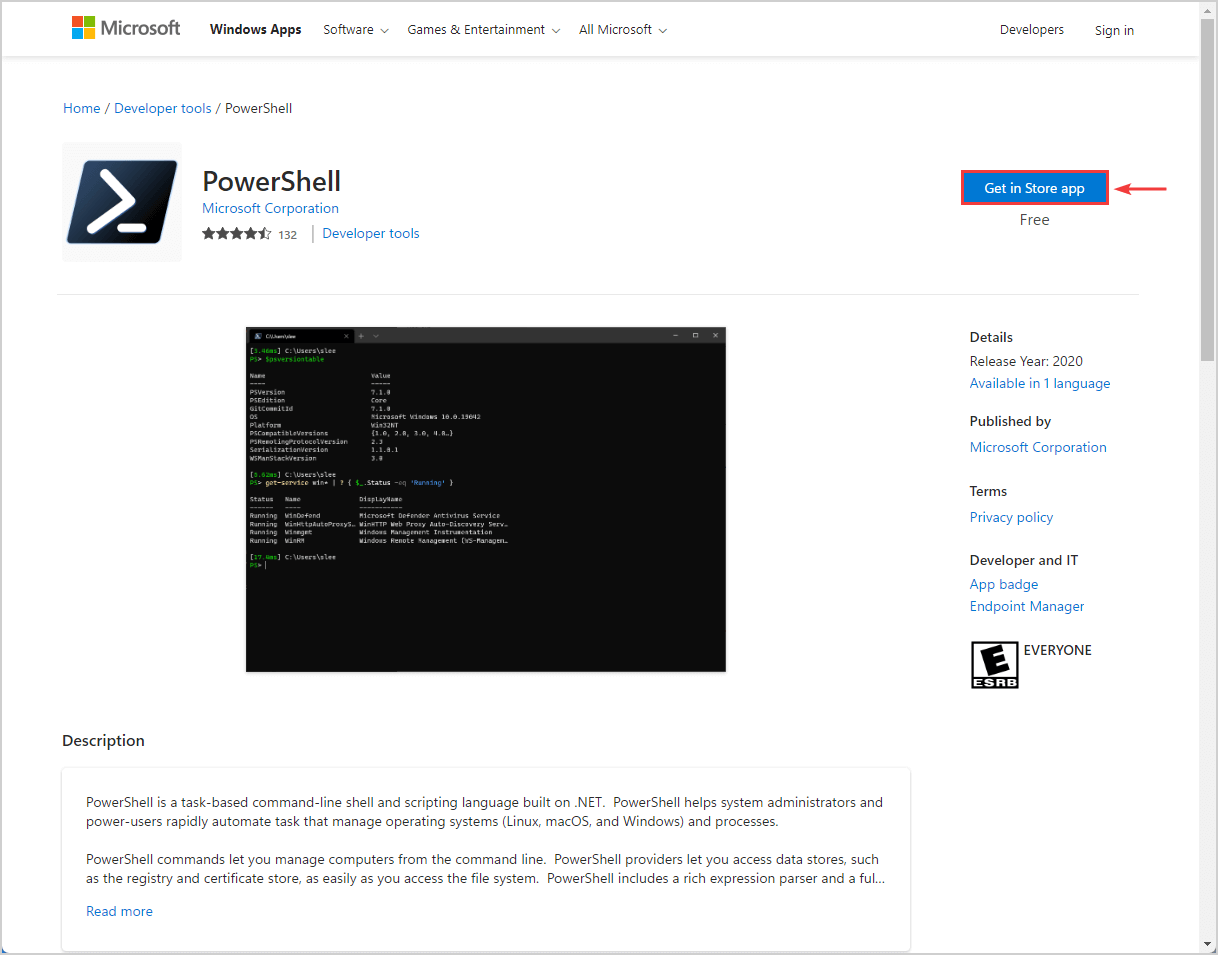
That’s it! You successfully downloaded the PowerShell app on your PC, and you can start using it.
Option 2. Use Winget to download and install PowerShell 7
It is recommended to use Winget to download and install the latest version of PowerShell 7. Winget is a command-line tool supported on Windows 11 and Windows 10 version 1709 or later. With this tool, you can download, install or upgrade applications on Windows.
- Open PowerShell as administrator and run the below command
winget install Microsoft.PowerShell- It will download and install the latest version of PowerShell 7
- Wait for Windows to configure PowerShell 7
The output will appear as below.
PS C:\> winget install Microsoft.PowerShell
Found PowerShell [Microsoft.PowerShell] Version 7.3.1.0
This application is licensed to you by its owner.
Microsoft is not responsible for, nor does it grant any licenses to, third-party packages.
Downloading https://github.com/PowerShell/PowerShell/releases/download/v7.3.1/PowerShell-7.3.1-win-x64.msi
  ██████████████████████████████   101 MB /  101 MB
Successfully verified installer hash
Starting package install...
Successfully installed
You have successfully installed PowerShell 7, and it’s ready to use.
If your Windows does not support Winget command-line, use the next option.
Option 3. Download MSI package to install PowerShell 7 on Windows
Another way is to download the MSI package from Microsoft.
There are two different packages:
- PowerShell-7.3.2-win-x64.msi
- PowerShell-7.3.2-win-x86.msi
In our example, we did download the PowerShell x64 package.
Follow the steps below to install it:
- Double-click the setup PowerShell-7.3.2-win-x64.msi
- Click Run
- Click Next
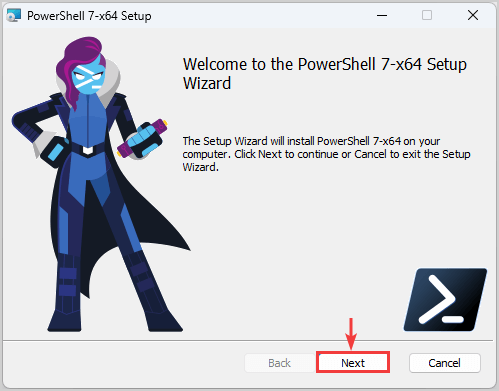
- Keep the default options and click Next three times
- Click Install
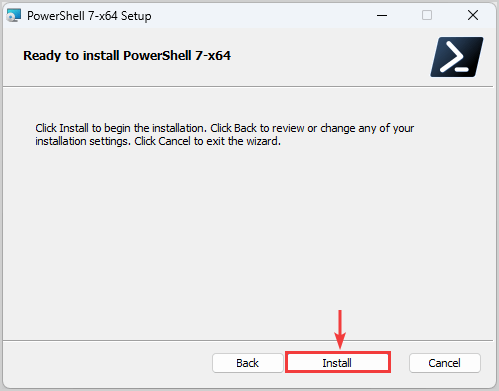
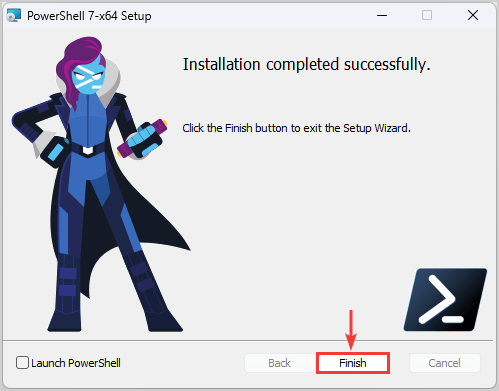
- Click Finish
This option is the same as using the Winget command-line as shown in the previous step. The difference is that you need to download the PowerShell 7 setup and go through the setup wizard instead of the previous methods, which does it automatically for you.
Run PowerShell 7
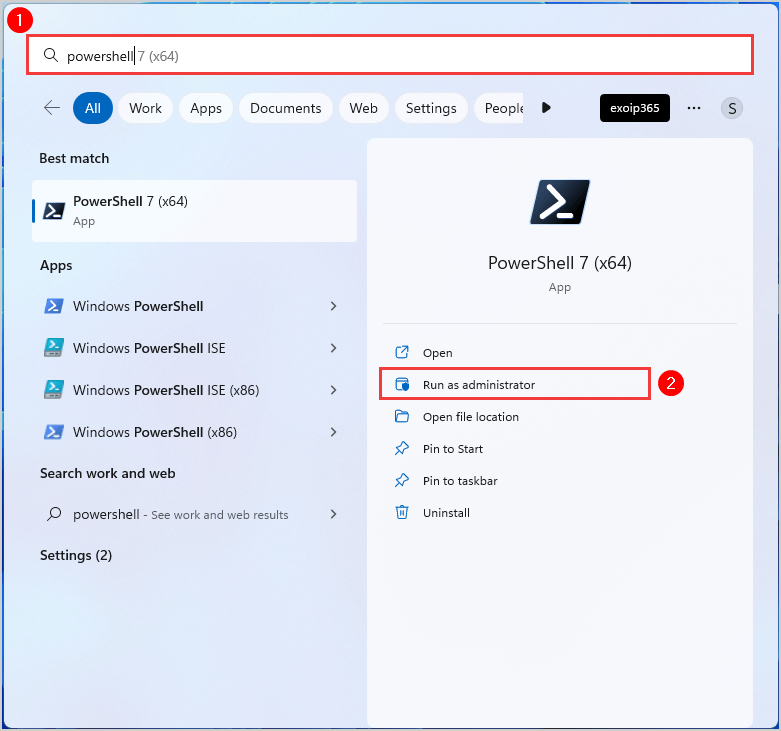
To run PowerShell 7 on Windows, follow the below steps:
- Click on Start
- Search for PowerShell 7
- Select Run as administrator
Did this help you to install PowerShell 7 on Windows? Let us know which option you choose!
Read more: Install Exchange Online PowerShell module »
Conclusion
You learned how to download and install PowerShell 7 on Windows in three different ways. The fastest ways are to download the PowerShell app from Microsoft Store or use the Winget command-line tool in PowerShell. Another way is to download the setup and install PowerShell 7 on Windows, but it takes a bit longer because you have to go through the setup wizard.
Did you enjoy this article? You may also like Bulk create shared mailboxes with PowerShell. Don’t forget to follow us and share this article.
This Post Has 0 Comments