In the current article, we review the way we use PowerShell for – adding and…
Manage Email addresses using PowerShell | Office 365 | Command reference | Part 2#13
The current article continues the previous article in which we review various management tasks related to Managing E-mail addresses using PowerShell. In this article, we review the following types of management tasks:
- Display information about E-mail addresses.
- Searching for information about E-mail addresses.
- Removing (deleting) E-mail addresses using PowerShell.
Table of contents
Display information about E-mail addresses
The E-mail address “store” | EmailAddresses property
The information about mailbox recipient E-mail address such as – Primary E-mail address, Proxy E-mail address, SIP address, and x500 address, is “stored” the mailbox property
named EmailAddresses.
The need to “manipulate” the data about the E-mail address
Technically, the task of – displaying or exporting information about the E-mail addresses of a recipient, can be considered as a simple task.
However, in many scenarios, we will need to “adjust” the information that the “standard” PowerShell command provides. For example,
Issue 1 – our ability to select a specific “piece of information” from the “E-mail address Array” that is stored in the EmailAddresses.
By default, PowerShell “spit” all the content that is stored on the EmailAddresses. Exchange Online PowerShell cmdlets, doesn’t include a built-in parameter that enables us to filter the information such as asking to display only the Proxy E-mail address and so on.
Issue 2 – the PowerShell defaults will display the content of the EmailAddresses property with additional “piece of information” that is associated with the “original information E-mail address” such as the SMTP: prefix.
We will start with the basic PowerShell syntax we use for “fetch” information about the E-mail address, and in the next section, we review how to use the Hash table, and Custom expressions for – optimizing and adjusting the information that we need to get the recipient E-mail address.
View information about the E-mail address
The “default” PowerShell command syntax that we use for – display information about a recipient E-mail address is quite simple.
We need to specify:
- The specific type of recipient such as “mailbox recipient”.
- The identity of Exchange Online recipient such as Alias, E-mail address, etc.
- The specific properties that we want to display such as – DisplayName, PrimarySmtpAddress, EmailAddresses.
PowerShell command syntax
Get-Mailbox <Identity> | Select DisplayName,EmailAddressesPowerShell command example
Get-Mailbox Billy | Select DisplayName,EmailAddressesDisplay information about Primary E-mail address
In case we need to display information only about the Primary E-mail address of specific Exchange Online recipient, we can use the following syntax.
PowerShell command example:
Get-Mailbox Billy |Select-Object DisplayName,PrimarySmtpAddressTo display information about all Exchange Online mailboxes Primary E-mail address, we can use the following PowerShell command syntax.
PowerShell command example:
Get-Mailbox -ResultSize Unlimited |Select-Object DisplayName,PrimarySmtpAddressExpand the “E-mail address property”
Regarding the “issue” of displaying the “Full content” the multiple value recipient E-mail property, we can implement a “partial solution” for a specific recipient for the issue of displaying multiple E-mail addresses, but this solution is not properly implemented in a scenario in which we need to display information about multiple recipients
In the following example, we use a PowerShell command that gets information about
Angelina E-mail addresses.
PowerShell command example:
Get-Mailbox Angelina | Select-Object -ExpandProperty EmailAddressesIn the output, we can see that the “EmailAddresses” property includes many E-mail addresses.
PS C:\script> Get-Mailbox Angelina | Select-Object -ExpandProperty EmailAddresses
smtp:Angelina@o365pilot.com
smtp:kk@o365info.com
SPO:SPO_5b27dc17-68b0-442e-804b-aee5b4df9847@SPO_e95bcc9e-2927-483d-ad36-7311a7152bdd
smtp:Angelina@o365info.com
SMTP:Angelina-NEW01@o365info.com
smtp:Angelina-Alias03@o365info.com
smtp:Angelina-Alias02@o365info.com
Optimize the displayed results about – recipient E-mail addresses using the Hash table
In this section, we review the how to use Hash table and Custom expressions, as a “tool” that enhances our capabilities for digesting the “native” information that we get from PowerShell about a recipient E-mail address.
In our specific scenario, we use the PowerShell Hash table for three main purposes:
1. Get information about specific types of an E-mail address
As mentioned, by default PowerShell displays all the content of the EmailAddresses property. By using the option of Hash table and Custom expressions, we can create a new custom “recipient property” that enables us to use a filter that gets information only about specific E-mail address such as Proxy E-mail address or SIP address.
2. Optimizing the PowerShell output of recipient E-mail address | Removing “unnecessary data” from the output.
By default, PowerShell adds information about the “type” of the E-mail address at the begging of the E-mail address by adding a Prefix such as SMTP:
By using the option of Hash table and Custom expressions, we can define a “request,” that will remove the unnecessary prefix from the PowerShell command output.
The additional character of the default PowerShell command output is related to a scenario in which the recipient has multiple E-mail addresses. In this case, PowerShell will display the information about the E-mail addresses sounded by “curly bracket.”
By using the option of Hash table and Custom expressions, we can define a “request,” that will remove the unnecessary curly bracket from the PowerShell command output.
3. Optimizing the PowerShell output of recipient E-mail address | Adding “separation character
When we export information about recipient E-mail address to a CSV file, PowerShell exports information about multiple E-mail addresses to “one row” and doesn’t use a “separation character.”
Instead, PowerShell adds a “space character” between each E-mail address. In case we need to import information from the CSV file, we need to have a “separation character” that will enable the import process to distinguish between the different E-mail addresses.
By using the option of Hash table and Custom expressions, we can ask from PowerShell to add a “separation character” that will separate each E-mail address from the additional E-mail address.
A demonstration of the way we use the Hash table and Custom expressions
In this specific example, we use the PowerShell Hash table and Custom expressions for performing the following tasks:
- Display information only about the proxy E-mail address (the proxy E-mail address starts with an SMTP prefix written in small caps).
- Remove the SMTP prefix from the PowerShell output of the E-mail address.
- Remove the “curly bracket” the surround the E-mail Address Array.
- Add a separator character – in our example, we use the characters (;)
We use the following PowerShell command syntax:
Get-Mailbox Christina | Select-Object DisplayName,@{Name="EmailAddresses";Expression={ ($_.EmailAddresses | Where-Object {$_ -cmatch "smtp:*"} | ForEach-Object {$_ -replace 'smtp:' }) -join ';' }}In the following box, we can see the result of the PowerShell output.
Notice that now
- Each E-mail address appears without the SMTP prefix.
- The “curly bracket” the surround the E-mail address array was removed.
- Each E-mail address is separated by the characters – (;).
PowerShell console output example:
PS C:\script> Get-Mailbox Christina | Select-Object DisplayName,@{Name="EmailAddresses";Expression={ ($_.EmailAddresses | Where-Object {$_ -cmatch "smtp:*"} | ForEach-Object {$_ -replace 'smtp:' }) -join ';' }}

DisplayName               EmailAddresses
-----------               --------------
Christina Aguilera        Christina-Alias02@o365info.com;Christina@o365pilot.com
Using Hash table for display information about – recipient E-mail address
In the following section, I would like to review a couple of examples to a scenario in which we use PowerShell Hash table, for getting information about specific Exchange recipient E-mail addresses.
Display only Primary E-mail address
The PowerShell command Get-Mailbox, include a dedicated parameter that enables us to display information about a specific E-mail address that defines as Primary E-mail address.
In other words, we don’t need to implement any sophisticated PowerShell command syntax such as using the Hash table for a display Primary E-mail address.
To be able to view only the Primary E-mail address, we can use the following PowerShell syntax:
Get-Mailbox Billy | Select Alias,PrimarySmtpAddressAlthough we don’t need to use a special command configuration, I would like to provide an example to the Hash table syntax, that we use displaying E-mail that defined as a Primary E-mail address.
In this example, we define a condition using the “cmatch” logical operator, that “fetch” information about E-mail address only if the prefix of the E-mail address include the string “SMTP:” using capital letters.
PowerShell command example
Get-Mailbox | Select-Object DisplayName,@{Name="Primary Email Address";Expression={$_.EmailAddresses |Where-Object {$_ -cmatch "SMTP:*"}}}Display only SIP address
In the current scenario, we want to view information only about recipient address, which described as “SIP address” (addresses that are used by Skype for business users).
SIP address begins with the prefix sip:
To be able to “fetch” information only about SIP addresses, we define the following Hash table Expression:
PowerShell command example:
Get-Mailbox | Select-Object DisplayName,@{Name="SIP Email Address";Expression={$_.EmailAddresses |Where-Object {$_ -LIKE "sip:*"}}}Display only x500 E- address
In the current scenario, we want to view information only about the E-mail address, which described as “x500 E-mail address”.
X500 E-mail address begins with the prefix x500:
To be able to “fetch” information only about x500 addresses, we define the following Hash table Expression.
PowerShell command example:
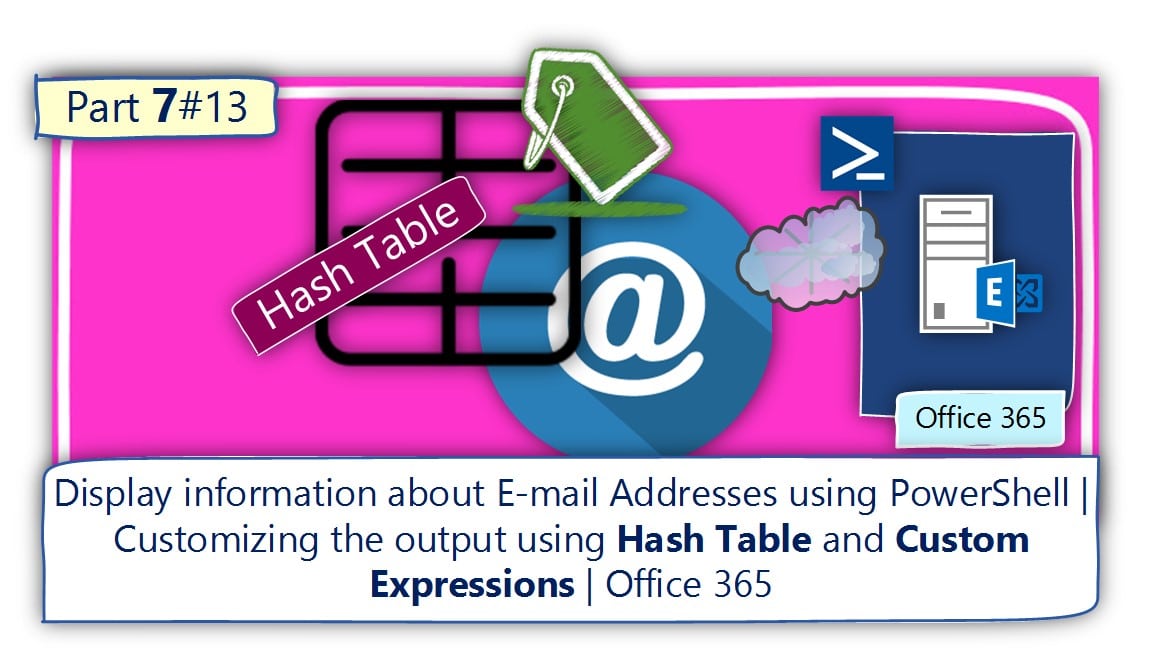
Get-Mailbox | Select-Object DisplayName,@{Name="x500 Email Address";Expression={$_.EmailAddresses |Where-Object {$_ -cmatch "x500:*"}}}You can find more detailed information about the subject of – Hash table and Custom expressions in the article – Display information about E-mail Addresses using PowerShell | Customizing the output using Hash Table and Custom expressions | Office 365 | Part 7#13
Searching for information about E-mail addresses
In the following section, we will demonstrate how to use the PowerShell Where statement for creating a custom search query, that will look for:
- A specific domain name suffix.
- A specific E-mail address.
In a scenario in which we need to “address” each of the different types of Exchange Online recipients, looking for a specific E-mail address, we need to know, what is the “magic” PowerShell cmdlets that will enable us to perform this task.
In reality, there is no such “magic PowerShell command” but instead, we can use a combination of three different PowerShell cmdlets, that will enable us to fulfill the requirement of – “addressing” each of the existing Exchange Online recipients.
In a scenario in which we need to perform a search that will “address” of the available Exchange Online recipients types, looking for E-mail addresses with a specific domain name suffix, we need to use a combination of the following three PowerShell commands:
- Get-Recipient
- Get-Mailbox -SoftDeletedMailbox
- Get-UnifiedGroup
You can find more detailed information about the way that we perform a search for a specific E-mail address or Office 365 UPN in the article – Searching Email addresses with a specific domain name suffix Using PowerShell | Office 365 | Part 10#13
Using a PowerShell script for performing a search of – E-mail address, with a specific domain name suffix
The task description
- We need to perform a search that will locate all the Exchange Online recipients, who have an E-mail address with a specific Domain name suffix.
- We want that the PowerShell “results” will be saved in a CSV file.
The characters and the logic of the PowerShell script
1. The Domain name suffix we look for.
The PowerShell script will “ask” us about the specific Domain name suffix we look for. The information will be stored in a variable named $DomainSuffix.
2. Exported file’s location
In our specific demonstration, we ask from PowerShell to create for us, a NEW folder using the following path: C:\INFO\E-mail address\Exchange Online\E-mail address with Domain suffix – $Domainsuffix
3. Exported files
As mentioned, to be able to get a “view” of all the existing Exchange Online recipients, we need to use three different PowerShell cmdlets:
Get-Recipient, Get-Mailbox -SoftDeletedMailbox and Get-UnifiedGroup. The output from each command will be stored in a separated CSV file.
$DomainSuffix = Read-Host "Type the domain name suffix that you look for"
# Creating folder structure and file names for the exported CSV files
$A20 = "C:\INFO\E-mail address\Exchange Online\E-mail address with Domain suffix - $Domainsuffix"

if (!(Test-Path -path $A20))
{New-Item $A20 -type directory}

# Exchange Online infrastructure
# Define the variable for the different type of Exchange Online recipients

$AllRecipients = Get-Recipient -ResultSize unlimited| Where {$_.EmailAddresses -like "*@$DomainSuffix"}
$SoftDeleted = Get-Mailbox -SoftDeletedMailbox | Where {$_.EmailAddresses -like "*@$DomainSuffix"}
$UnifiedGroups = Get-UnifiedGroup | Where {$_.EmailAddresses -like "*@$DomainSuffix"}
if ($SoftDeleted -eq $null)
{
write-host "There are no Soft Deleted Exchange Online mailboxes that have an E-mail address with the domain name suffix - $DomainSuffix"
}
else
{
$SoftDeleted | Select DisplayName,EmailAddresses,RecipientType,RecipientTypeDetails | Export-CSV $A20\"Exchange Online Soft Deleted mailboxes that their E-mail address include the domain name suffix $DomainSuffix.CSV" –NoTypeInformation -Encoding utf8
}
if ($UnifiedGroups -eq $null)
{
write-host "There are no Exchange Online unified groups that have an E-mail address with the domain name suffix - $DomainSuffix"
}
Else
{
$UnifiedGroups | Select DisplayName,EmailAddresses,RecipientType,RecipientTypeDetails | Export-CSV $A20\"Exchange Online unified groups that their E-mail address include the domain name suffix $DomainSuffix.CSV" –NoTypeInformation -Encoding utf8
}
if ($AllRecipients -eq $null)
{
write-host "There are no Exchange Online Recipients that have an E-mail address with the domain name suffix - $DomainSuffix"
}
Else
{
$AllRecipients | Select DisplayName,EmailAddresses,RecipientType,RecipientTypeDetails | Export-CSV $A20\"Exchange Online recipients that their E-mail address include the domain name suffix $DomainSuffix.CSV" –NoTypeInformation -Encoding utf8
}
Searching “Hidden” Email addresses Using PowerShell
Searching for specific E-mail address | search scope = Exchange Online
The search addresses all existing Exchange Online recipients and searches for a specific E-mail address.
$Alias = Read-Host "Type the name of the E-mail address that you are looking for "

# Exchange Online infrastructure

$SoftDeleted = Get-Mailbox -SoftDeletedMailbox | Where {$_.EmailAddresses -like "*$Alias"}
$UnifiedGroups = Get-UnifiedGroup | Where {$_.EmailAddresses -like "*$Alias"}
$AllRecipients = Get-Recipient -ResultSize unlimited| Where {$_.EmailAddresses -like "*$Alias"}
if ($SoftDeleted -eq $null)
{
write-host "The E-mail address $Alias, is not a Soft Deleted Exchange Online mailbox"
}
Else
{
write-host --------------------------------------------------------
write-host "The E-mail address $Alias, belong to Unified Group"
write-host Recipient display name is- $AllRecipients.DisplayName
write-host Recipient E-mail addresses are - $AllRecipients.EmailAddresses
write-host Recipient Type is - $AllRecipients.RecipientType
write-host -------------------------------------------------------
}
if ($UnifiedGroups -eq $null)
{
write-host "The E-mail address $Alias, is not a Unified Group"
}
Else
{
belong to Soft Deleted Exchange Online mailbox
}
if ($AllRecipients -eq $null)
{
write-host "The E-mail address $Alias, is not Exchange Online recipient "
}
Else
{
write-host --------------------------------------------------------
write-host "The E-mail address $Alias, belong to Exchange Online Recipient"
write-host Recipient display name is- $AllRecipients.DisplayName
write-host Recipient E-mail addresses are - $AllRecipients.EmailAddresses
write-host Recipient Type is - $AllRecipients.RecipientType
write-host -------------------------------------------------------
}
You can find more detailed information about the subject of searching for a specific E-mail address in the article – Searching “hidden” Email addresses Using PowerShell | Office 365 | Part 11#13
Removing (deleting) e-mail address using PowerShell
To be able to remove (delete) existing E-mail of Exchange recipient, we need to use the PowerShell method –@{remove.
When we use the PowerShell parameter @{remove, we “tell” PowerShell what the exact E-mail address is that we want to remove (delete).
To delete a specific E-mail using the PowerShell parameter @{remove, we need to use the following PowerShell command syntax.
PowerShell command syntax
Set-Mailbox <identity> -EmailAddresses @{remove="<E-mail address>"}PowerShell command example
Set-Mailbox Christina -EmailAddresses @{remove="Christina-Alias02@o365info.com"}Quick tip
Another syntax option that we can use for removing E-mail address is implemented by using the “minus” (-) characters instead of the term “remove.”
We will need to use to enclose the minus character in quotes. For example:
Set-Mailbox Christina -EmailAddresses @{"-"="Christina-Alias01@o365info.com" }Remove all E-mail addresses that have a specific domain name | Bulk mode
In this section, I would like to review a scenario, in which we need to remove (delete) E-mail address that has some specific characters such as – Domain name suffix.
This operation in which we address many “objects” (Exchange Online recipients) at the same time and perform a specific update, such as – removing the E-mail address, described as “Bulk.”
Before we continue with the exact PowerShell syntax, it’s very important for me to “warn you” because when using the option of “Bulk” and especially when relating to the task of – deleting E-mail addresses, we should plan carefully our steps, test the result of the PowerShell bulk command, use the option of “Whatif” and so on.
You can read more information about the “Whatif” option in the article – Adding Email addresses using PowerShell – Bulk mode | Office 365 | Part 4#13
Scenario description
Our company owns two public domain names: o365info.com and o365pilot.com.
Following a legal problem, we will need to remove the domain name – o365pilot.com and deleted each of the E-mail addresses that their suffix includes the domain name – o365pilot.com
The characters of our organization E-mail address infrastructure are:
- Each of the organization recipients has a primary E-mail address that uses E-mail address based on the domain name o365info.com.
- Each of the organization recipients has an additional Alias E-mail address that has the “other” company domain name such as –o365pilot.com
We need to “write” a PowerShell bulk command that performs the following tasks:
- Run a Loop process on the existing Exchange Online recipient.
- Search and find an E-mail with a specific domain name suffix.
- Delete this E-mail address.
Let’s use the following scenario:
The name of the domain that we want to remove is configured via the variable $RemoveDomain.
The information about all existing Exchange Online mailboxes will be saved in the variable named $AllMailboxes.
The variable $AllMailboxes content is created by using a PowerShell query that looks for all the recipients who have an E-mail address that include the domain name o365pilot.com.
Then we run a PowerShell ForEach statement that will loop via the Exchange Online mailboxes array and run the following tasks on each of the Exchange Online mailboxes that appear in the array:
- Verify if the Exchange Online mailboxes have an E-mail address with the domain name suffix – o365pilot.com.
- If the answer is “Yes” remove each of the E-mail addresses that include the domain name – o365pilot.com.
- “Jump” to the next Mailbox in the list.
$RemoveDomain = Read-Host "Type the domain name suffix that you look for"
$AllMailboxes = $AllMailboxes = Get-mailbox | Where {$_.emailaddresses -like "smtp:*@$RemoveDomain"}
ForEach ($Mailbox in $AllMailboxes)
{
write-host -ForegroundColor green "Removing the Alias That include the domain name $RemoveDomain :" $Mailbox.EmailAddresses "for" $Mailbox.DisplayName
Set-Mailbox $Mailbox.DisplayName -EmailAddresses @{Remove=$Mailbox.EmailAddresses} -WhatIf
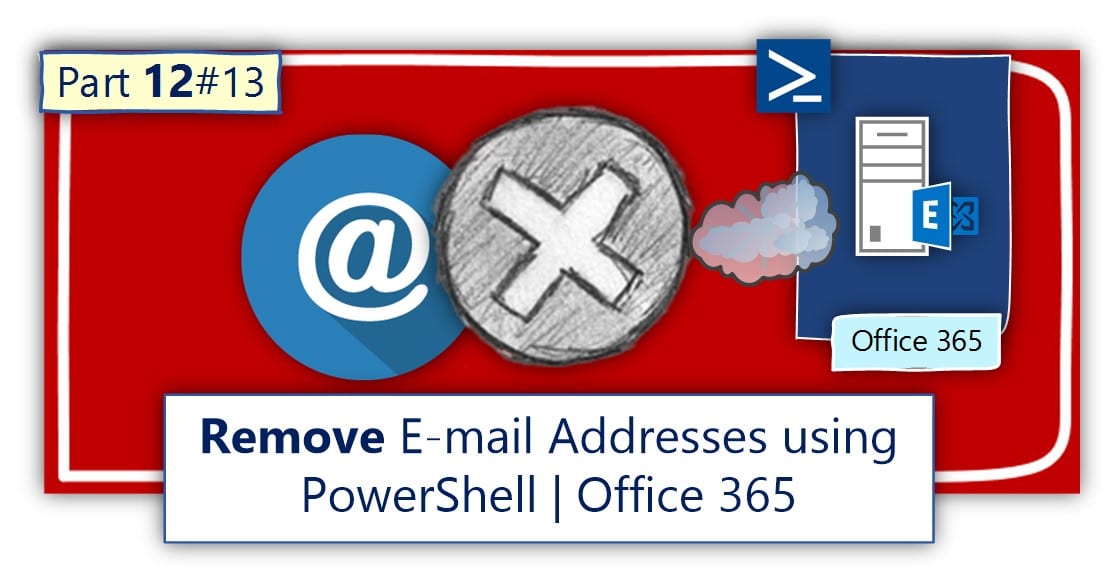
}You can find more detailed information about the subject of removing E-mail address in the article – Remove Email addresses using PowerShell | Office 365 | Part 12#13
The next article in the current article series
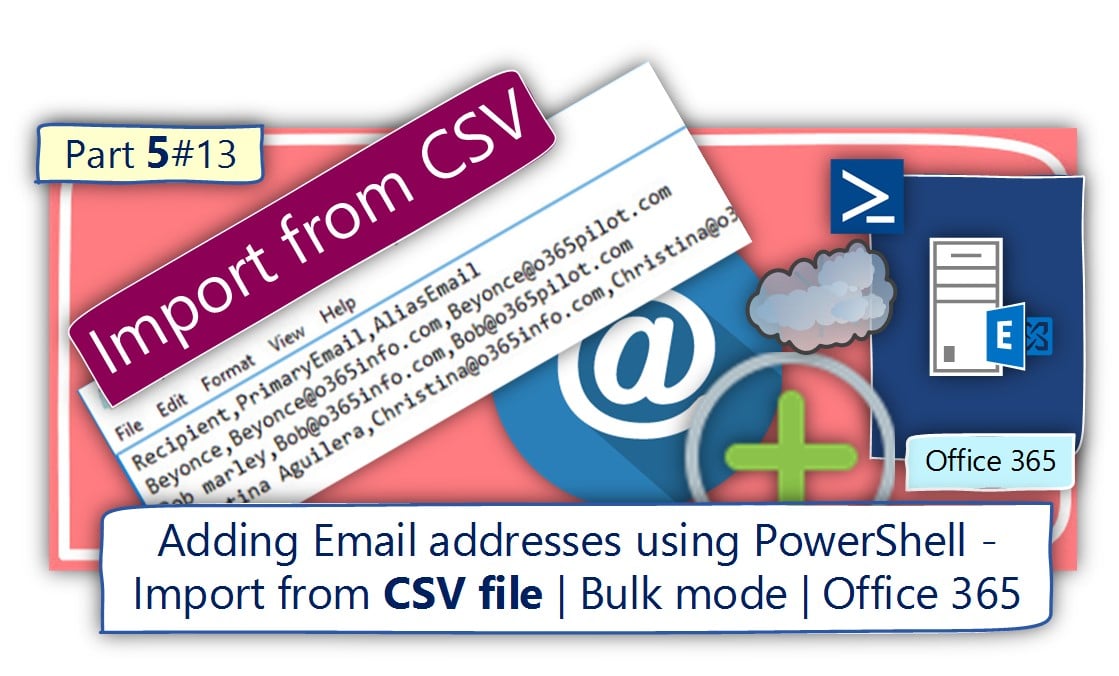
Adding Email addresses using PowerShell | Office 365 | Part 3#13
What Others Are Reading
This Post Has 0 Comments