In the current article series, we review how to use the Office 365 Search Content…
Export the content of Exchange mailbox “Recoverable items” folder to PST using the Office 365 content search | Step by step guide | 2#3
In this article, we review in detailed step by step description of the process of – exporting the content of Exchange Online mailbox to a PST file.
Table of contents
- Office 365 content search | The article series
- Step 1#4 – Add the user account to the eDiscovery Manager group
- Step 2#4 – Perform the Content Search – Define the search query
- Step 3#4 – Export the search results? (mailbox content in our scenario) to a PST file
- The next article in the current article series
Office 365 content search | The article series
The article series includes the following articles:
- Using Office 365 content search for exporting deleted mail items to a PST file – prefix | 1#3
- Export the content of Exchange mailbox “Recoverable items” folder to PST using the Office 365 content search| Step by step guide | 2#3
- Import PST file that was exported by Office 365 Content Search to Outlook | View “Recoverable items” folder | 3#3
A quick reminder for our scenario, Adele (Office 365 Global administrator) needs to check what happened to specific mail items, that were reported as mail items that “disappeared” by an organization’s user named Angelina.
Adele needs to export the content of Angelina Exchange Online mailbox to a PST file, and later, import the PST file to an Outlook mail profile, so she will be able to view and browse through the content of the “Recoverable items” folder.
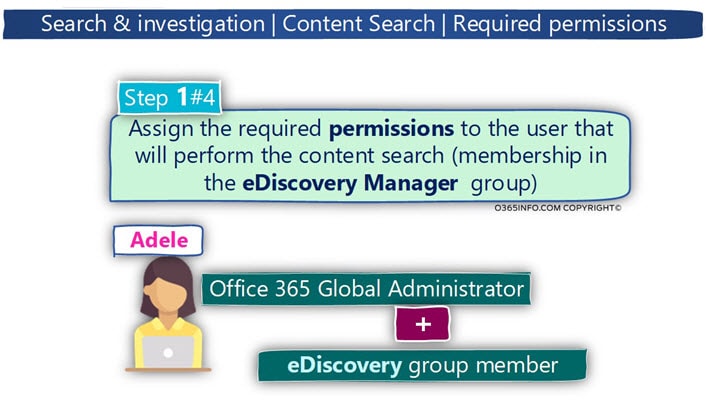
Step 1#4 – Add the user account to the eDiscovery Manager group
The first task that we need to complete is, assign the required permissions to the user who will perform the Content Search (membership within the eDiscovery Manager group).
Most of the times, the access to Office 365 Security & Compliance is implemented by a user who has Office 365 Global Administrator permissions, but it is important to emphasize that by default, the Office 365 Global Administrator role doesn’t have the required permissions for performing a search via the “Content Search” service.
To be able to perform the mailbox search + to export the search results to PST file, the user who performs the operations must be a member of a special Office 365 group named – eDiscovery Manager.
In the following section, we review how to add an Office 365 user as a member of
the eDiscovery Manager group.
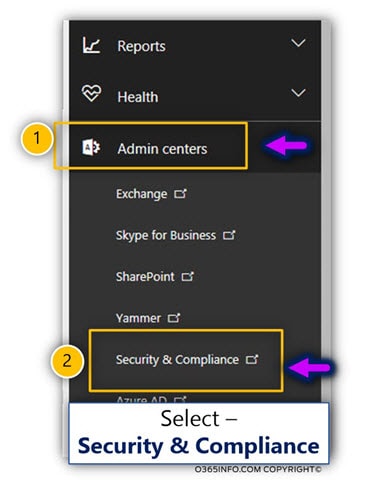
- Login to Office 365 Admin Portal
- Select the Admin centers menu
- Select the Security & Compliance menu
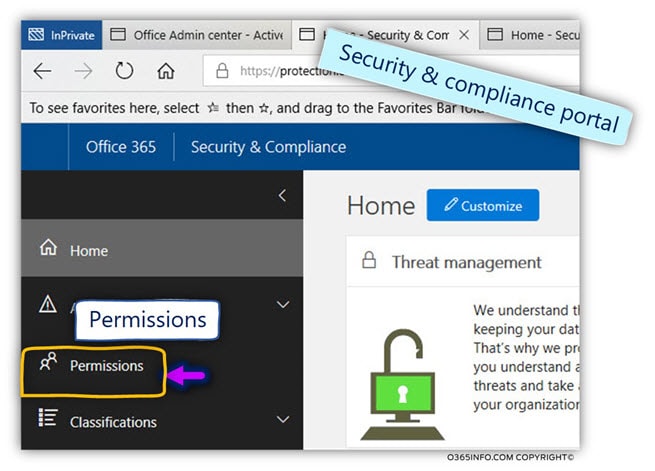
Note – you can access the Security & compliance portal by using the following https://protection.office.com
- Select the permissions menu
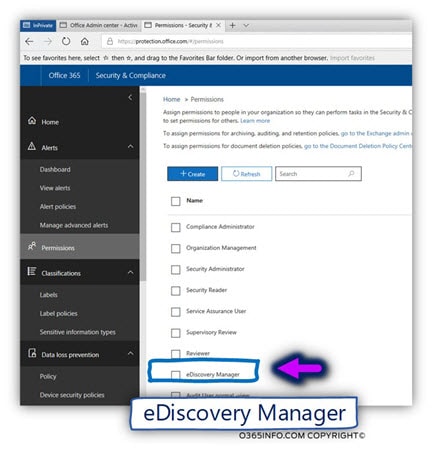
In the following section, we will add Adele as a member of the eDiscovery Manager group.
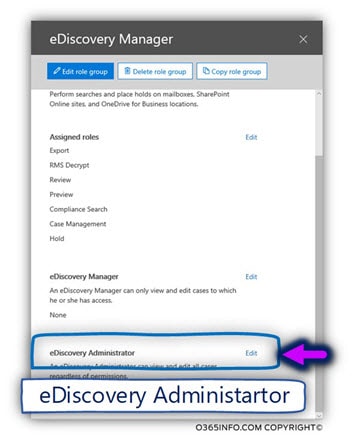
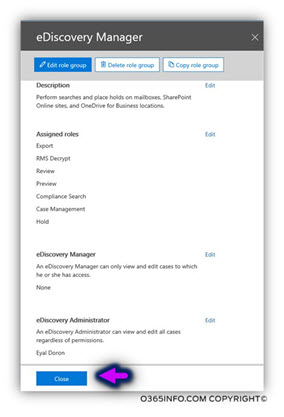
- Select the eDiscovery Manager group
- In the section, eDiscovery Administrator click – Edit
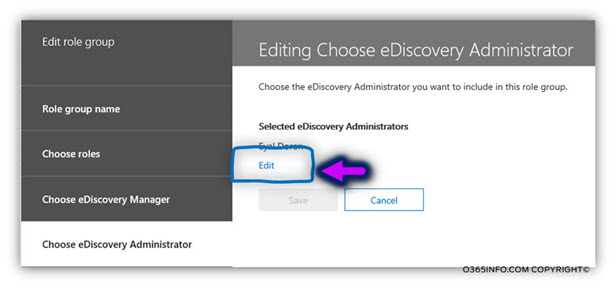
- In the section, select eDiscovery Administrators click – Edit
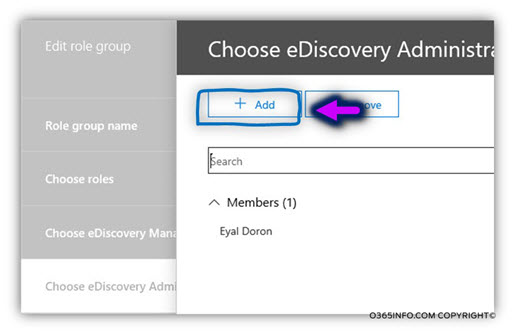
- Click Add
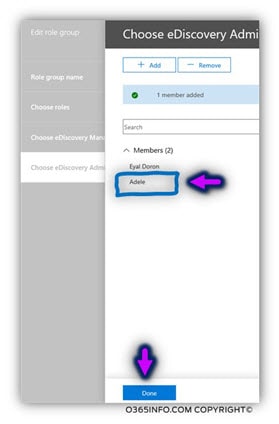
- Form the user list, select the user who will be added to the eDiscovery Manager In our scenario, this user is – Adele
- Click – Add
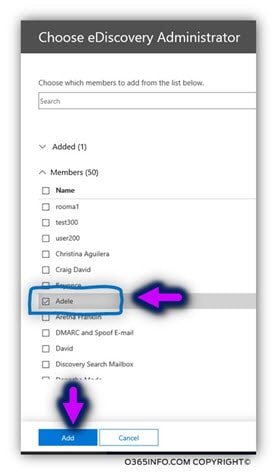
In the following screenshot, we can see that now Adele is a member of the eDiscovery Manager group
- Click – Done
- Click – Close
Note – from my experience, it takes 30-60 minutes until the permissions are updated. For this reason, it’s recommended to wait for a little before starting the Search Content and export process.
Step 2#4 – Perform the Content Search – Define the search query
In this step, we define the search query parameters for the Content Search process. A quick reminder, we are going to define a search query that will locate all the information that is stored in a specific Exchange Online mailbox named – Angelina. As mentioned, although our main purpose is to get only the mail items stored in the Recoverable items” folder, the Office 365 Content Search doesn’t include a built-in filter (condition) that enabled us to define a search query (condition) that will restrict the search only for a specific mailbox folder.
For this reason, we ask from the Office 365 Content Search to get us All the Exchange Online mailbox content and export this content to a PST file. Later, when browsing through the PST file, we will access only folders that are relevant to us (the Recoverable items” folder).
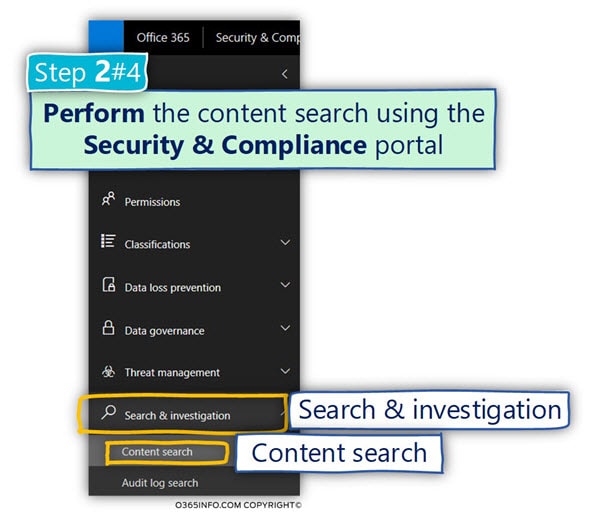
- In the Office 365 Security & compliance portal
- Select the menu – Search & investigation and select the submenu – Content search
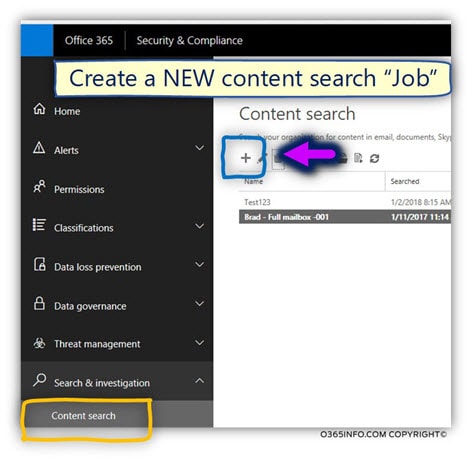
- Click on the plus icon for creating the required content search query
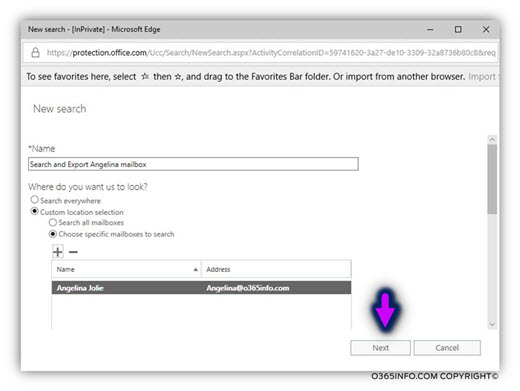
- In the *Name box, type the name of the search query
Under the section named – Where do you want us to look? Select the following two options:
- Custom location selection
- Choose specific mailboxes to search

In the next step, we will need to specify the name of the Exchange Online Mailbox for which we wish to perform the search.
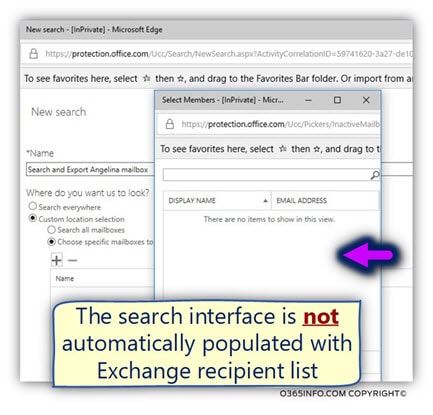
Important notes about the Web interface:
Compared to other Office 365 admin interfaces, which will automatically display a list of all existing users or mailbox accounts, the Content Search interface, does not automatically populate the Exchange Online mailbox list. In other words, the list of users is empty!
To be able to locate the specific Exchange Online mailbox that we want to add to the search, we will need to manually type the name of the mailbox and then, “run” the search process in which the Content Search fetches the required mailbox name.
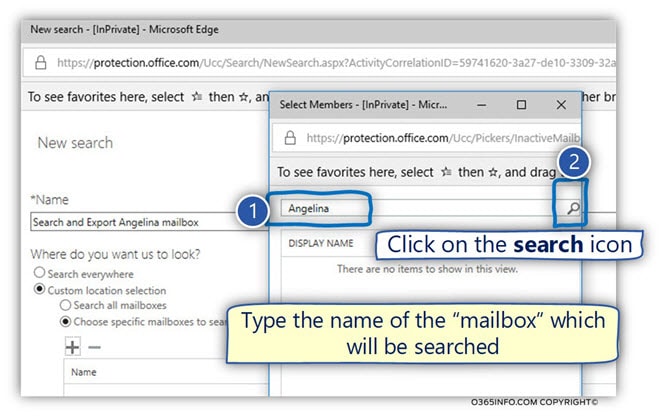
- To be able to locate the specific Exchange Online mailbox, we need to manually type the mailbox name. In our scenario, the mailbox name is – Angelina.
- Click on the search icon
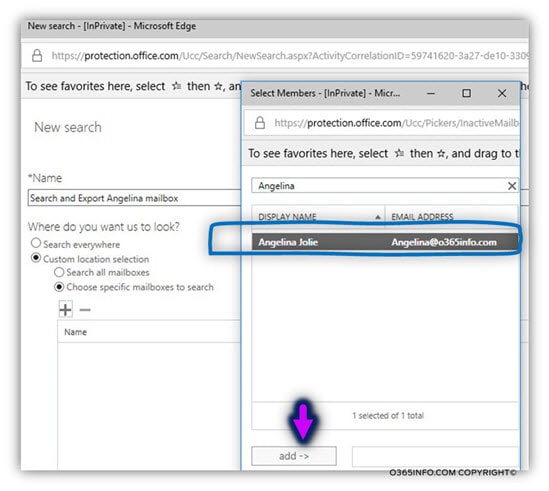
- After the required mailbox name was located, click on the Add-> button
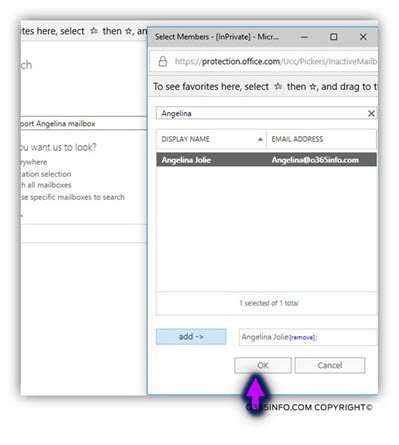
- Click OK
- Click Next
In the following screenshot, we need to decide if we want to create search filters (defined as “conditions”) that will narrow and focus the search results.
A quick reminder, in our scenario, we don’t wish to define any filter because we want to get the “Full content” of Angelina’s mailbox.
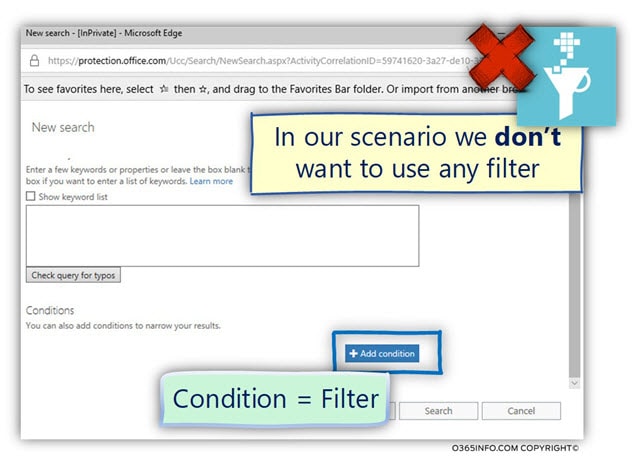
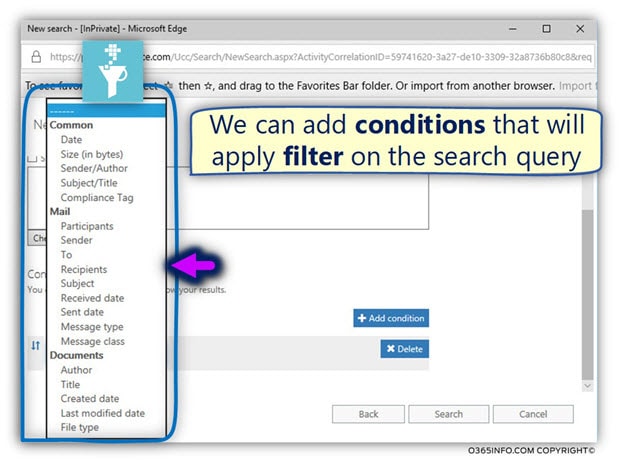
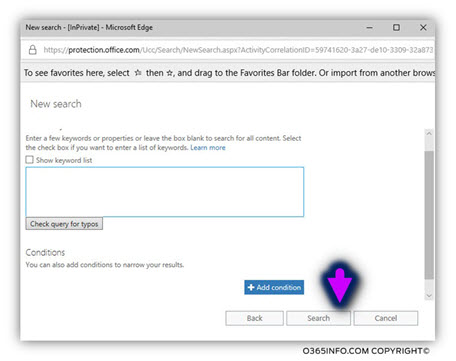
Although that in our scenario, we don’t define any condition, I would like to briefly display the option of “conditions.”
In the following screenshot, we can see an example of the various conditions (filters) that can be defined such as – specific date range, specific text string and so on.
- Click Search
In the following screenshot, we can see that the Content Search “Job” was successfully created.
Notice that when we select the specific Content Search job, on the right side on the screen, we can see detailed information about the job status, and the various tasks that can be executed.

In the following screenshot, we can see the various “parts” of the search job.
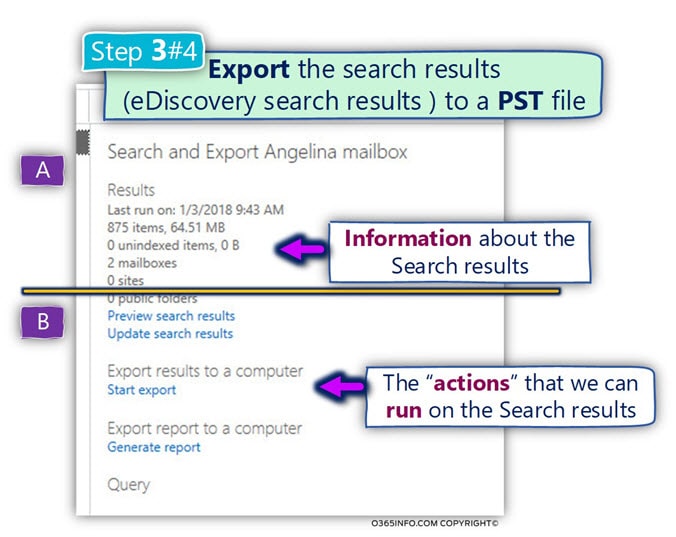
- The top part (section A in the screenshot) is the part that includes information about the Search Content
- The rest of the options (section B in the screenshot) include the specific action that we can apply to the search results.
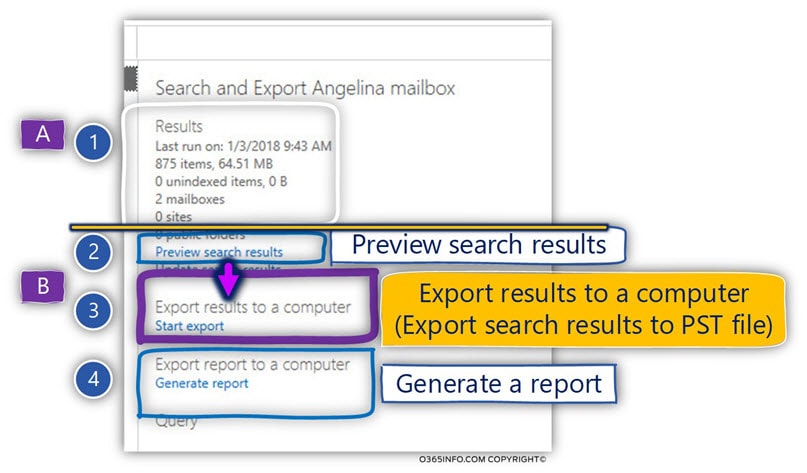
- Content search job information – the first part (number 1) is the “information part” which displays information about the specific search job such as – the number of mail items that were found, the size of all mail items, the number of mailboxes that were searched and so on.
Notice an interesting detail, in our scenario, the number of mailboxes that were searched is “2” because Angelina has one primary Exchange mailbox + Exchange Archive mailbox.
The following section enables us to execute as specific “action” on the search results.
- Preview search results (number 2) – instead of exporting the data to a PST file; we can use the content search web interface for “looking at the search results”. For example, looking at the content of a specific mail item. From my experience, this option is relevant only in a scenario in which the search results include a few mail items.
In most of the scenarios, the search result includes a large amount of “findings,” and because the search interface can display only a limited amount of mail items, most of the times, we will need to use the “export to PST file option.”
- Export results to a computer (number 3) – this is the option that we review in the current article. When selecting this option, the next step will be – installing a small application on our local desktop that will enable us to download the PST file.
- Generate a report (number 4) – this option will enable us to export a detailed report (in a CSV file format), that includes a description of each mail item that appears in the search results. Notice that this is not the actual mail item but instead, “Metadata” (data about data).
Step 3#4 – Export the search results? (mailbox content in our scenario) to a PST file
In our scenario, we select the option – Export results to a computer, Start export
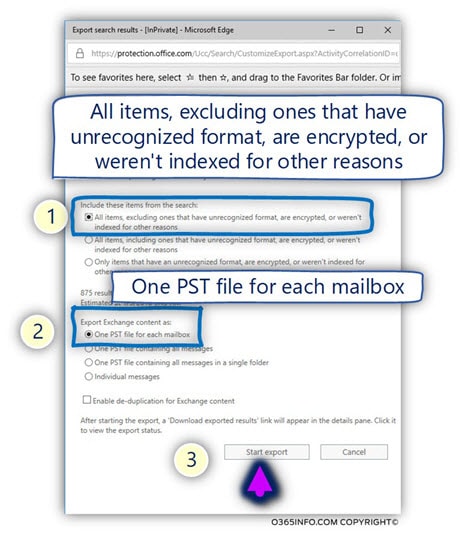
In this step, we instruct the Content Search how to perform the process of exporting the search results to a PST file.
- Under the section – Include these items from the search: select the option – All items, excluding the ones that have unrecognized format, are encrypted, or weren’t indexed for other reasons
- Under the section – Export Exchange content as – select the option – One PST file for each mailbox
- Click – Start export
The “response” of the Content Search wizard is a little confusing because associatively we assume that the export to PST will need to start.
After we click on the “Start Export” button, the export process will not start and instead, the main admin screen appears again.
The “catch” is that when we click on the option of “Start export,” we are telling the Office 365 Content Search to start to prepare all the required setting in the background, but the actual process of exporting the information to PST file is not automatically started.
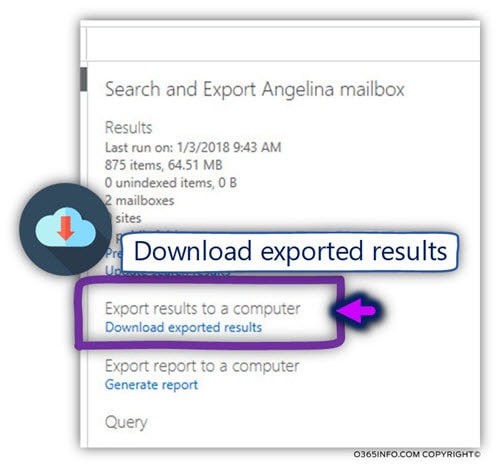
In the following screenshot, we can see that the status of the “export option” was updated and now its configured as “Download exported results.“
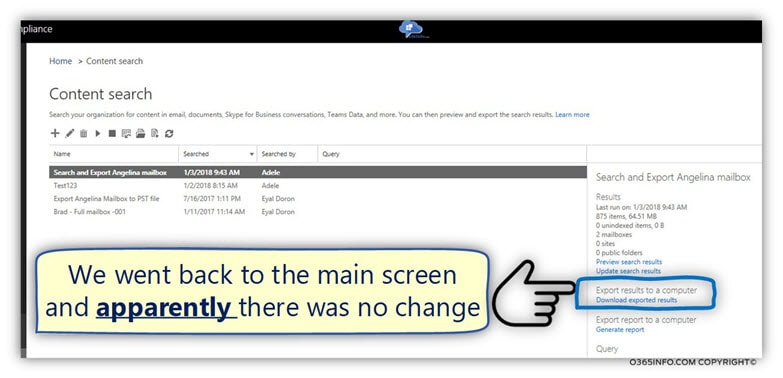
- Under the section, Export results to a computer, click on the option – Download exported results
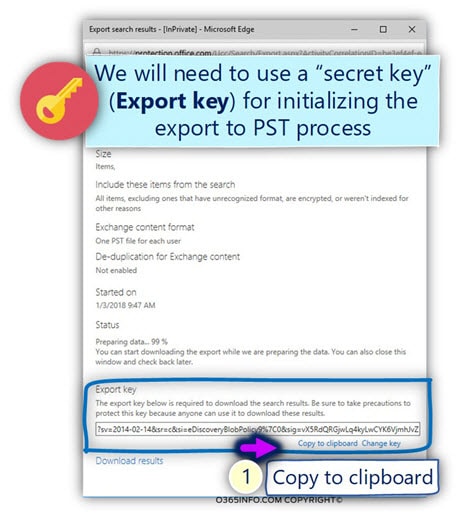
To be able to download the private data in PST file that will be saved on our local drive, Office 365 needs to verify our identity (trust the entity the perform the download file process).
This “trust” is implemented by using a “secret key” (the Export key).
- In the windows that appear, select the option – copy to clipboard
We will need this “key” at a later stage, as part of the information that we need to provide to the eDiscovery PST Export Tool.
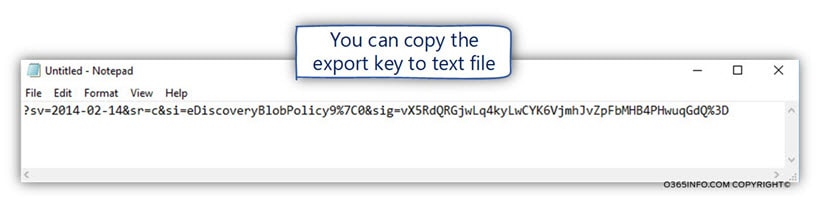
Although we don’t have to save the export key to a file, my recommendation is to save the Secret Key value in a file (such as text file) so, it will be easy for us to get this value Down the road.
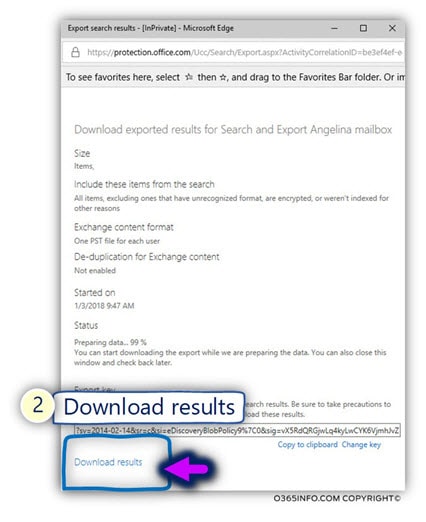
- Click on the option – Download results
In this step, we will download + install the Office 365 application that is required for implementing the process of download the search result to a PST file that will be saved on the local Hard drive.
Note – there are preliminary requirements that need for completing the process of downloading and using the eDiscovery PST Export Tool.
You can read more information about these pre-requirements for the eDiscovery PST Export Tool in the following article.
- Click – Open

- Click – Install
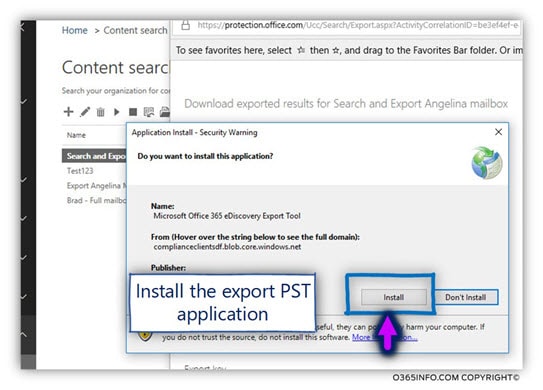
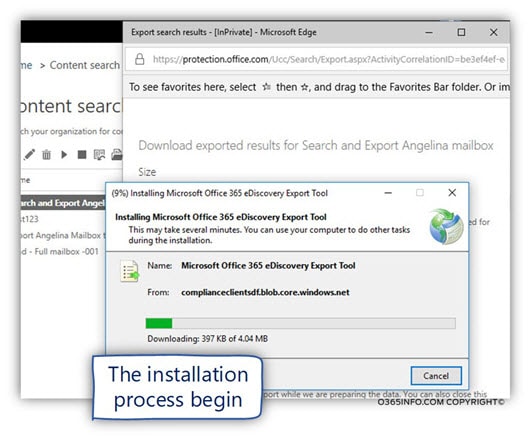
The installation process begins.
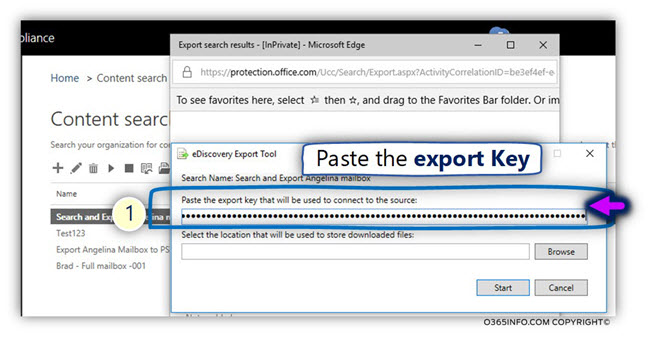
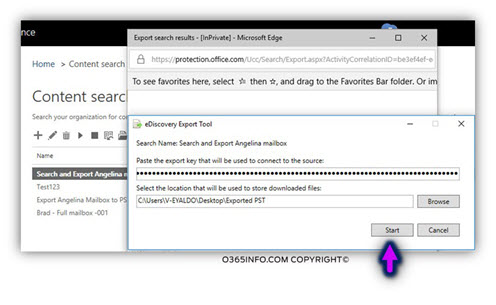
Now we will need to provide to eDiscovery PST Export Tool two details – the secret key that we got from the previous step + the location on our local Hard drive, which will use to store the PST file.

- In the section – Paste the export key that will be used to connect to the source, paste the Export Key value
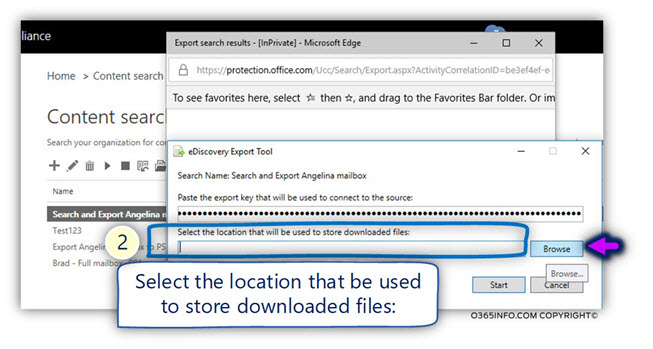
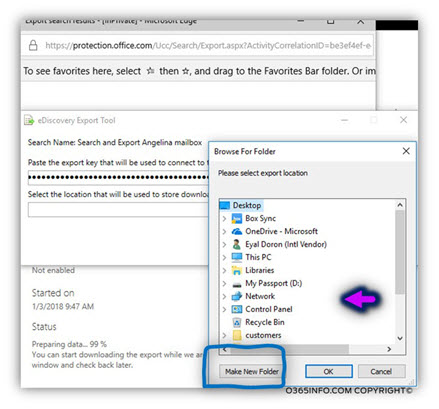
In this section, we need to define the local folder which will be used to store the PST file.
- Click on the Browse button
In our scenario, we will create a NEW folder on the desktop
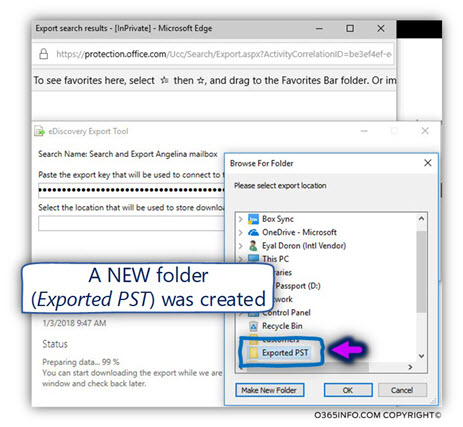
- Click – Make New Folder
- We will call the new folder – Exported PST
- Click – Start
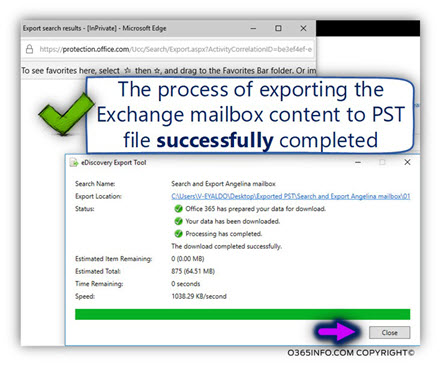
In the following screenshot, we can see that the process of exporting the Exchange mailbox content to PST file start
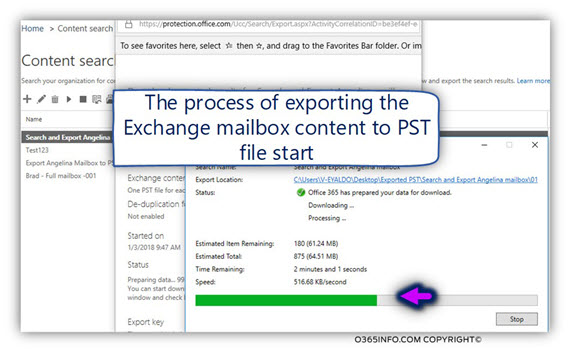
- Click – Close
Summary and recap
In the current article, we review how to use the Office 365 Content Search tool for performing a search query that gets the whole content of a specific Exchange Online mailbox + Export the information (the search results) to a PST file.
In the next article, we review how to import the PST file to the Outlook mail profile, so we will be able to browse view the content of the “Recoverable items” folder.
The next article in the current article series
What Others Are Reading

This Post Has 0 Comments