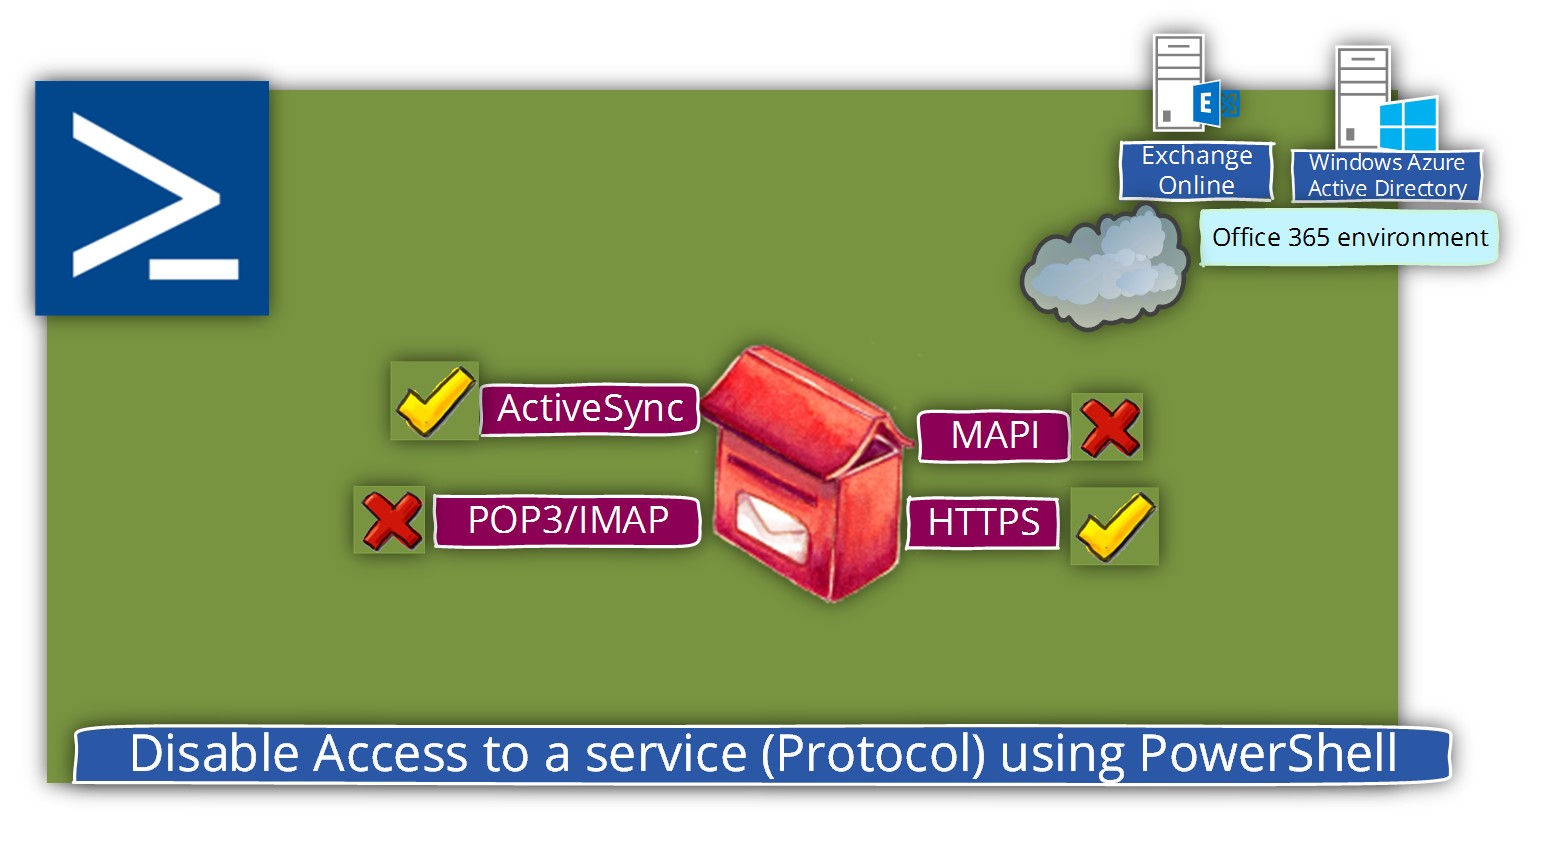
In the current article, we review the use of the PowerShell cmdlet Set-CASMailbox, which is…
Manage Room Mailbox by using PowerShell | Office 365
In the current article, we will review how to use PowerShell commands for managing Room mailbox in Exchange Online environment.
Table of contents
Connect to Exchange Online PowerShell
To be able to run the PowerShell commands specified in the current article, you will need to Connect to Exchange Online PowerShell.
Start Windows PowerShell as administrator and run the cmdlet Connect-ExchangeOnline.
Connect-ExchangeOnlineResource Mailbox
Resource Mailbox is a special type of Mailbox that uses for the management of Meeting Rooms and Equipment. The Resource Mailbox doesn’t require a license.
Management of Resource Mailbox could implement by using one of the following options:
- Self-management: The Resource Mailbox will be configured for automation of accepting meeting requests (or decline meeting request if a previous meeting request already set).
- Resource Mailbox Delegate: The delegate is the person that will accept the meeting requests and approve or decline the meeting requests.
The term “resource Mailbox” includes two types of Mailboxes:
- Room Mailbox
- Equipment Mailbox
There is a small difference between the two types of resource mailbox but the use, and the purpose is quite similar (most of the examples will relate to room Mailbox).
1. Creating Resource Mailbox
Creating Room (Resource) Mailbox
PowerShell command syntax:
New-Mailbox -Name "<Identity>" -RoomPowerShell command example:
New-MailBox -Name "FL ROOM1" -RoomCreate new Equipment Mailbox
PowerShell command syntax:
New-Mailbox -Name "<Name>" -EquipmentPowerShell command example:
New-Mailbox -Name "Projector 01" -Equipment2. Room Mailbox Management
Booking options: Enable Automatic Booking for a Room Mailbox
PowerShell command syntax:
Set-CalendarProcessing "<Identity>" -AutomateProcessing AutoAcceptPowerShell command example:
Set-CalendarProcessing "FL ROOM1" -AutomateProcessing AutoAcceptBooking options: Enable Automatic Booking for all Resource Mailbox (Bulk Mode)
PowerShell command example:
Get-MailBox | Where {$_.ResourceType -eq "Room"} | Set-CalendarProcessing -AutomateProcessing:AutoAcceptBooking options: Assign approving delegate (Room Mailbox Calendar)
PowerShell command syntax:
Set-CalendarProcessing "<Identity>" –ResourceDelegates "<Identity>"PowerShell command example:
Set-CalendarProcessing "FL ROOM1" –ResourceDelegates "John"Assign Room Mailbox Manager Full Access permission
PowerShell command syntax:
Add-MailBoxPermission "<Identity>" -User "<Identity>" -AccessRights FullAccessPowerShell command example:
Add-MailBoxPermission "FL ROOM1" -User "John" -AccessRights FullAccessAssign Room Mailbox Manager -Assigning Send As permission
PowerShell command syntax:
Add-RecipientPermission "<Identity>" -Trustee "<Identity>" -AccessRights SendAs -Confirm:$FalsePowerShell command example:
Add-RecipientPermission "FL ROOM1" -Trustee "John" -AccessRights SendAs -Confirm:$FalseSet the default permission of Calendar to: Publishing Editor
PowerShell command syntax:
Set-MailBoxFolderPermission "<Room:\Calendar>" –User default –AccessRights PublishingEditorPowerShell command example:
Set-MailBoxFolderPermission "FL-ROOM1:\Calendar" –User default –AccessRights PublishingEditorAllow conflict meetings when using the option of Automatic Booking
PowerShell command syntax:
Set-CalendarProcessing "<Room name>" -AllowConflicts $TruePowerShell command example:
Set-CalendarProcessing "FL-ROOM1" -AllowConflicts $True3. Display Information about Room Mailbox
Display list of Room Mailboxes
PowerShell command example:
Get-Mailbox -Filter '(RecipientTypeDetails -eq "RoomMailBox")' | Select Name,AliasDisplay list of Equipment Mailboxes
PowerShell command example:
Get-Mailbox -Filter '(RecipientTypeDetails -eq "quipmentMailBox")' | Select Name,AliasDisplay Room Mailbox Calendar Settings
PowerShell command syntax:
Get-Mailbox "<Identity>" | Select ResourceType,RejectMessagesFrom,RejectMessagesFromDLMembers,RejectMessagesFromSendersOrMembers,SendModerationNotificationsPowerShell command example:
Get-Mailbox "FL ROOM1" | Select ResourceType,RejectMessagesFrom,RejectMessagesFromDLMembers,RejectMessagesFromSendersOrMembers,SendModerationNotificationsDisplay Room MailBox: Calendar Processing Settings
PowerShell command syntax:
Get-Mailbox "<Identity>" | Get-CalendarProcessing | FLPowerShell command example:
Get-Mailbox "FL ROOM1" | Get-CalendarProcessing | FLDisplay Room Mailbox Permissions: Moderated By
PowerShell command syntax:
Get-Mailbox <Room Name> | FT -Property ModerationEnabled,ModeratedBy,GrantSendOnBehalfTo –AutoSizePowerShell command example:
Get-Mailbox "FL ROOM1" | FT -Property ModerationEnabled,ModeratedBy,GrantSendOnBehalfTo –AutoSizeDisplay Room Mailbox: Calendar Permission
PowerShell command syntax:
Get-MailBoxFolderPermission <Room:\Calendar> | Select FolderName,User,AccessRightsPowerShell command example:
Get-MailBoxFolderPermission "FL-ROOM1:\Calendar" | Select FolderName,User,AccessRights4. General settings for Resource Mailbox
Set the Room Calendar to show the ‘Organizer’ and ‘Subject’ of the meeting
PowerShell command syntax:
Set-CalendarProcessing <Room Name> -AddOrganizerToSubject $True -DeleteComments $False -DeleteSubject $FalsePowerShell command example:
Set-CalendarProcessing "FL ROOM1" -AddOrganizerToSubject $True -DeleteComments $False -DeleteSubject $FalseSet the Room Calendar to show ‘limited details’
PowerShell command syntax:
Set-MailBoxFolderPermission -AccessRights LimitedDetails <Room:\Calendar> -User defaultPowerShell command example:
Set-MailBoxFolderPermission -AccessRights LimitedDetails "FL ROOM1":\Calendar -User defaultConfigure Booking Window In Days
PowerShell command syntax:
Get-Mailbox <Room:\Calendar> | Set-CalendarProcessing -BookingWindowInDaysPowerShell command example:
Get-MailBox "FL ROOM1" | Set-CalendarProcessing -BookingWindowInDays 200Display “Booking Window In Days” Settings of a Room Mailbox
PowerShell command syntax:
Get-Mailbox <Room:\Calendar> | Get-CalendarProcessing | FL Identity,BookingWindowInDaysPowerShell command example:
Get-Mailbox "FL ROOM1" | Get-CalendarProcessing | FL Identity,BookingWindowInDaysCreate a new Room list
PowerShell command syntax:
New-DistributionGroup -Name <Group Name> -RoomListPowerShell command example:
New-DistributionGroup -Name "FL ROOM1" -RoomList5. Convert Mailbox
Convert Regular Mailbox to Room Mailbox
PowerShell command syntax:
Set-Mailbox <Identity> -Type RoomPowerShell command example:
Set-Mailbox "John" -Type RoomConvert Room Mailbox to Regular Mailbox
PowerShell command syntax:
Get-Mailbox <Room:\Calendar> | Set-Mailbox -Type RegularPowerShell command example:
Get-Mailbox "FL ROOM1" | Set-Mailbox -Type Regular6. Delete Room Mailbox
Soft delete Room Mailbox
PowerShell command syntax:
Remove-Mailbox -Identity "<Room Identity>" -Confirm:$falsePowerShell command example:
Remove-Mailbox -Identity "FL ROOM1" -Confirm:$falseBulk soft delete Room Mailbox
PowerShell command example:
Get-Mailbox -Filter '(RecipientTypeDetails -eq "RoomMailBox")' -ResultSize Unlimited | Remove-Mailbox -Confirm:$false


Hello What is best way to fully delete Room Mailboxes?
I have a calendar made for reservation of a virtual showroom. It is only the salesforce, that should be able to book the ‘room’. Or even to see the calendar. How to I permit these 12 people and nobody else to book the ‘room’?
So no-one found a way to add a user to all rooms/resources in one powershell command rather than having to do it individual for every single room/resource in your organisation?
By groups, I am talking about mail enabled security groups.
Good overview but missing how to use groups to manage Calendar Permissions on meeting rooms. Default works but PowerShell and Groups are pain in the…..
I am looking at locking down some resource calendars such that only 1 of our 365 domains can book it. Can i do this without maintaining a security group for all users of that particular domain? I want just some rooms to be bookable by one domain, others by everyone. All domains are in our 365 tenant of course.
@Rolldy look into the option for ‘BookInPolicy’ if you are utilizing autoattendant. This will only allow user specified to book the resource.
I am reviewing the output of me current resource rooms to the ones I just created and I am finding that I am not able to add the group while in the GUI, thus the reason I am here collecting PS commands. However what I am finding is that I need to change several additional areas:
ScheduleOnlyDuringWorkingHours: False to True
AllBookInPolicy: True to False
AllRequestinPolicy: False to True
AddAdditionalResponse: False to True
Hi
It’s possible to add automatically all resources (salles) in calendar of my entity ?
I’va 11 resources, and it’s hard to add one at one, them, in user calendar of my compagny (1200 users)
Thanks
Hi, these are a great collection of management tips.
Is there a way I can perform this one in bulk for all room resources?
I can’t find a way to pipe a query for this part of the script ()
Set-MailBoxFolderPermission -AccessRights LimitedDetails -User default
Thanks,
Corey
Hello, Thanks for these tips. Is there a way to define room’s location, phone number… by using power shell ?? Regards
You can rename the room, and the bookings will remain in place in the room calendar, but the new name is NOT reflected in the organizers calendar nor the Attendee calendar. So you must manually warn the organizer that the change has occurred and that they should update the room name in the booking and send the update a to the attendees.
I need to rename a room resource. How can I do that without deleting all existing reservation.
The Room can be renamed and the bookings will stay in place, but the organizers calendar will not update nor will attendee calendars be updated, so you need to warn the organizer that the room is renamed, then he must update the room in his invite and send it to the attndees. Pretty Painful.
Hey, Awesome script & site!
I am tasked with trying to come up with a report for conf rooms to show the utilisation, can anyone offer some assistance on how to get that information?
i need to add a user to a room mailbox.
I tried running this code
Add-RecipientPermission “Room mailbox (4)” -Trustee “Sidey” -AccessRights SendAs -Confirm:$False
Give me error “Error
term ‘Add-RecipientPermission’ is not recognized as the name of a cmdlet, function, script file, or operable progra
heck the spelling of the name, or if a path was included, verify that the path is correct and try again.”
I am an admin
Currently using exchange 2010
Please advise
Great Script, you’ve done a fantastic job, thank you !
Thanks for the script.
I am glad I found this Article. I have been looking for a ps command that I can use so that people can see who booked a conference room and the subject.
Don’t you have to set the sendrecive quota to 250mb on the room mailbox to ensure you don’t go over the free service limit restriction?
Don’t you have to set the send and receive quota to 250MB because that is a service limit to have a free conference room right?
Cheers buddy, Thanks for the assistance.
Awesome Script! Saved me a ton of time!
As far as I know , the issue of “converting an existing Distribution Group to a security group” is not enabled in office 365 ( Exchange online)The only option to set Distribution Group also as a “Security Group” is when you create a new Distribution Group. To set a Distribution Group also as a security group you can use one of the following options: 1. Exchange online Web Interface when you create a new Distribution Group chooses the check box: “Make this group a security group”2. PowerShell For example: New-DistributionGroup -Name “Office Users” -Type “Security”If you want to be sure that this option is not enabled, you can try to use the following PowerShell commandSet-DistributionGroup -name “Office Users” -Type “Security”You will get the following error “A parameter cannot be found that matches parameter name ‘Type’”
We create a Security Group and assign that group to be the resource Delegate, this allows the group owner to select the delegates. The group has “FullAccess” to the resource; the group has “Reviewer” access to the /Calendar:
Add-MailboxPermission -Identity Resource_Name `
-AccessRights FullAccess `
-User Security_Group
Add-MailboxFolderPermission -Identity Resource_Name:Calendar `
-AccessRights Reviewer `
-User Security_Group
The use of security groups gives greater flexibility for resource management. For some resources, our default of “Reviewer” may be insufficient; the delegates may change this via Outlook (or contact us).