You can check the Microsoft authentication methods status per user in the Microsoft Entra admin…
Create unlimited Client Secret in Microsoft Entra ID
A Client Secret has an expiration date of up to 2 years when you create it from the Microsoft Entra ID portal. But we don’t want to take care of it and renew the Client Secret every 2 years. What if we could create a Client Secret with an unlimited expiration date? In this article, you will learn how to create an unlimited Client Secret in Microsoft Entra ID with PowerShell.
Table of contents
Client Secret in Microsoft Entra ID
Credentials allow your application to authenticate itself, requiring no interaction from a user at runtime. Because it’s easy to use, we will add a Client Secret as credentials to an app registration.
There are two ways to create a Client Secret to an application:
- Client Secret in Microsoft Entra ID valid for a maximum of 24 months
- Client Secret with PowerShell valid for unlimited time
If you already have a Client Secret for an application in Microsoft Entra ID and need to renew it, then you don’t need to create a new one in Microsoft Entra ID. You can use the PowerShell script to create an unlimited Client Secret.
Register an application in Microsoft Entra admin center
Time needed: 6 minutes
How to register an application in Microsoft Entra ID.
- Go to Microsoft Entra admin center.
Sign in to Microsoft Entra admin center
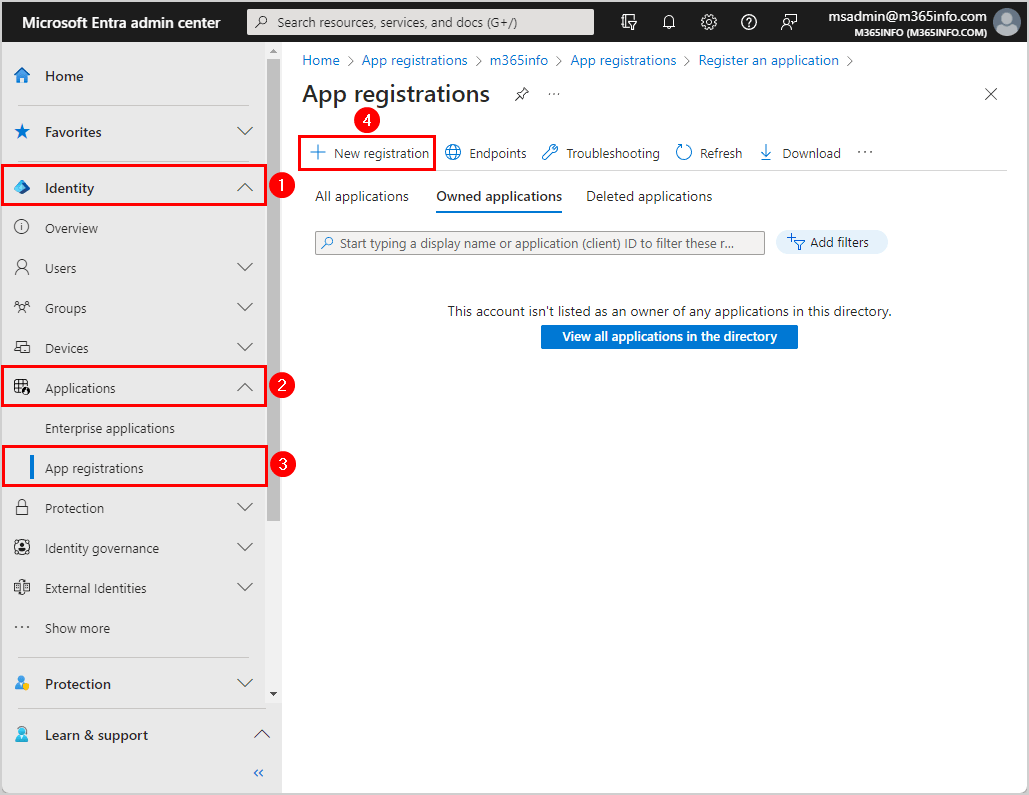
- App registrations.
Click Identity > Applications > App registrations > New registration

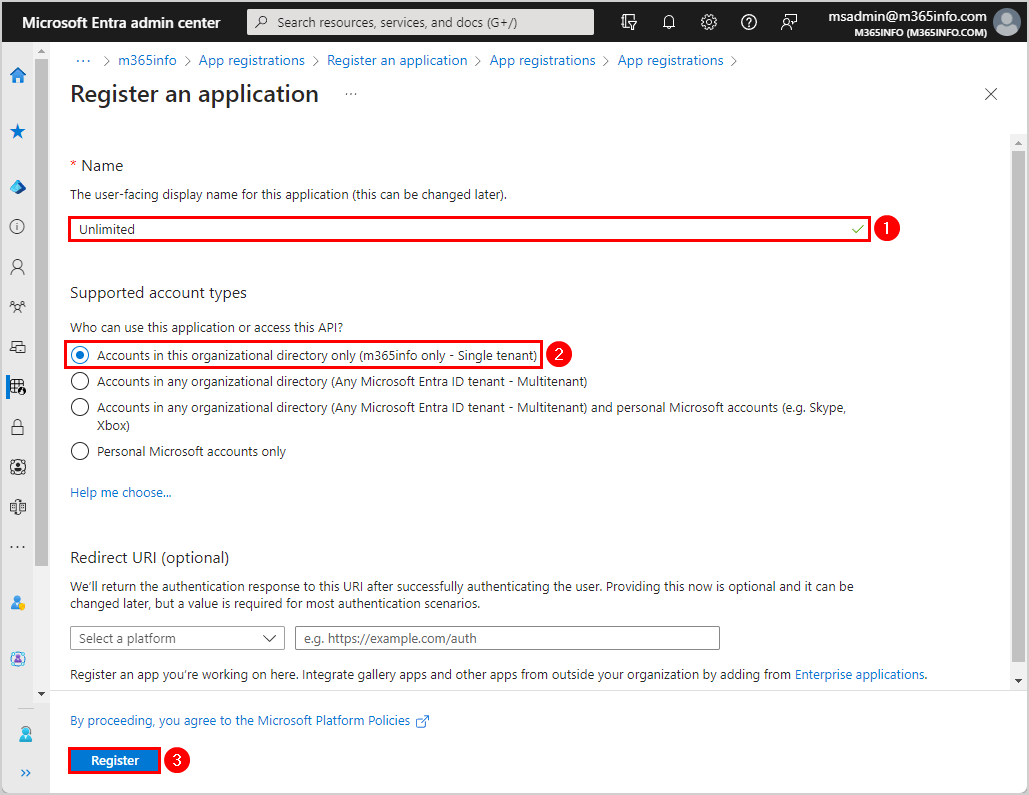
- Register an application.
Name your application Unlimited
Select Accounts in this organizational directory only – (Single tenant)
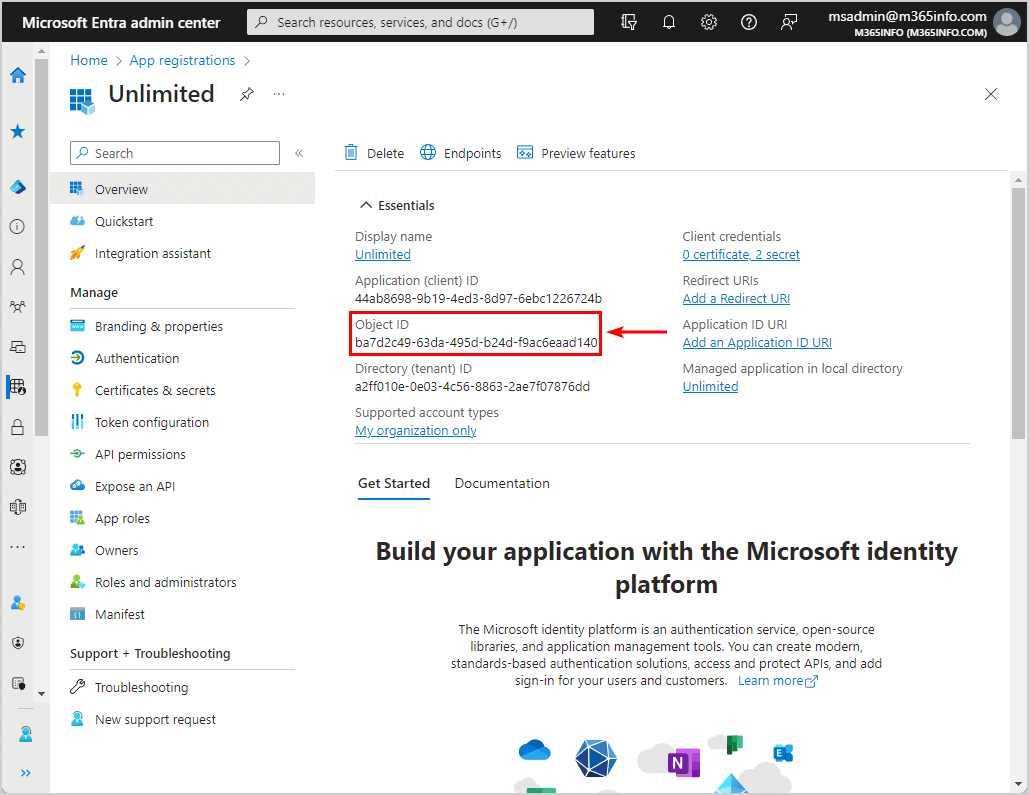
Click Register - The newly created app (Unlimited) Overview page.
Copy the Object ID and paste it into Notepad, as you will need it later with PowerShell when creating an unlimited Client Secret
Create a Client Secret for application in Microsoft Entra ID
To create a Client Secret for your application in Microsoft Entra ID, follow these steps:
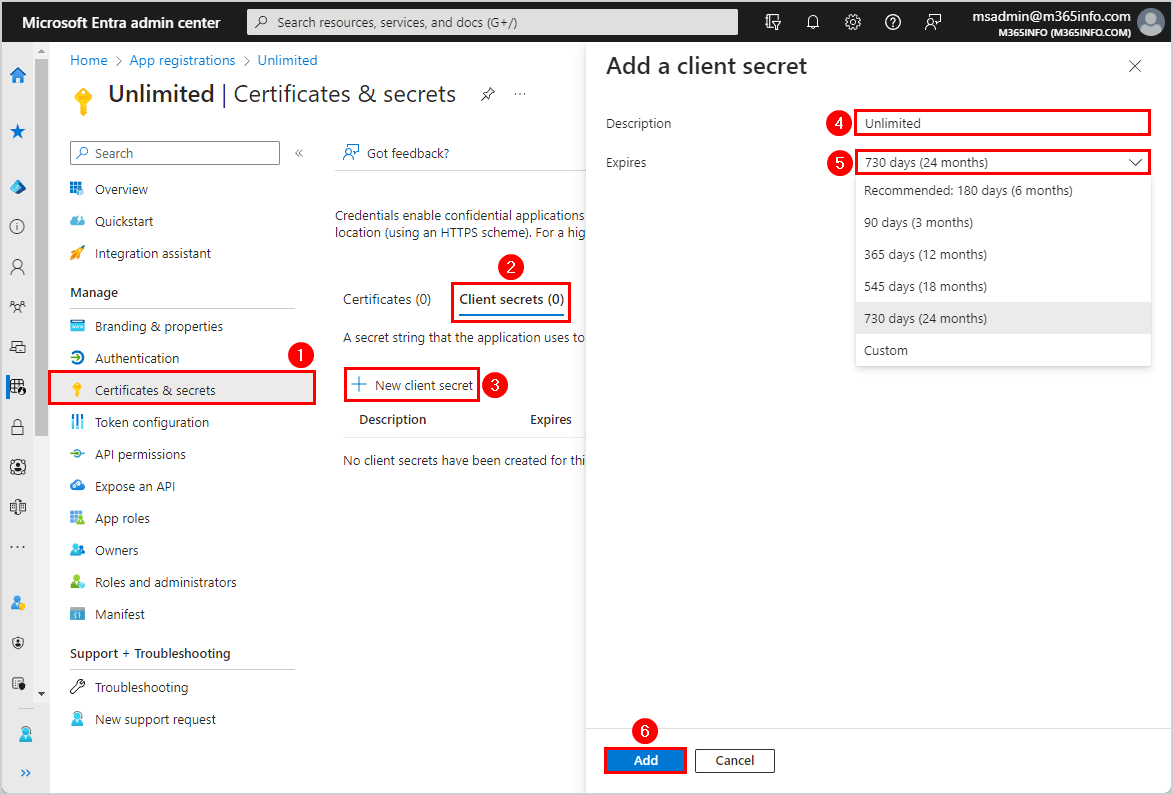
- Click on Certificates & secrets
- Click Client secrets > New client secret
- Type the description
- Select an expiration date
- Click Add
Note: The Client Secret expiration date has a maximum of 24 months (2 years). You can’t choose a longer expiration period in Microsoft Entra ID when you create or renew a Client Secret. This is only possible with PowerShell, where you can set an unlimited expiration date.
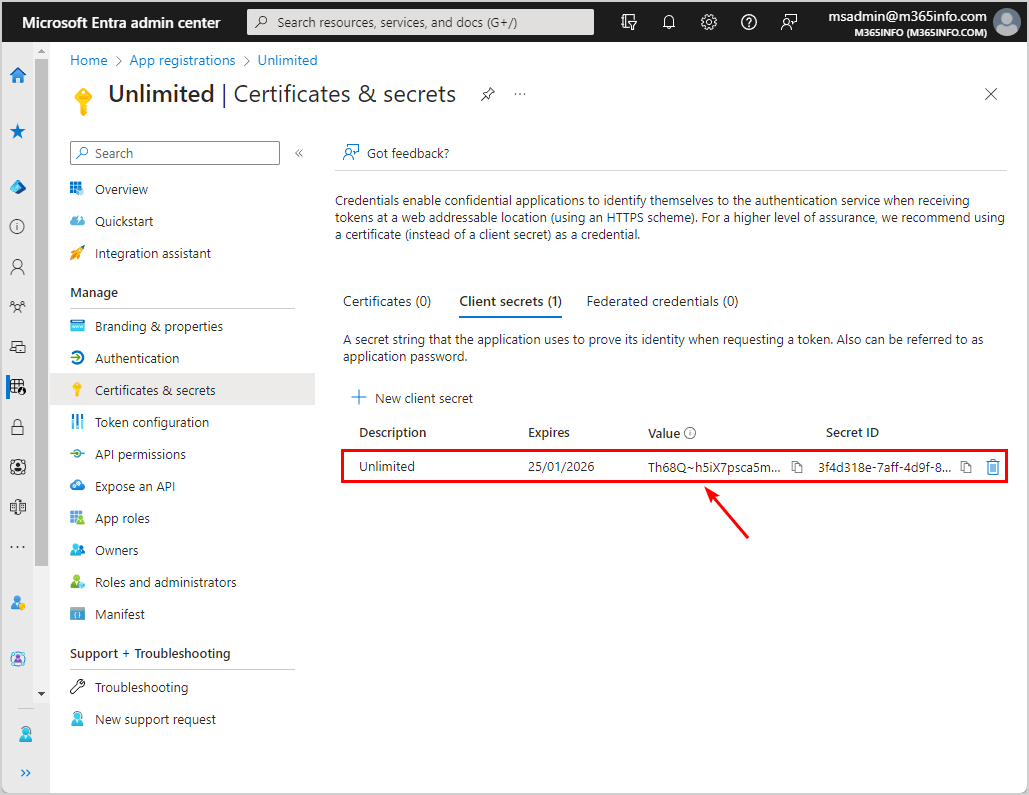
- Copy the Client Secret Value and save it
Note: Client Secret values cannot be viewed except immediately after creation. Remember to save the secret when created before leaving the page.
Create unlimited Client Secret for application with PowerShell
Once you create an app registration, you can create a Client Secret and set the expiration date unlimited with PowerShell.
Before you start, you must Install the Microsoft Graph PowerShell module. Start Windows PowerShell as administrator and run the below command.
Install-Module Microsoft.Graph -ForceImportant: Always install the latest Microsoft Graph PowerShell module version before you run a cmdlet or script to prevent errors and incorrect results.
Follow the steps below to create an unlimited Client Secret with PowerShell:
- Open PowerShell as administrator
- Specify the Object ID you copied earlier on line 5
- Fill in the Client Secret Description you created earlier on line 6
- Type the number of expiration years on line 7
- Run the PowerShell script
# Connect to Microsoft Graph
Connect-MgGraph -Scopes 'Application.ReadWrite.All'

# Parameters
$AppObjectId = "bb32d329-b30c-4b4b-97cb-17de0768541c"
$AppSecretDescription = "Unlimited"
$AppYears = "50"

$PasswordCred = @{
    displayName = $AppSecretDescription
    endDateTime = (Get-Date).AddYears($AppYears)
}

# Add App Client Secret - Valid for 50 years (change to 999 for unlimited years)
$Secret = Add-MgApplicationPassword -ApplicationId $AppObjectId -PasswordCredential $PasswordCred

# Write Client Secret value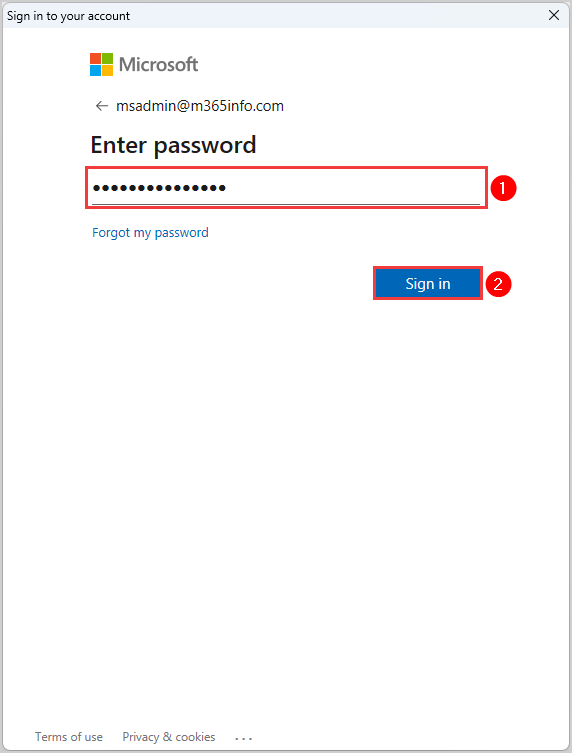
$Secret | Format-List- Sign in with your global administrator credentials
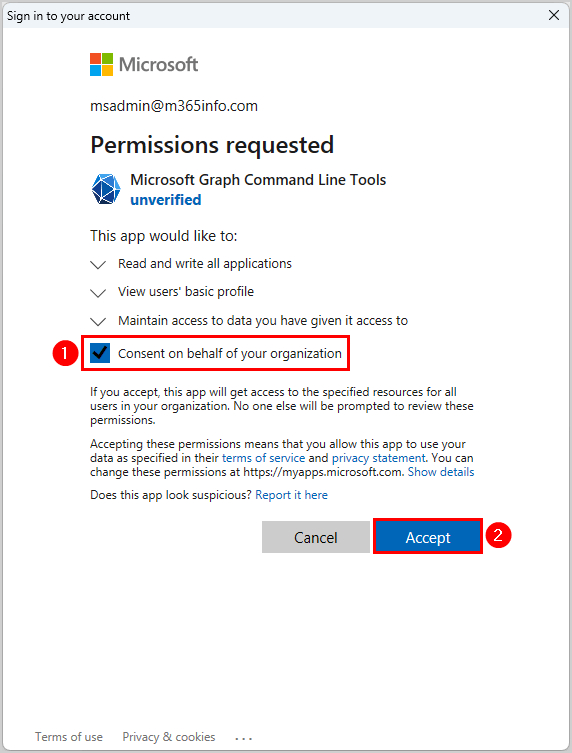
- Select Consent on behalf of your organization
- Click Accept
- The PowerShell output shows the SecretText (Client Secret Value)
CustomKeyIdentifier  :
DisplayName          : Unlimited
EndDateTime          : 26/01/2074 11.17.05
Hint                 : FxW
KeyId                : f9cc22f4-f7e5-4c31-b8fb-3f426eb2ea21
SecretText           : FxW8Q~D0SFDLGGjRml3mGgcHxpxiOwPpjU.w6c3H
StartDateTime        : 26/01/2024 11.17.04
AdditionalProperties : {[@odata.context, https://graph.microsoft.com/v1.0/$metadata#microsoft.graph.passwordCredential]}- Copy the SecretText (Client Secret Value) and save it
Note: Client secret values cannot be viewed except immediately after creation. Remember to save the secret before you close the PowerShell window.
- Go to your application in Microsoft Entra admin center
- Click on Certificates & Secrets > Clients Secrets
- Delete the Client Secret that is going to expire
You can see that your new Client Secret is added and expires after 50 years.
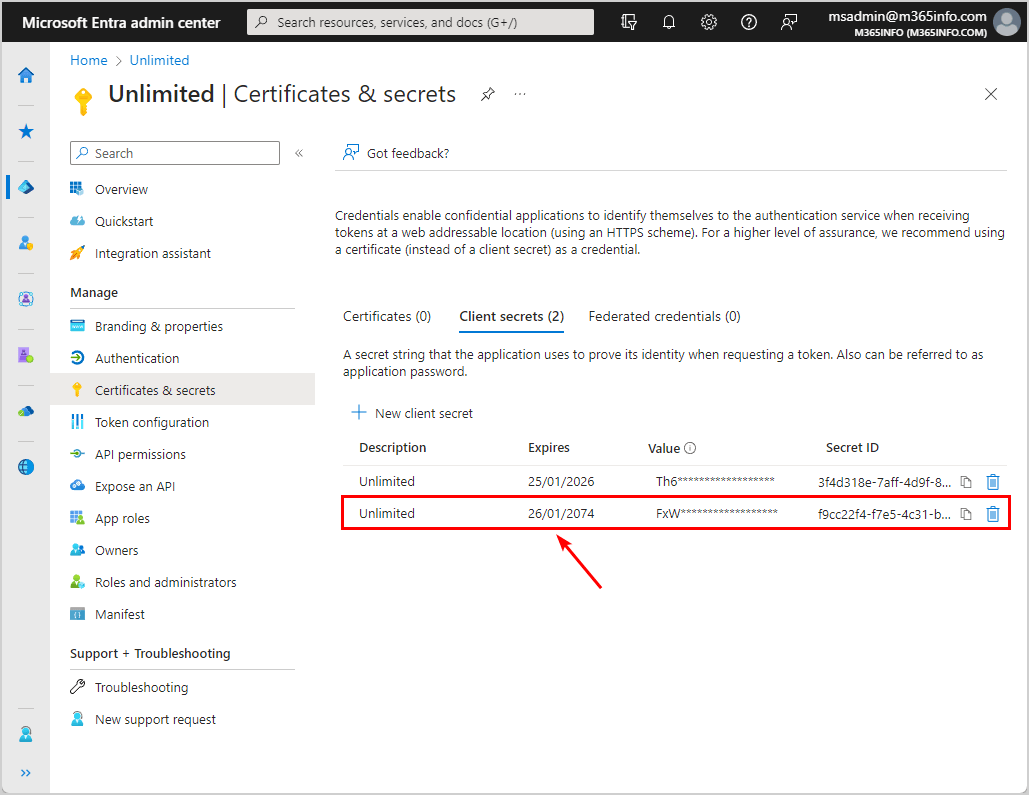
You successfully configured a Client Secret for an application in Microsoft Entra admin center that never expires!
Read more: Configure Certificate-Based Authentication to run automated PowerShell scripts »
Conclusion
You learned how to create an unlimited Client Secret in Microsoft Entra ID with PowerShell. First, create a new Client Secret in Microsoft Entra ID. Next, use the Object ID and paste it into the PowerShell script with an expiration year of your choice. From now on, it’s no longer necessary to renew the Client Secret as there is no expiration date.
Did you enjoy this article? You may also like How to set Microsoft 365 password to never expire. Don’t forget to follow us and share this article.
This Post Has 0 Comments