In the current article and the next article, we review the various PowerShell cmdlets that…
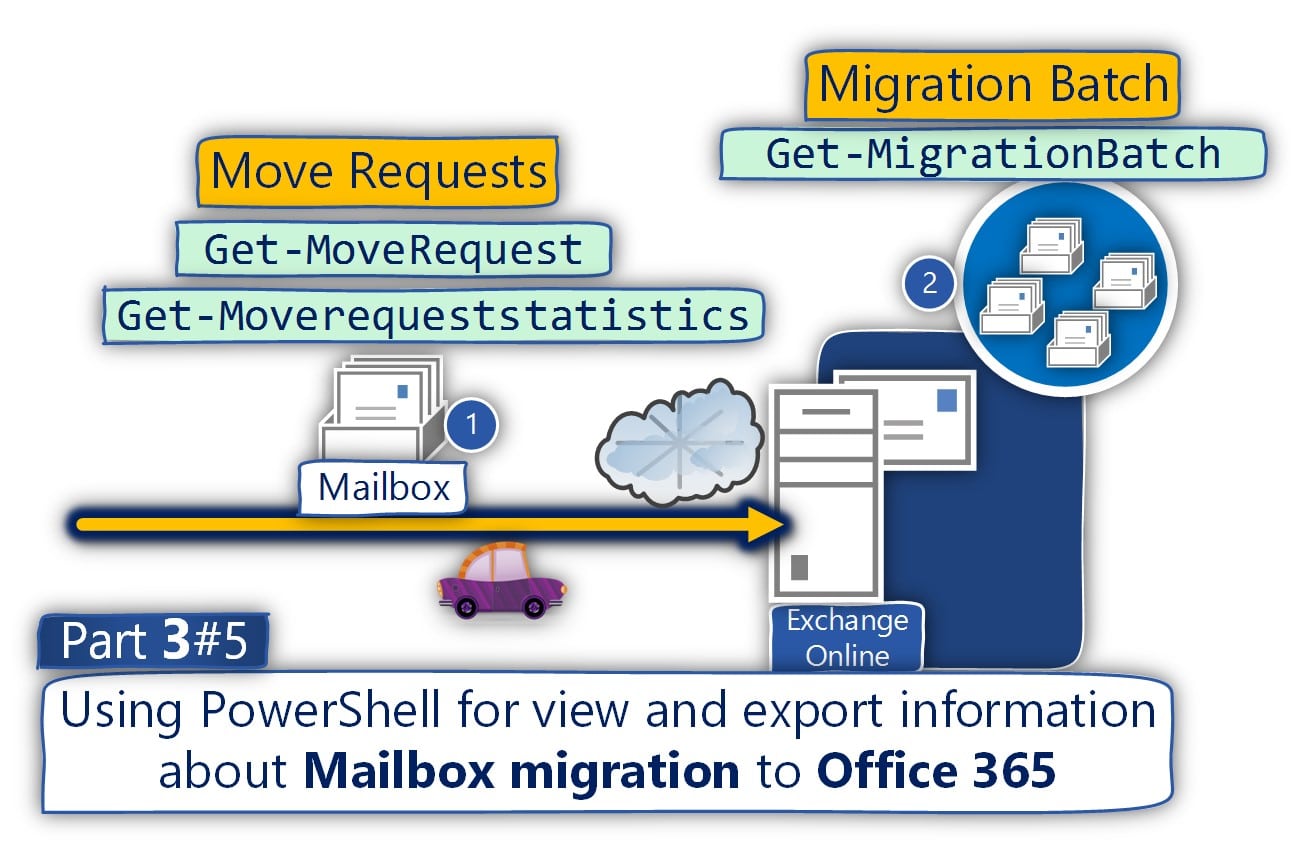
Using PowerShell for view and export information about mailbox migration to Office 365 | Part 4#5
The current article is the continuation of the previous article, in which we review the various PowerShell cmdlets that we can use for viewing, and export information about the process of Exchange mailbox migration process.
The “mailbox migration” PowerShell commands that we review in this article are:
- Get-MigrationStatistics
- Get-MigrationUser
- Get-MigrationUserStatistics
In addition, we review the PowerShell commands that we can use for getting information about on-Premises environment.
Table of contents
- 1. Migration Statistics | Get-MigrationStatistics
- 2. Get migration user information | Get-MigrationUser
- Get information about specific “Migration User”
- 3. Get migration user Statistics information | Get-MigrationUserStatistics
- Get information about specific “Migration User Statistics”
- Export information about specific “Migration User Statistics” | TXT File
- Export information about specific “Migration User Statistics” + more detailed information | TXT File
- Export “Migration User Statistics” All Migration User + Detailed information | XML File
- 5. On-Premise infrastructure information
- Export information about Exchange on-Premises mailbox
- The next article in the current article series
1. Migration Statistics | Get-MigrationStatistics
Get + Export Information | Migration Statistics
The PowerShell command Get-MigrationStatistics, provide us information about the migration process using properties such as – Synced Count, Total Count and more.
Get information about Migration Statistics
PowerShell command syntax
Get-MigrationStatistics -DiagnosticPowerShell console output example
PS C:\> Get-MigrationStatistics -Diagnostic

MigrationType       TotalCount FailedCount SyncedCount
-------------       ---------- ----------- -----------
ExchangeRemoteMove  4          0           0
Get + Export information about Migration Statistics | Example
Get-MigrationStatistics -Diagnostic |Format-List | Out-File c:\temp\"Get-MigrationStatistics -Diagnostic.txt" -Encoding UTF8Migration Users
Get + Export Information | Migration Users
As mentioned, each Exchange mailbox must have a “user account” that is associated with the mailbox (mailbox owner).
The PowerShell command that we use for getting information about the user account that is “attached” to the mailbox that we migrate are:
- Get-MigrationUser
- Get-MigrationUserStatistics
2. Get migration user information | Get-MigrationUser
The PowerShell command Get-MigrationUser, display information about the user account properties that is associated with the Exchange mailbox that we migrate + high level information about the mailbox migrated content.
Get information about specific “Migration User”
PowerShell command syntax
Get-MigrationUser <Migrated user account>PowerShell console output example
PS C:\> Get-MigrationUser onpremmbx-01@o365info.com

Identity                   Batch                      Status     LastSyncTime
--------                   -----                      ------     ------------
onpremmbx-01@o365info.com  Eyal Migration batch -001  Completed  2/23/2017 10:47:28 AM
Export information about specific “Migration User” | TXT File
Get-MigrationUser onpremmbx-01@o365info.com |Format-List | Out-File c:\temp\"Get-MigrationUser - onpremmbx-01@o365info.com.txt" -Encoding UTF8Export information about ALL “migration users” | TXT File
To get information about ALL “migration users” + export the information to text file, we can use the PowerShell command example.
PowerShell command example:
Get-MigrationUser | Format-List | Out-File c:\temp\"Get-MigrationUser.txt" -Encoding UTF8Export information about ALL “migration users” | View specific properties | TXT File
If we want to “refine” the result and view the most relevant information we can use the following PowerShell syntax.
PowerShell command example:
Get-MigrationUser | Select Identity,RecipientType,SkippedItemCount,SyncedItemCount,Status,BatchId,LastSuccessfulSyncTime | Out-File c:\temp\"Get-MigrationUser.txt" -Encoding UTF83. Get migration user Statistics information | Get-MigrationUserStatistics
The PowerShell command Get-MigrationUserStatistics will get us additional information about “migrated user” that is associated with the mailbox that we migrate + more detailed information about the mailbox content meaning, mail items that are migrated.
Get information about specific “Migration User Statistics”
PowerShell command syntax
Get-MigrationUserStatistics <Migrated user account>PowerShell console output example
PS C:\> Get-MigrationUserStatistics onpremmbx-01@o365info.com

Identity                   Batch                      Status     Items Synced  Items Skipped
--------                   -----                      ------     ------------  -------------
onpremmbx-01@o365info.com  Eyal Migration batch -001  Completed  4             0
Export information about specific “Migration User Statistics” | TXT File
Get-MigrationUserStatistics onpremmbx-01@o365info.com | Format-List | Out-File c:\temp\"Get-MigrationUser.txt" -Encoding UTF8Export information about specific “Migration User Statistics” + more detailed information | TXT File
In this scenario, we add the following additional parameters: IncludeReport , Diagnostic and IncludeSkippedItems that could help us to get more details.
PowerShell command example:
Get-MigrationUserStatistics onpremmbx-01@o365info.com -IncludeReport -Diagnostic -IncludeSkippedItems | Format-List | Out-File c:\temp\"Get-MigrationUser.txt" -Encoding UTF8Export “Migration User Statistics” All Migration User + Detailed information | XML File
In this scenario, we get the most detailed Statistics information about ALL the existing “Migration Users” and export the information to XML file.
PowerShell command example:
Get-MigrationUserStatistics -IncludeReport -Diagnostic -IncludeSkippedItems| Export-CliXml c:\temp\"Get-MigrationUserStatistics -IncludeReport -Diagnostic.xml" -Encoding UTF85. On-Premise infrastructure information
The current article series is dedicated to the Office 365 and Exchange Online environment but in some troubleshooting scenario, we will need to get more information about the “on-Premises infrastructure”.
For example, we get migration errors that are related to a specific user, or a specific mailbox.
We suspect that the issue can be realities to a problem with the On-Premise Active Directory user account or, to a “problematic Exchange On-Premises mailbox”.
On-Premise Active Directory
Export information about On-Premise Active Directory user
To get information about specific Active Directory user account + export the information to TXT file we can use the following PowerShell command.
PowerShell command example:
Get-Aduser onpremmbx-01@o365info.com -Properties * | Format-List | Out-File c:\temp\npremmbx-01@o365info.com -Active Directory user.TXTNote: The following PowerShell command, should be executed from the On-Premise environment, using a Domain controller server or a server that include Active Directory PowerShell cmdlets.
Exchange on-Premises infrastructure
To get information about specific Exchange on-Premises mailbox we can use the following two PowerShell commands:
- Get-Mailbox
- Get-MailboxStatistics
Note: The following PowerShell command, should be executed from the On-Premise environment, using an Exchange on-Premises PowerShell.
Get-Mailbox PowerShell command
To get information about specific Exchange on-Premises mailbox + export the information to TXT file, we can use the following syntax:
Export information about Exchange on-Premises mailbox
PowerShell command example:
Get-Mailbox onpremmbx-01@o365info.com | Format-List | Out-File c:\temp\onpremmbx-01@o365info.com-Get-Mailbox on-Premises.txtGet-MailboxStatistics PowerShell command
The PowerShell command Get-MailboxStatistics, can help us to get a very detailed information about Exchange mailbox “structure”, that include information about each mailbox folder, the number of mail items in each folder and much more.
Export information about Exchange on-Premises mailbox tatistics | TXT file
Get-MailboxStatistics onpremmbx-01@o365info.com | Format-List | Out-File c:\temp\"onpremmbx-01@o365info.com" -Get-MailboxStatistics on-Premises.txtGet-MailboxStatistics onpremmbx-01@o365info.com –IncludeMoveHistory| Export-CSV c:\temp\"onpremmbx-01@o365info.com -Get-MailboxStatistics on-Premises - IncludeMoveHistory.CSV" –NoTypeInformation -Encoding utf8Download Mail Migration PowerShell script
The next article in the current article series
How to use the export mailbox migration information and troubleshooting PowerShell script | Part 5#5
What Others Are Reading

This Post Has 0 Comments